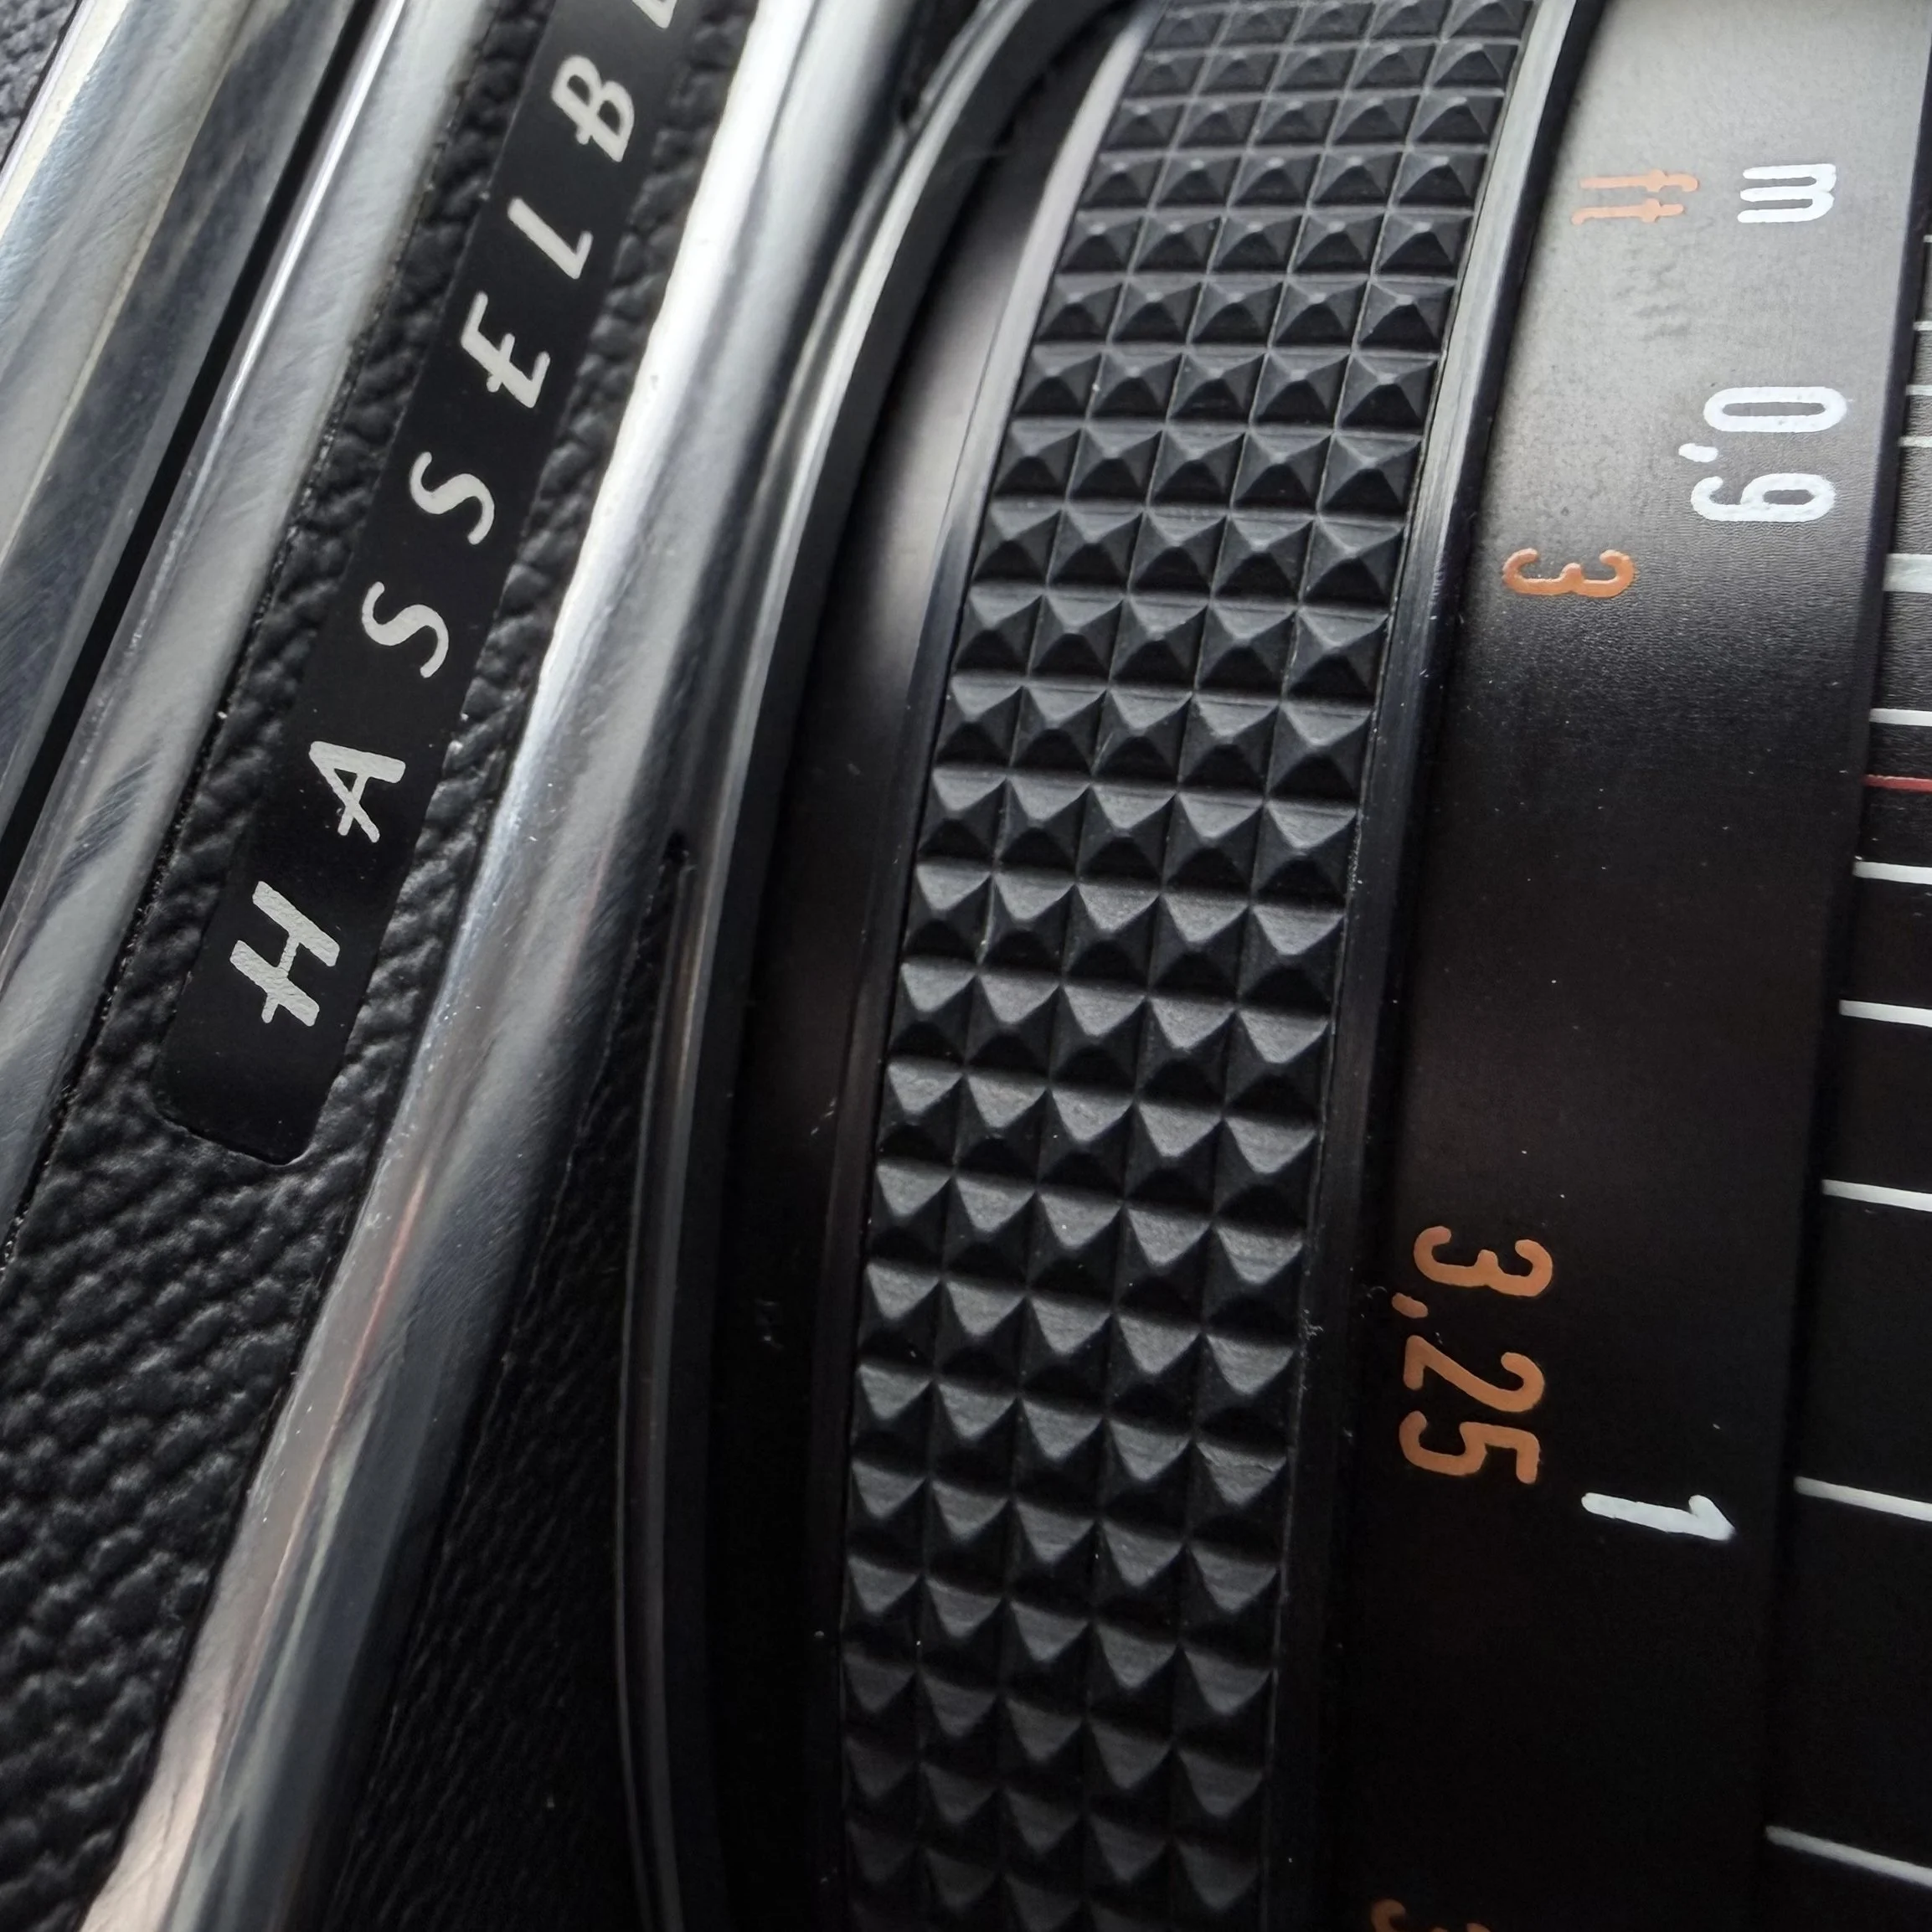
Following on from my initial tests with the Hasselblad 500C/M and that first roll of Kodak Gold 200, I’ve now shot five more rolls over a couple of recent sessions. One day was along the coast at Westcombe, the other a very wet outing on Dartmoor. I’ll be honest: a long stretch of poor weather had me feeling restless and eager to get out with film, even when conditions weren’t ideal. That pressure to shoot turned out to be unwise - but it taught me some valuable (and sometimes painful) lessons.
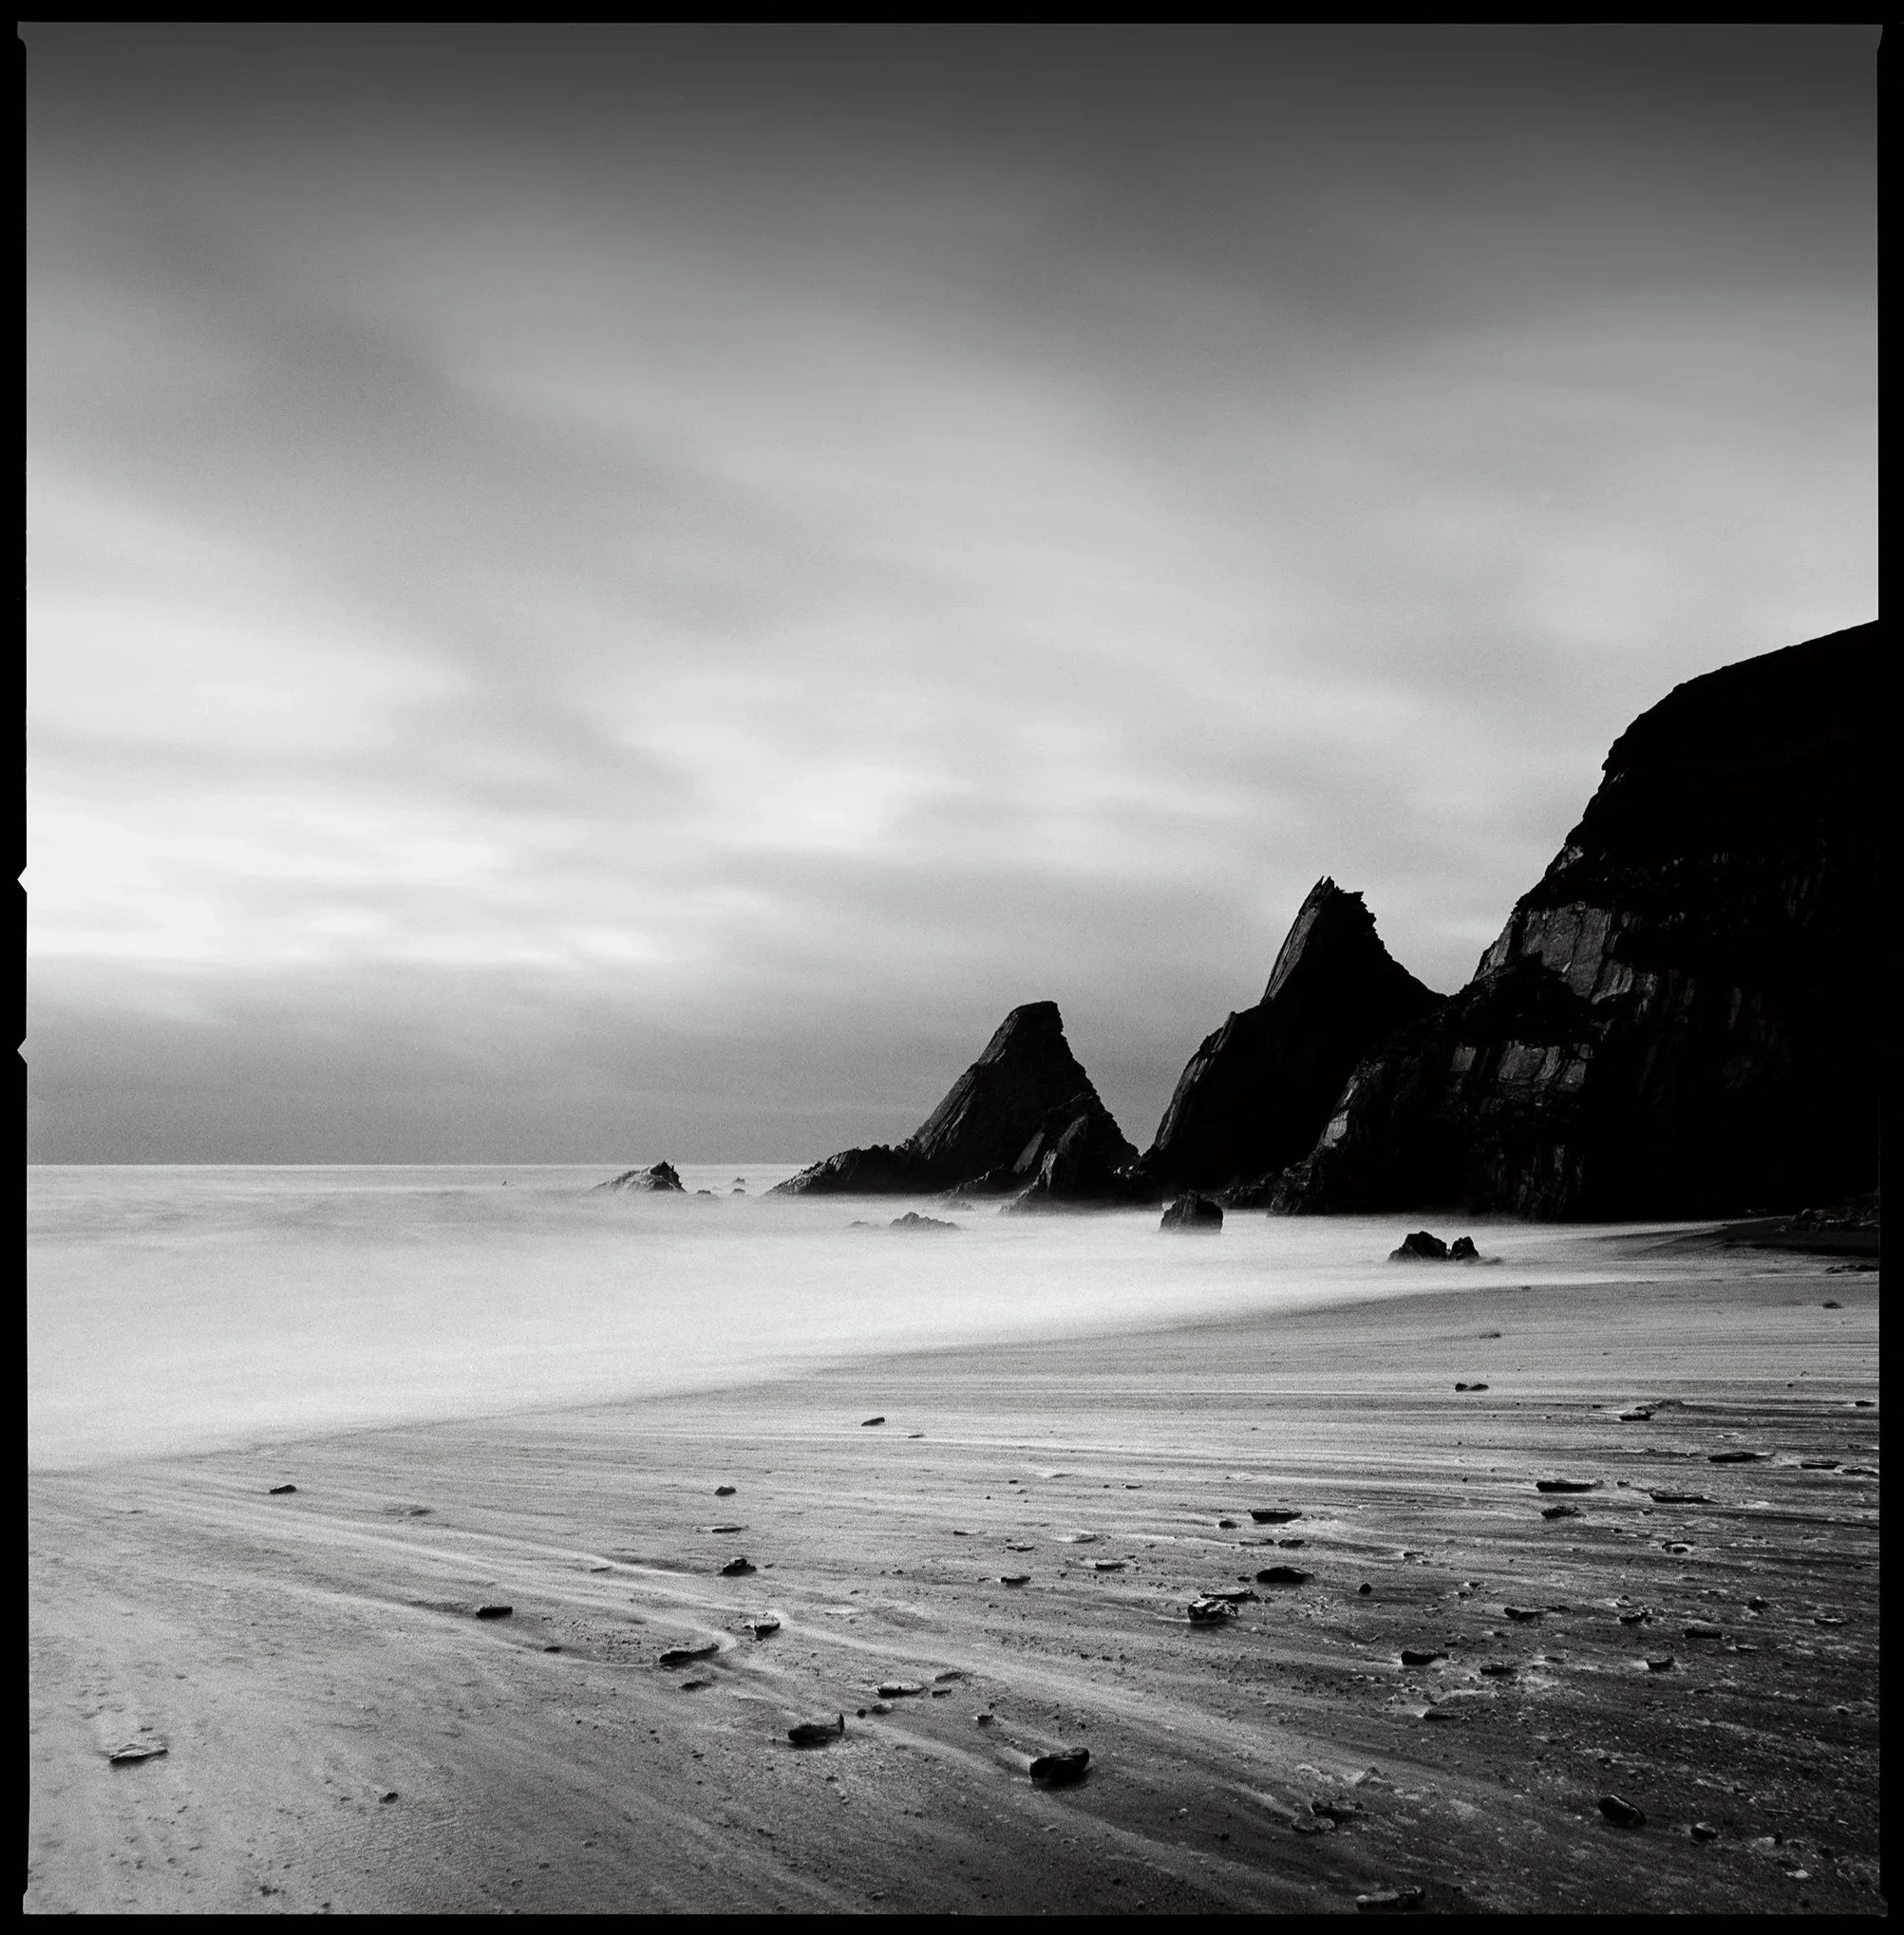
I started at Westcombe, excited to put more rolls through the camera. I shot Kodak Gold 200, Tri-X 400 (black & white), and CineStill 800. While I’m genuinely happy with a handful of frames - especially some on the Gold 200 and CineStill 800 with their lovely tones - the session highlighted how much I rushed things.
I pushed through several compositions too quickly, and many simply didn’t work. Composition aside, I also made basic exposure mistakes on a few shots - silly errors with shutter speeds and apertures that I wouldn’t have made if I’d just slowed down and double-checked. It’s clear I’m still carrying over some digital habits, where a bad frame is no big deal because you can review it instantly and reshoot. Film doesn’t forgive that mindset so easily.
The Tri-X 400 felt particularly contrasty in the flat, overcast coastal light I had, especially for longer exposures - it built up blacks and highlights too aggressively for the mood I was after. That said, the CineStill 800 delivered some beautiful, filmic tones that suit my style well, and Kodak Gold 200 continued to surprise me with its punchy yet forgiving colours.
Here are a few frames from Westcombe (film developed at FilmProcessing.co.uk, with only minor tonal tweaks.
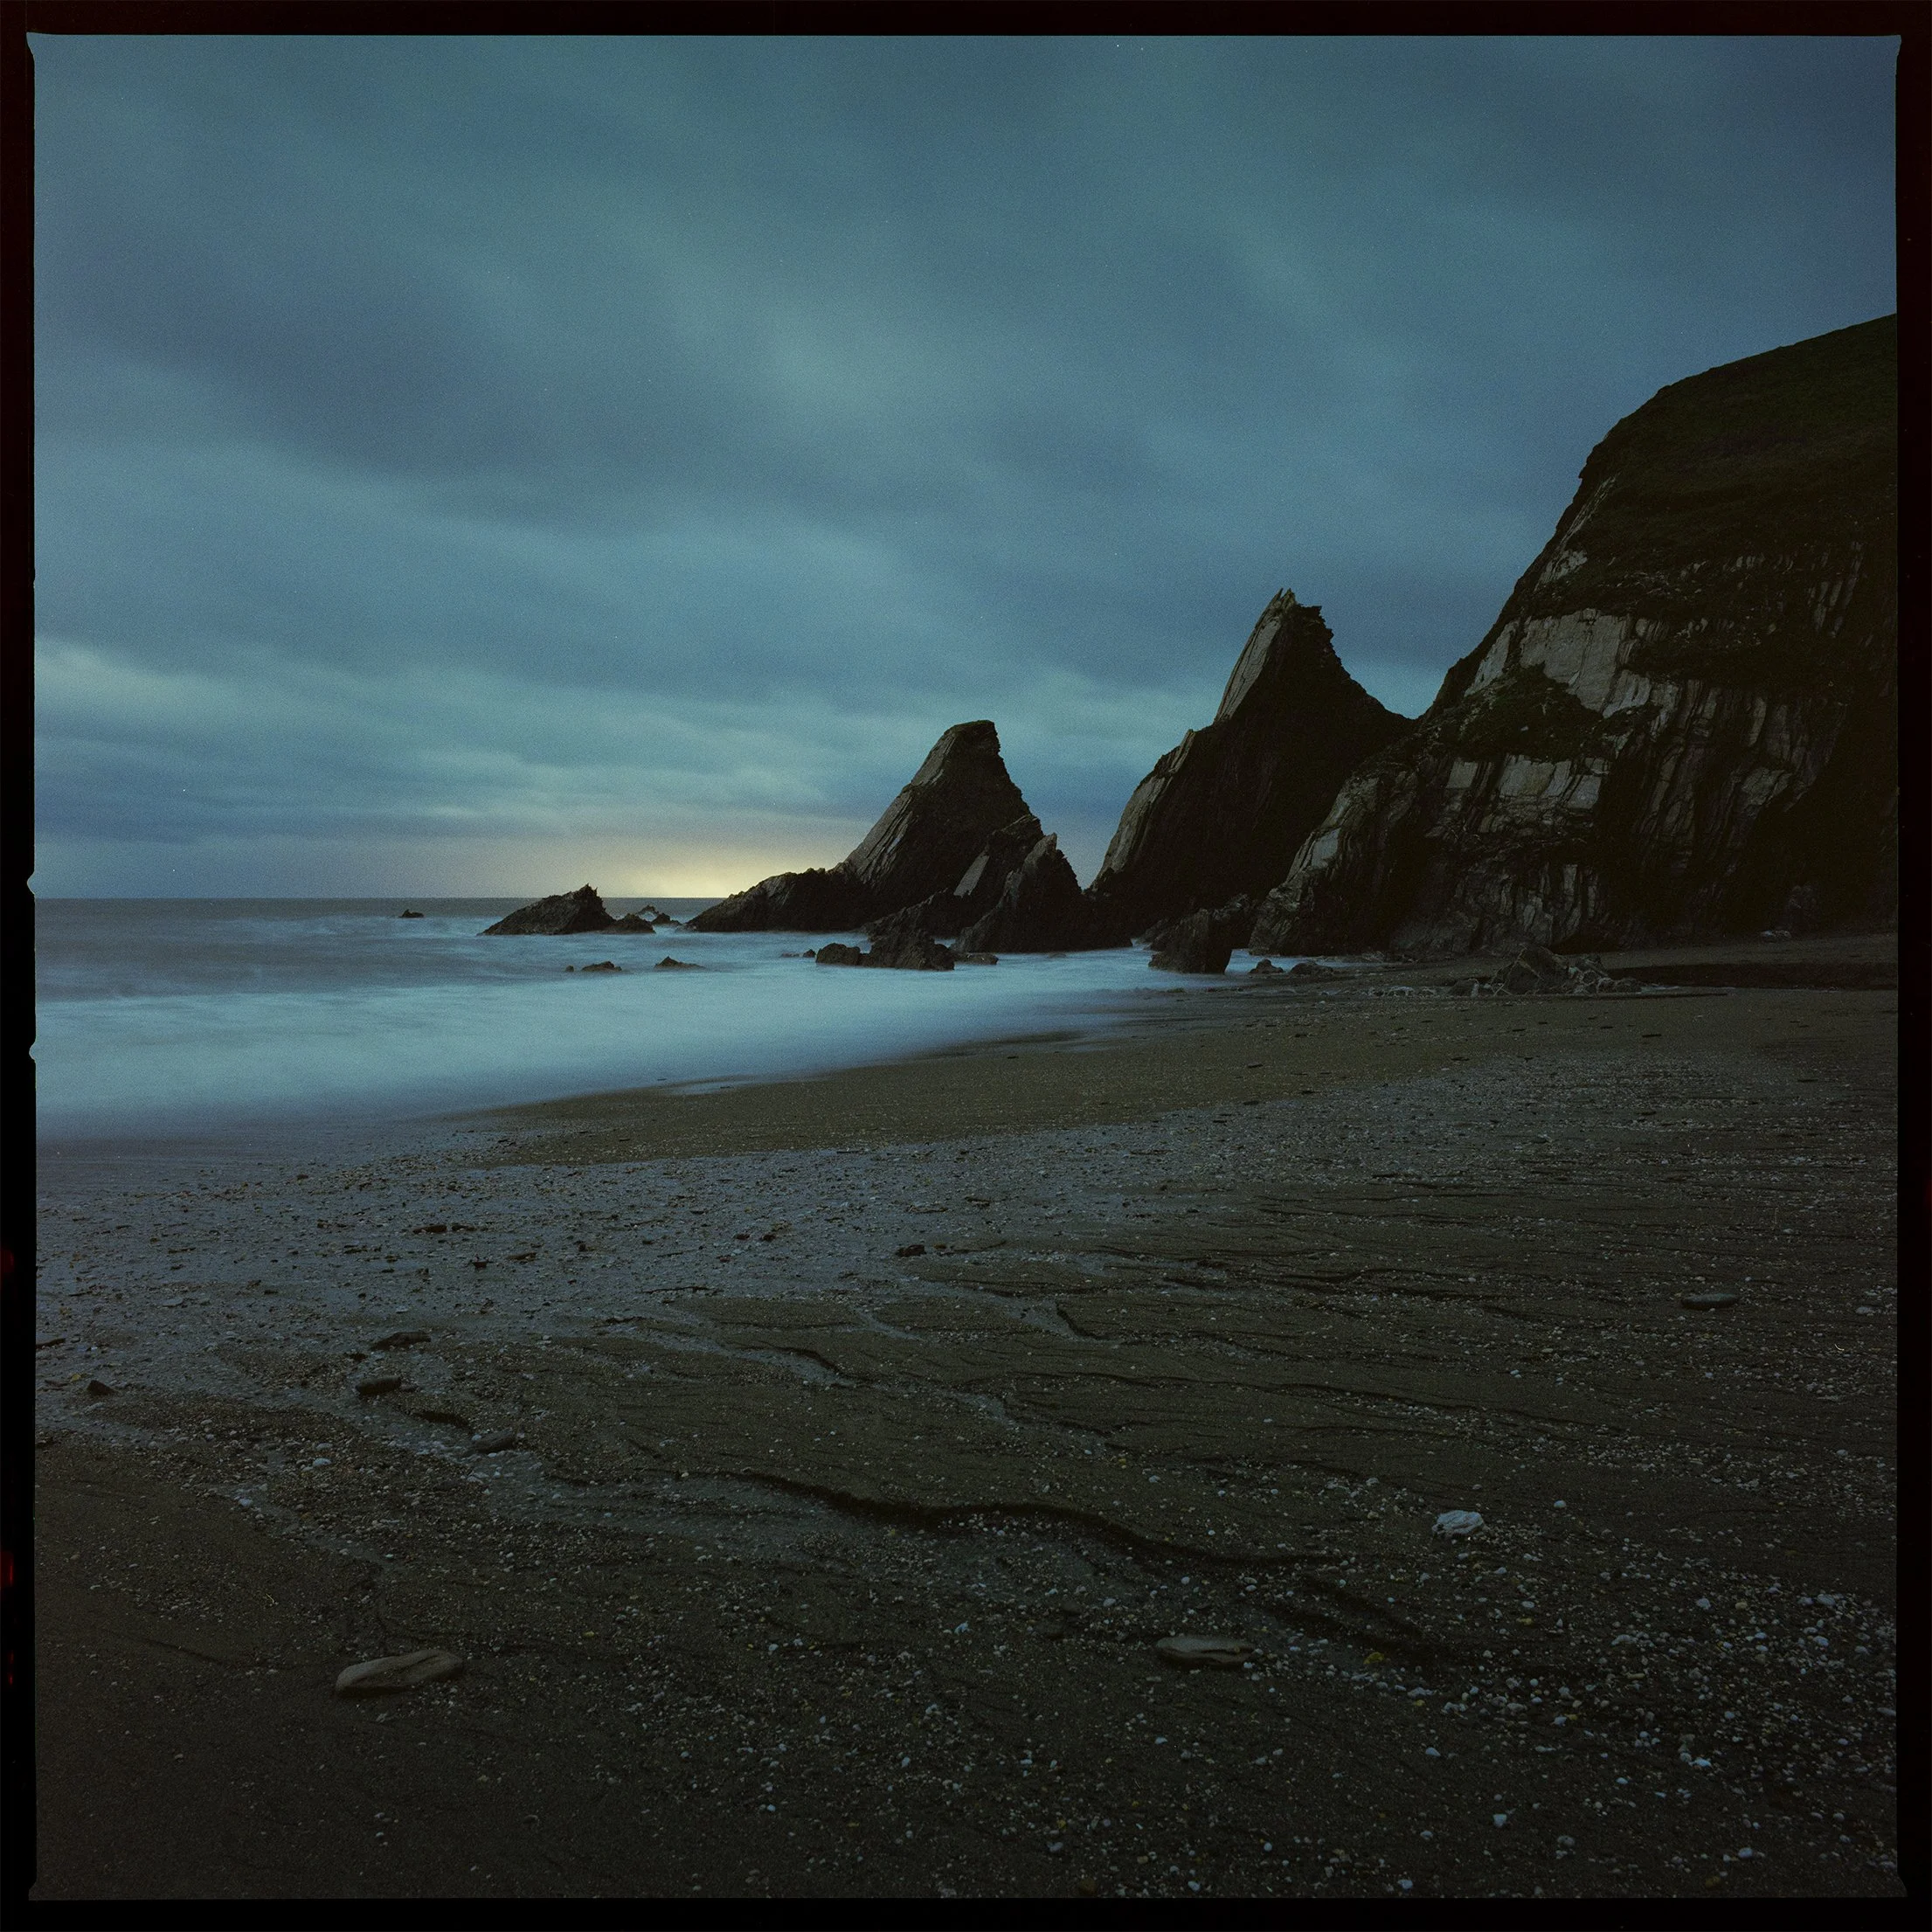
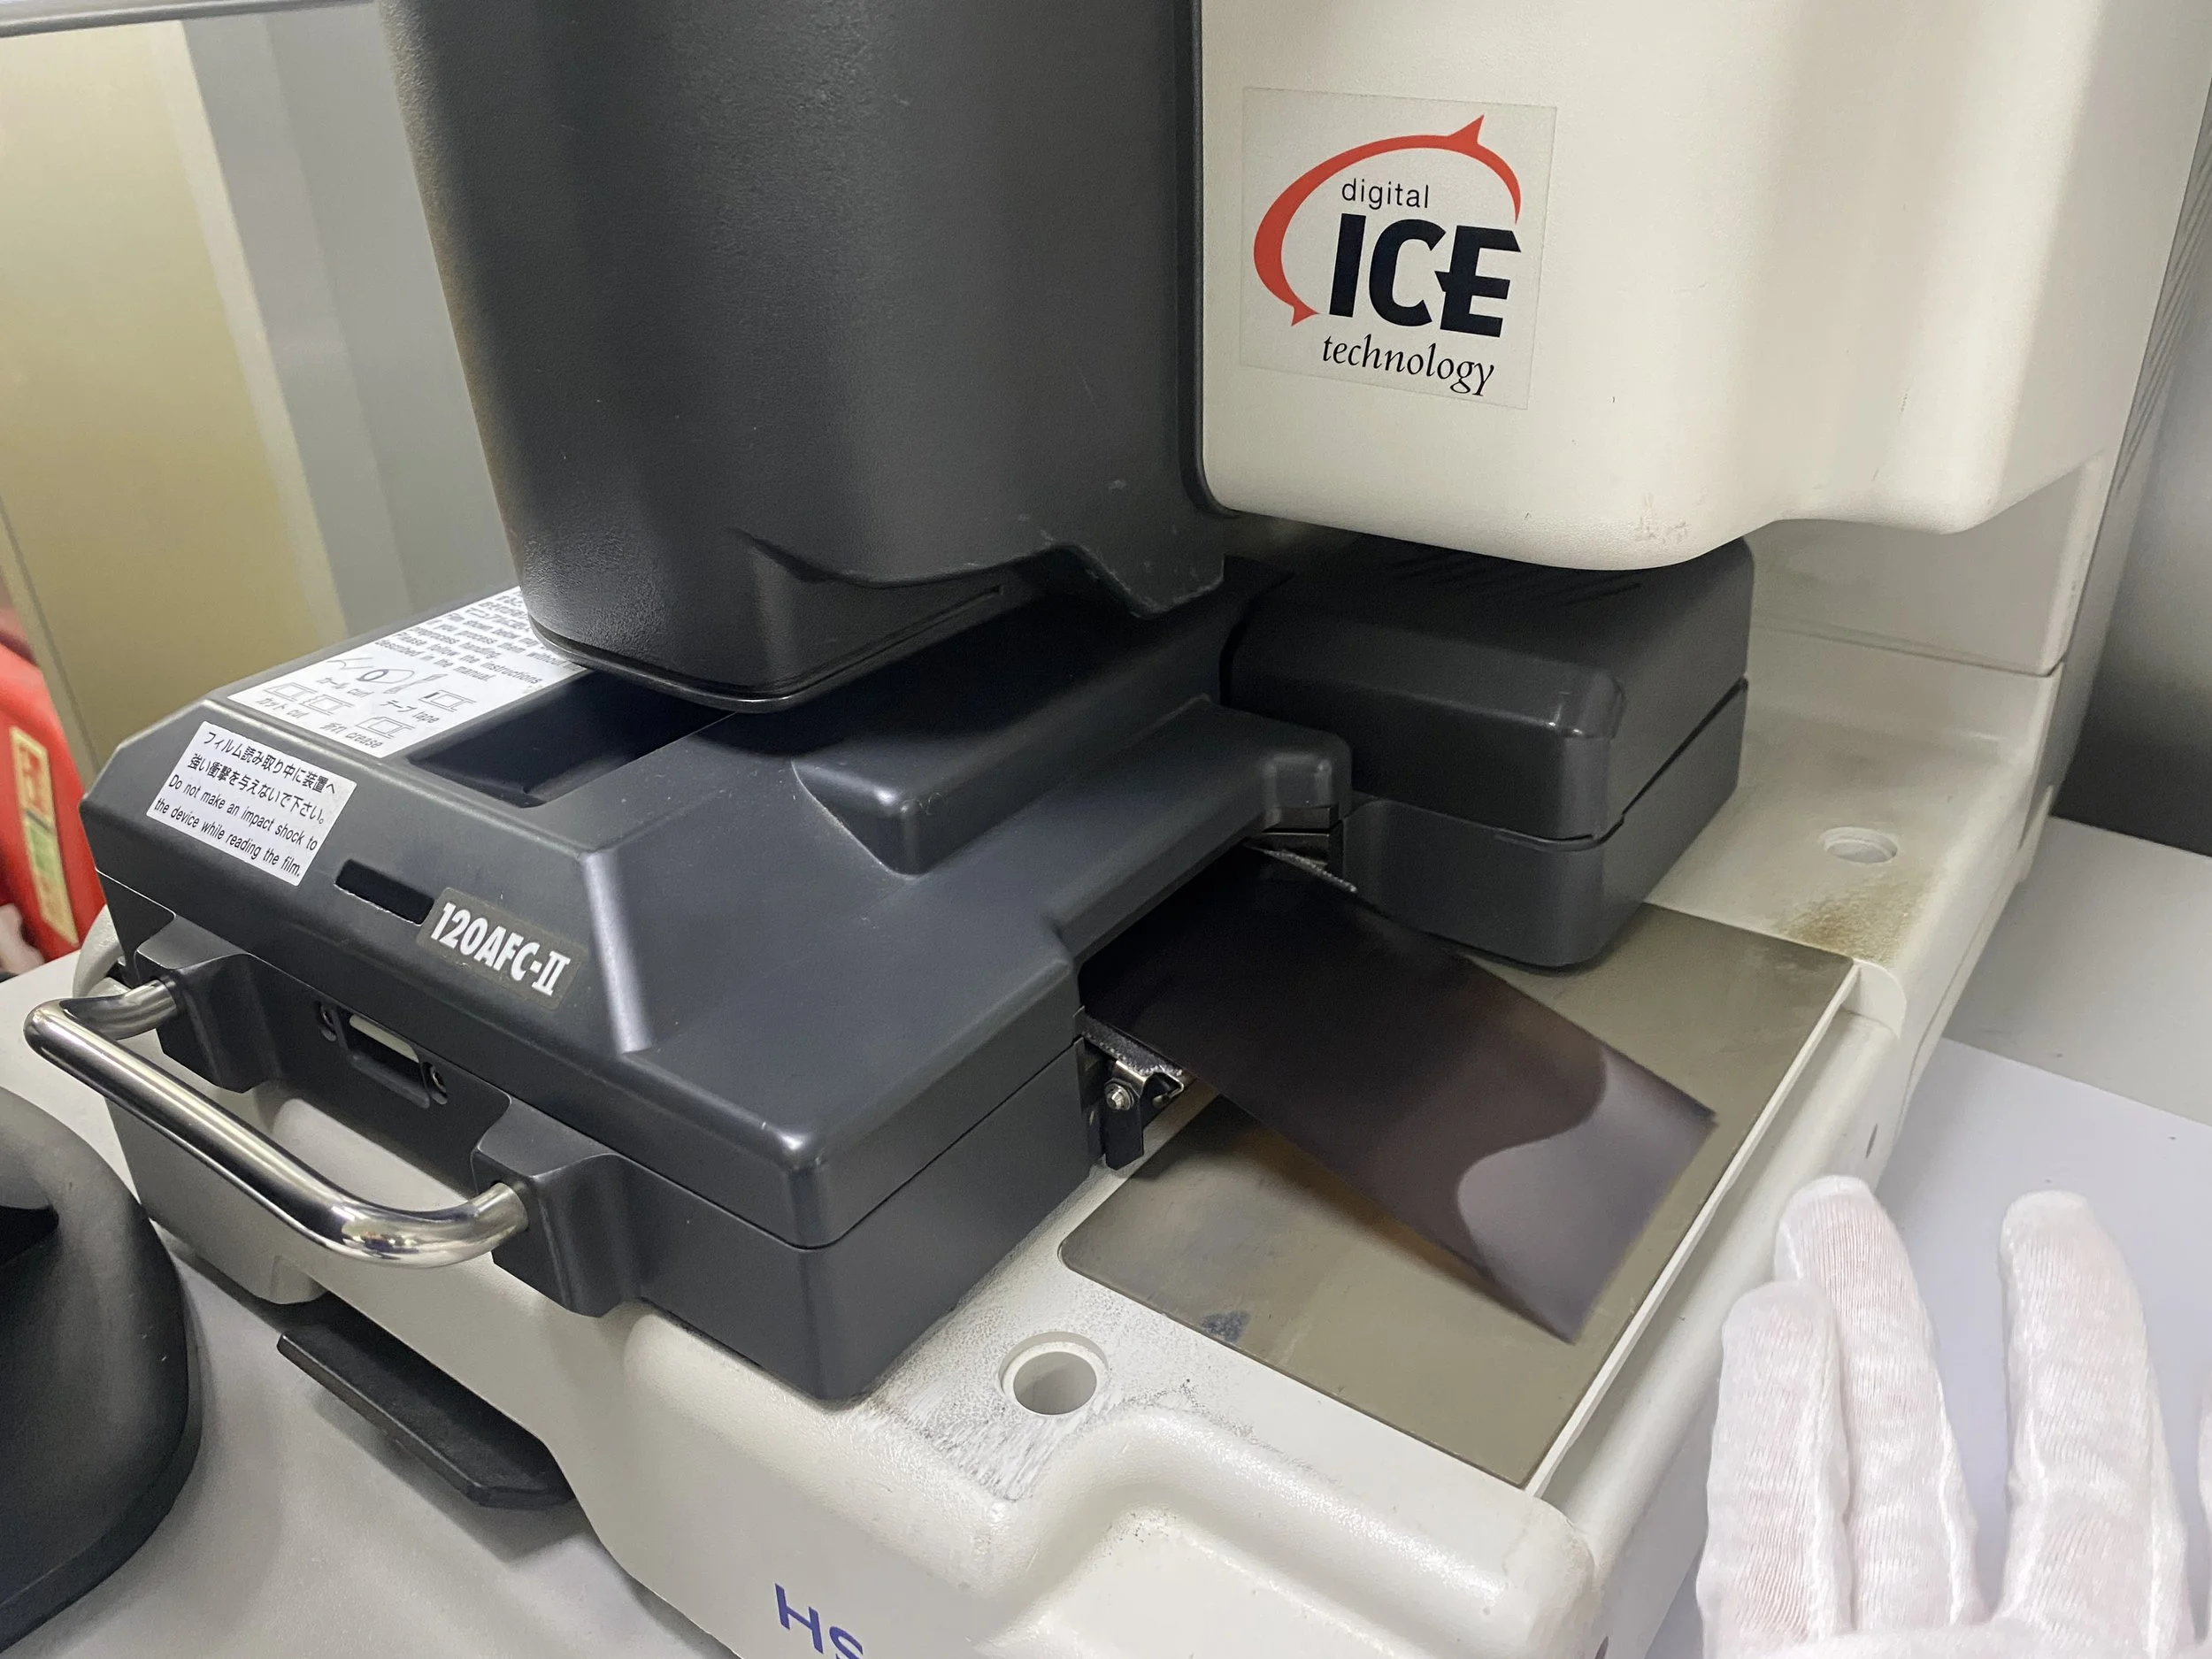
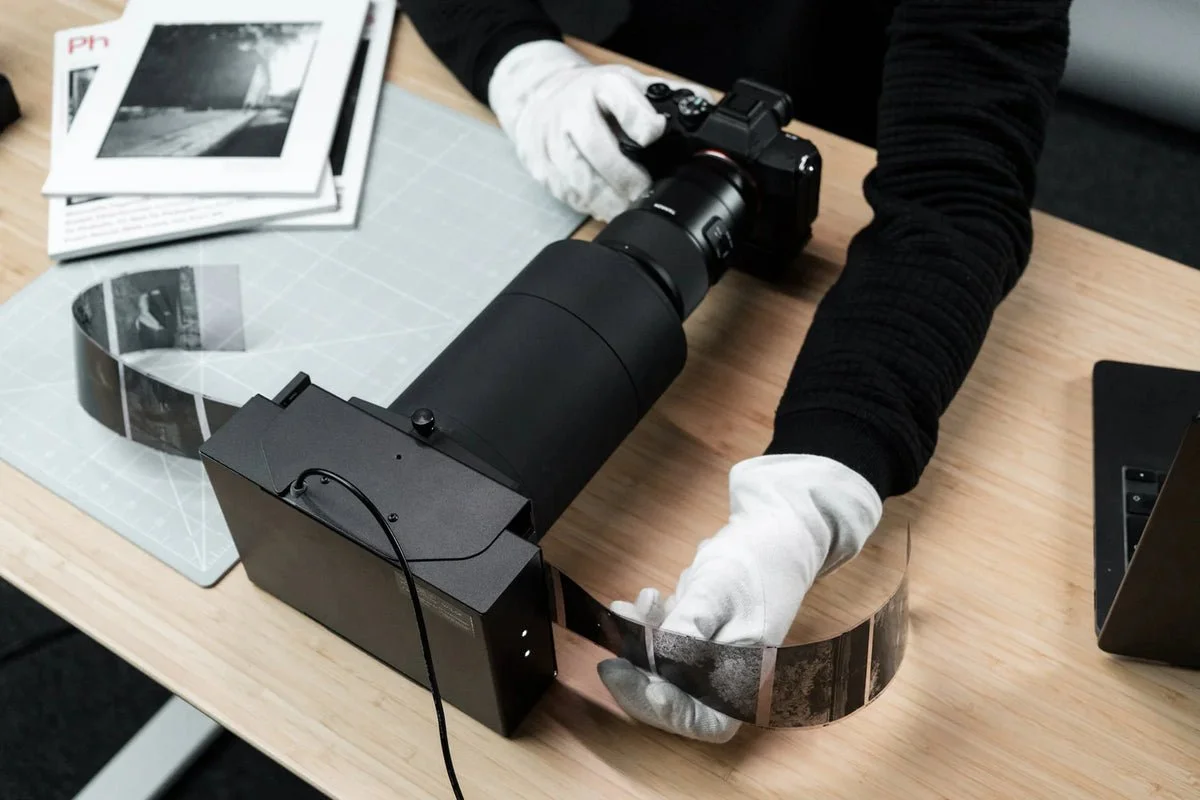
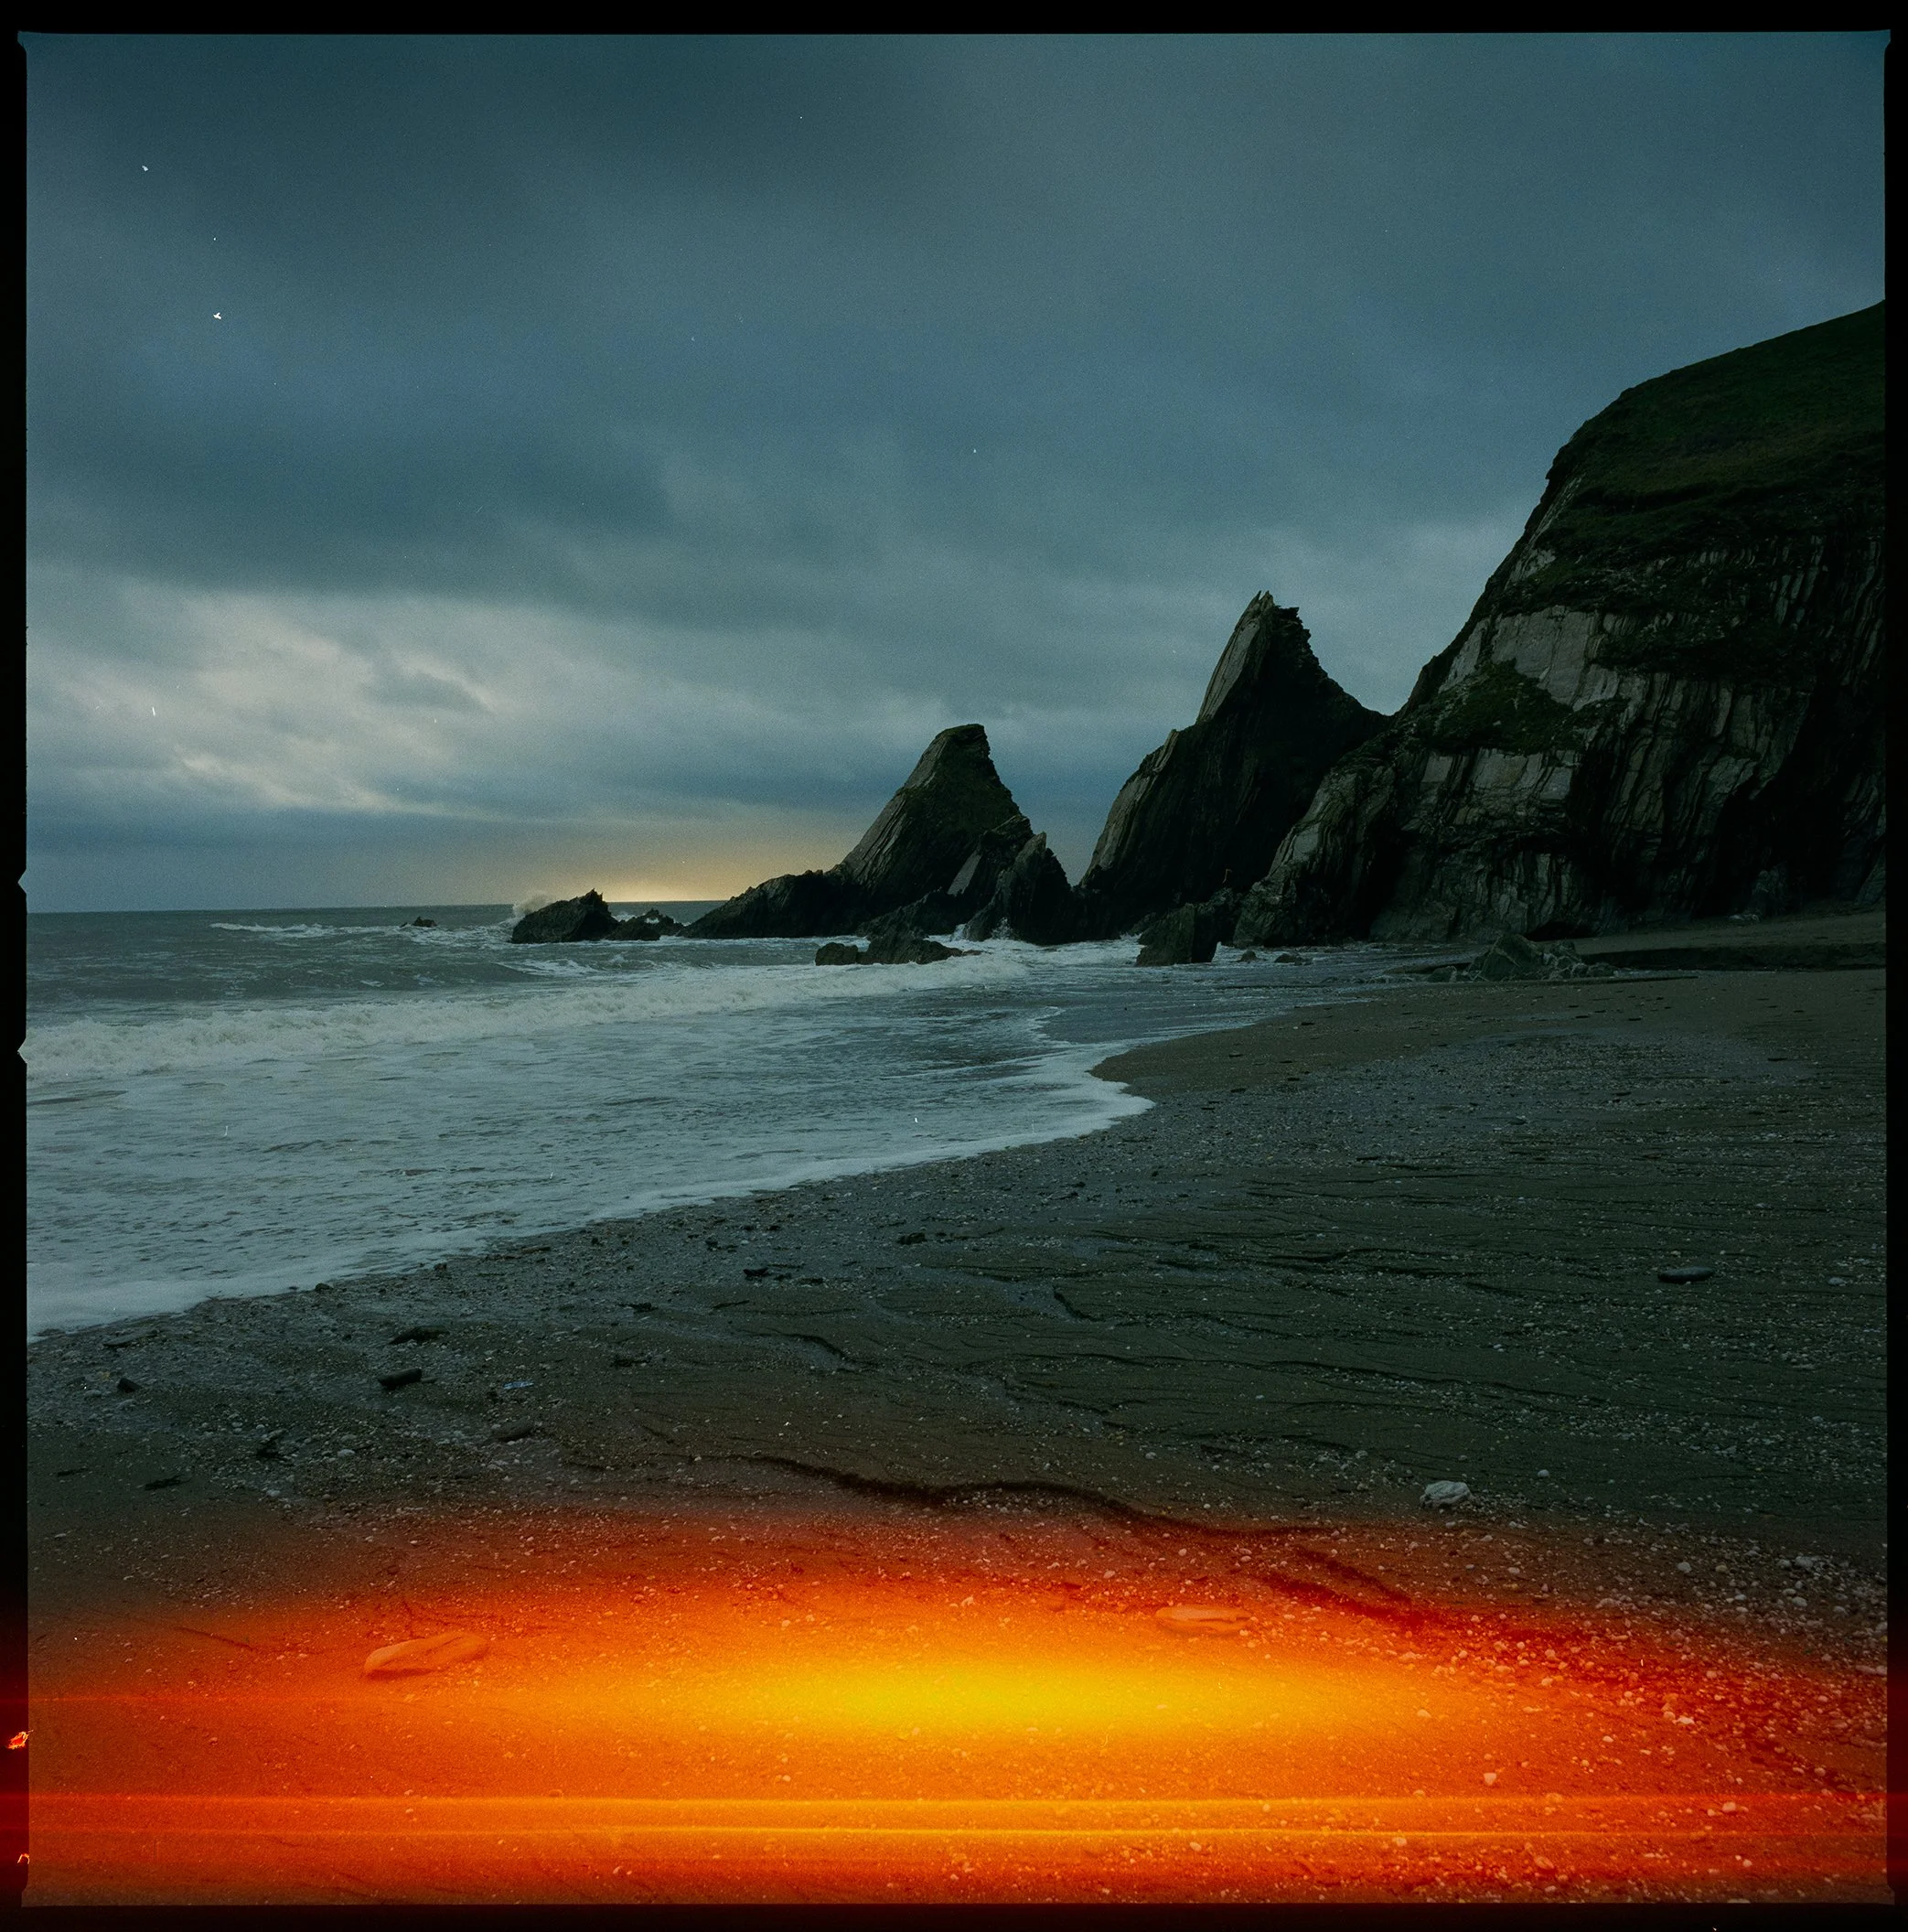
CineStill 800 - minor editing (contrast, tonal tweak with gradient) - scanned with Valoi Easy 120
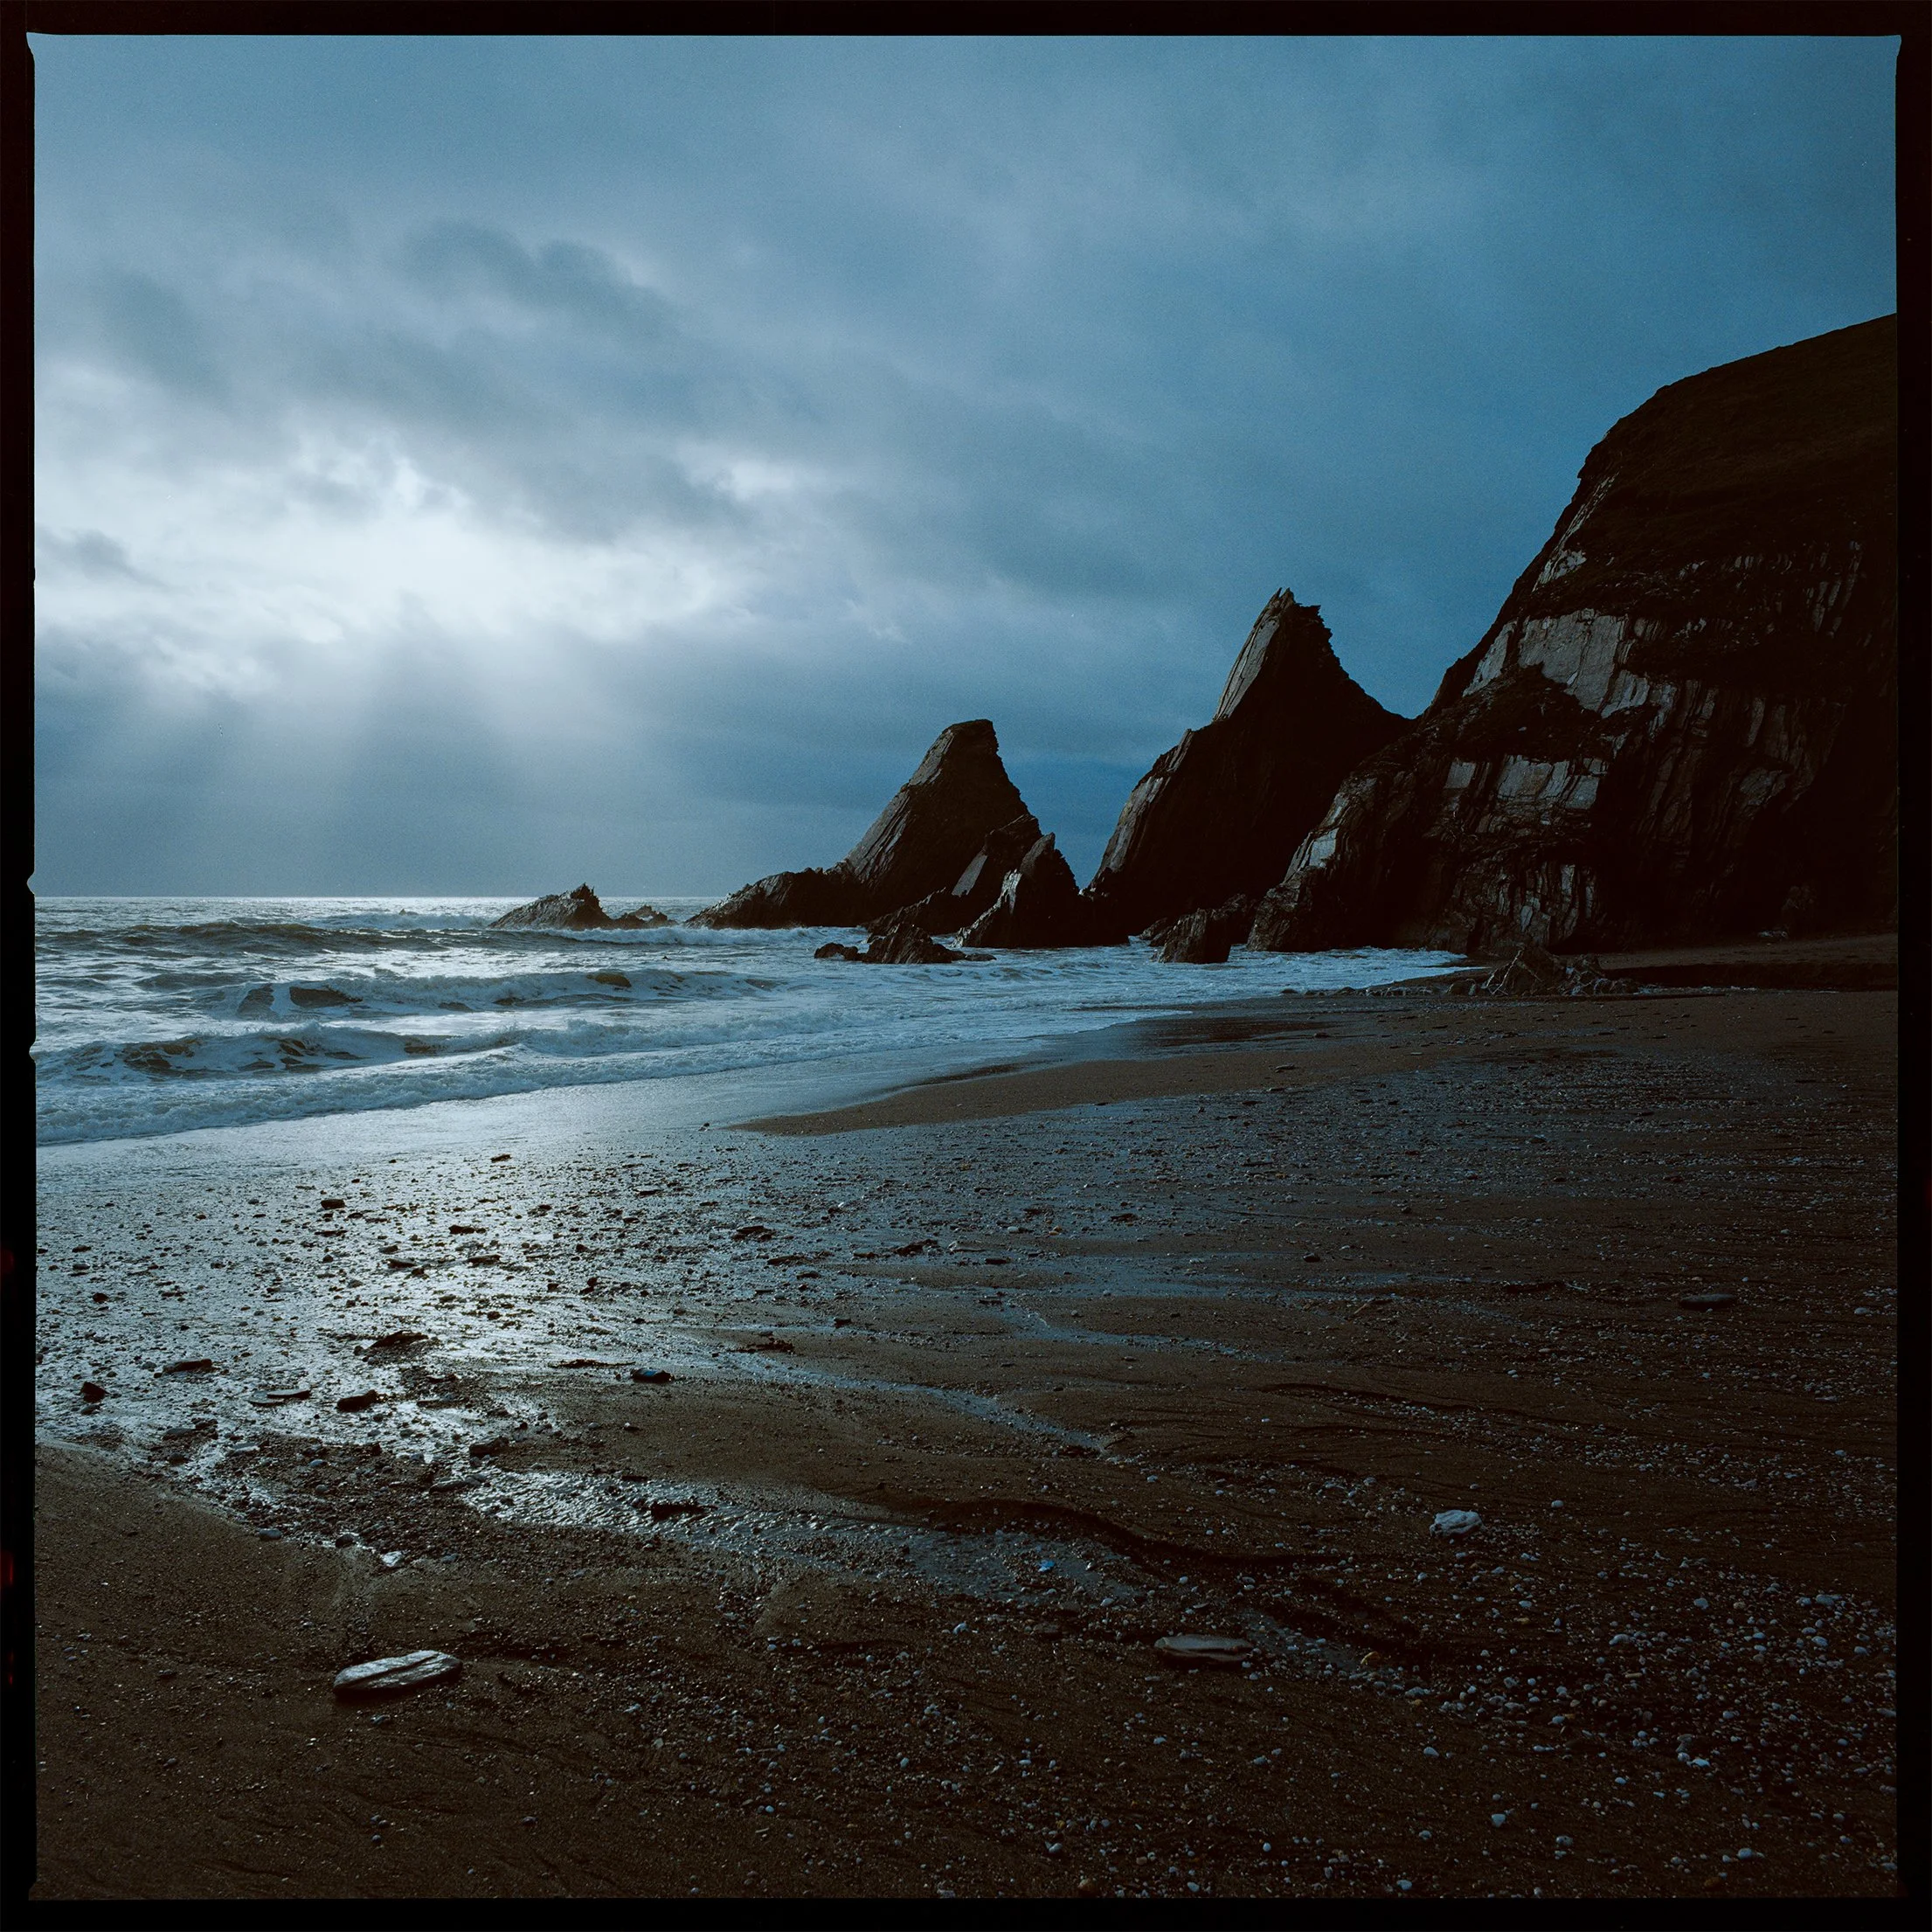
Kodak Gold - (no edit) - scanned with Valoi Easy 120
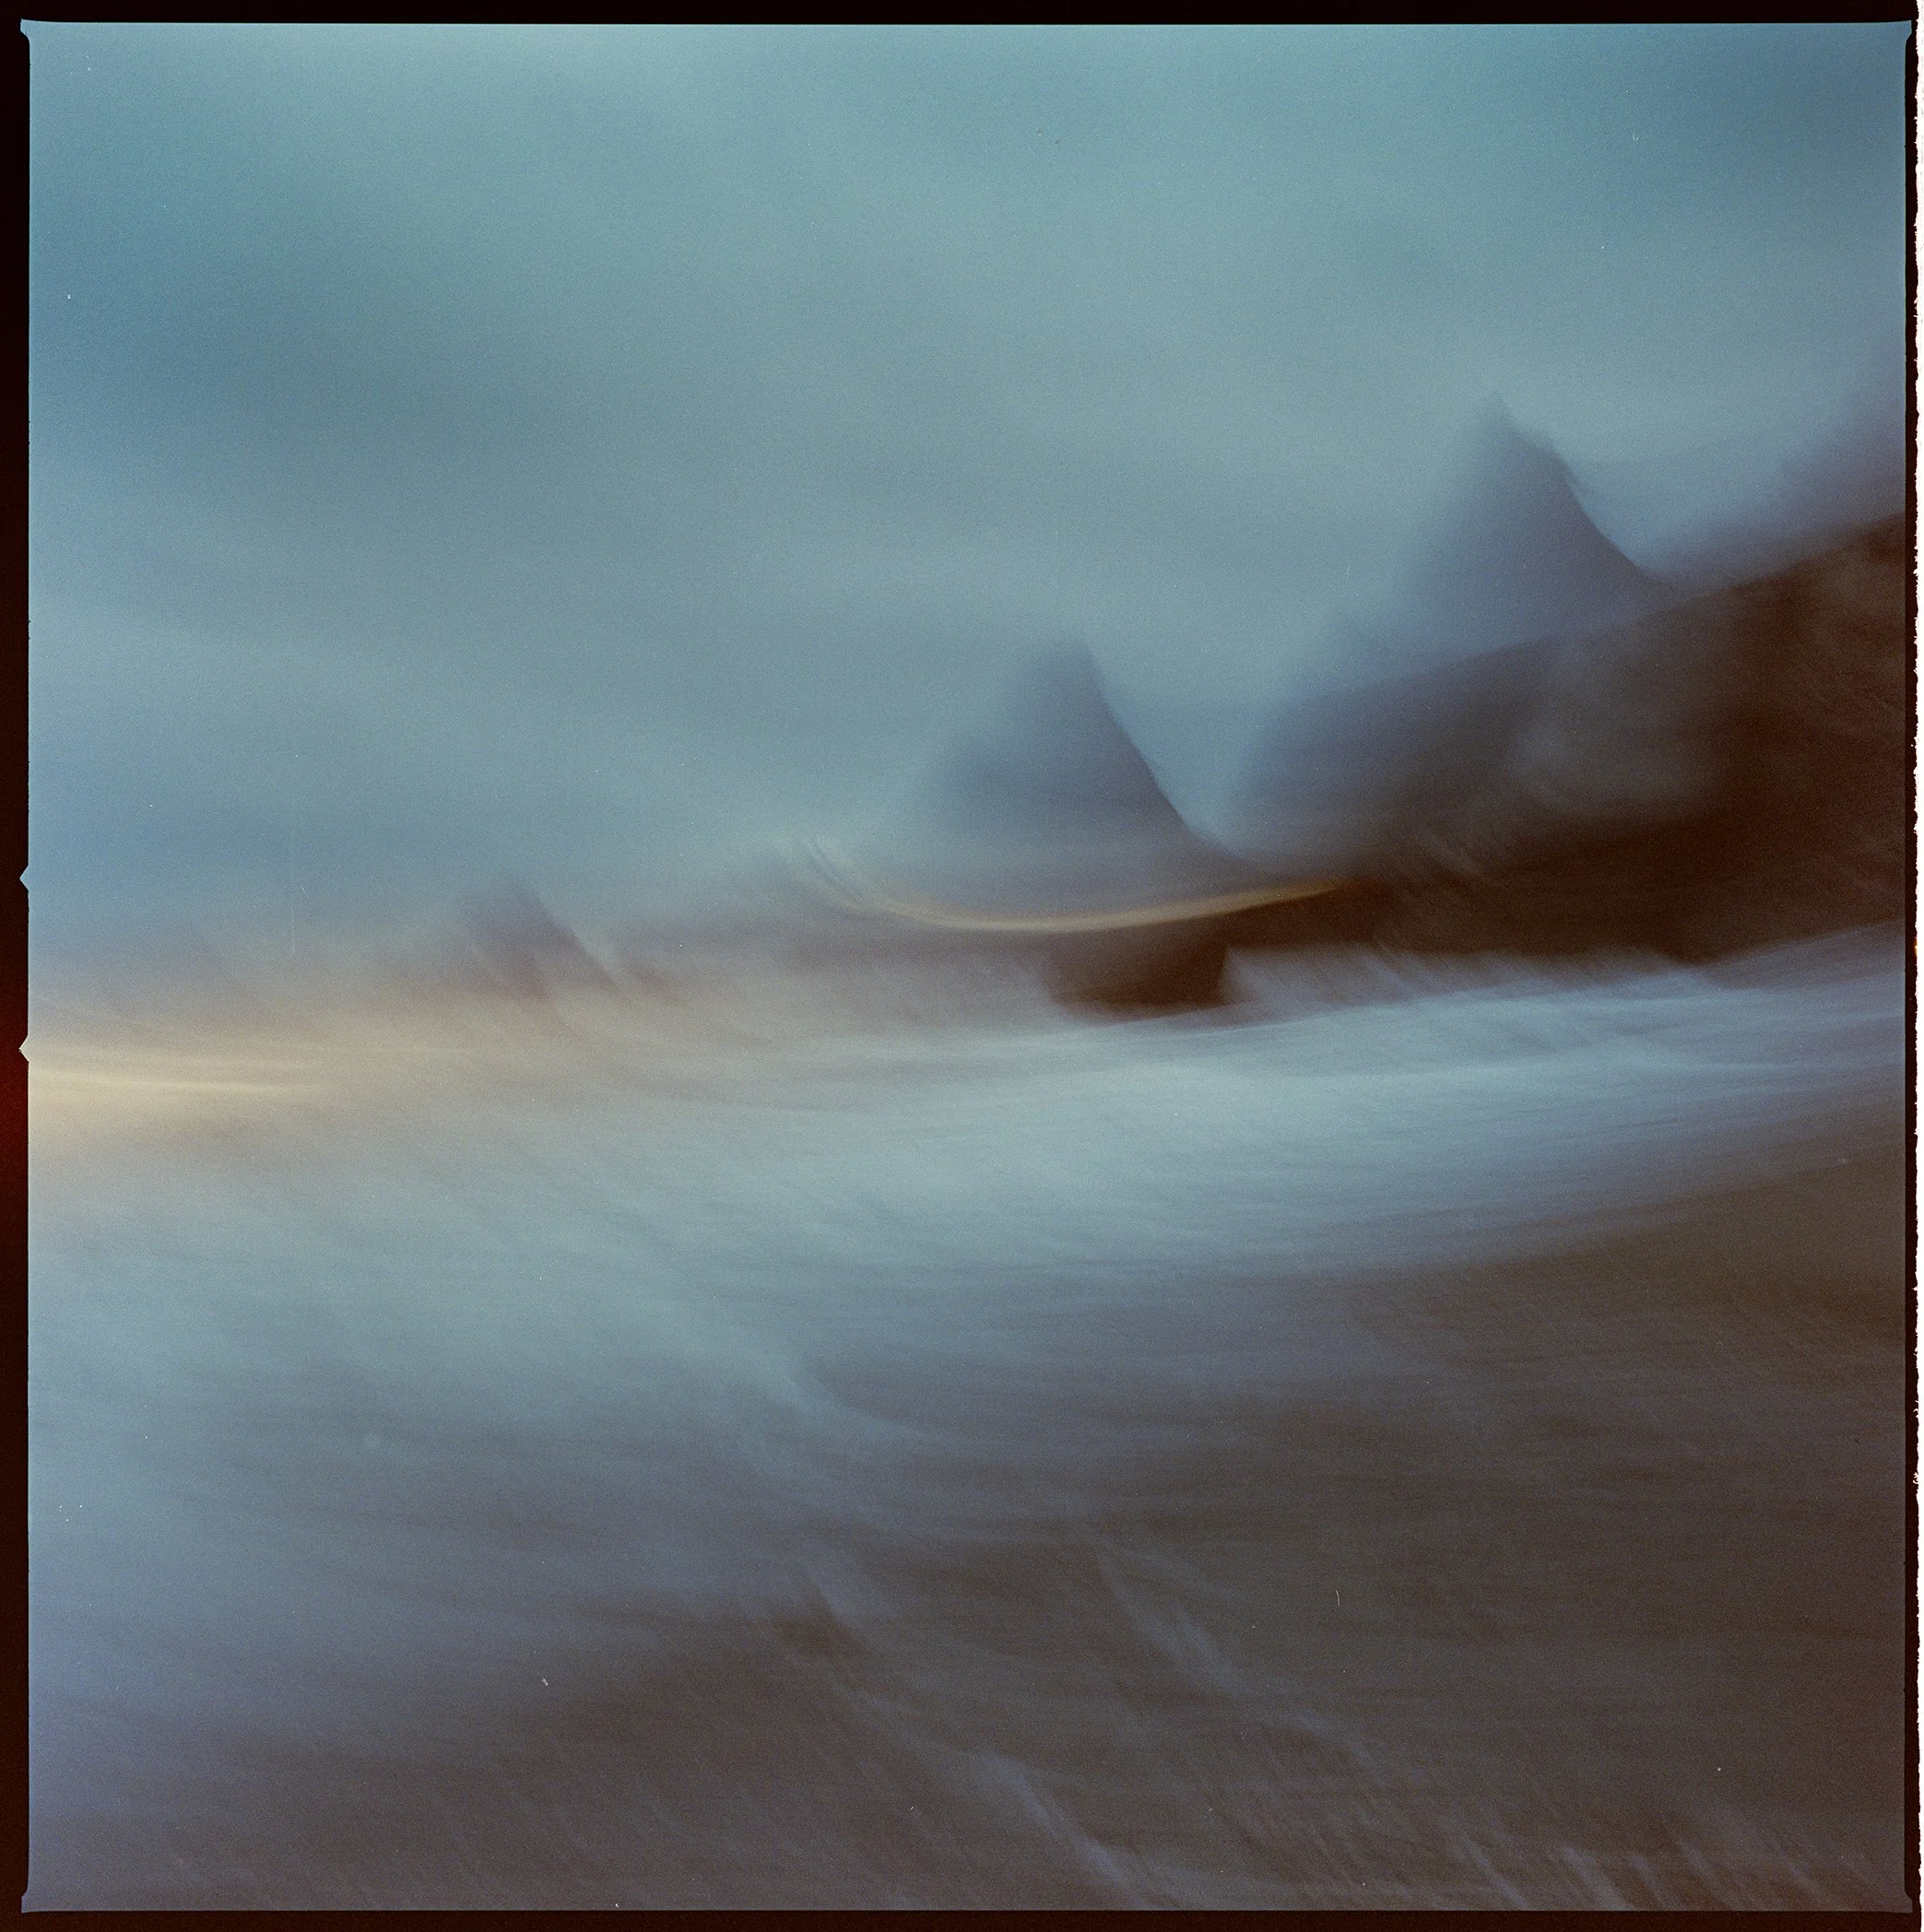
Unintentional Camera Movement - I moved the tripod to escape a wave!
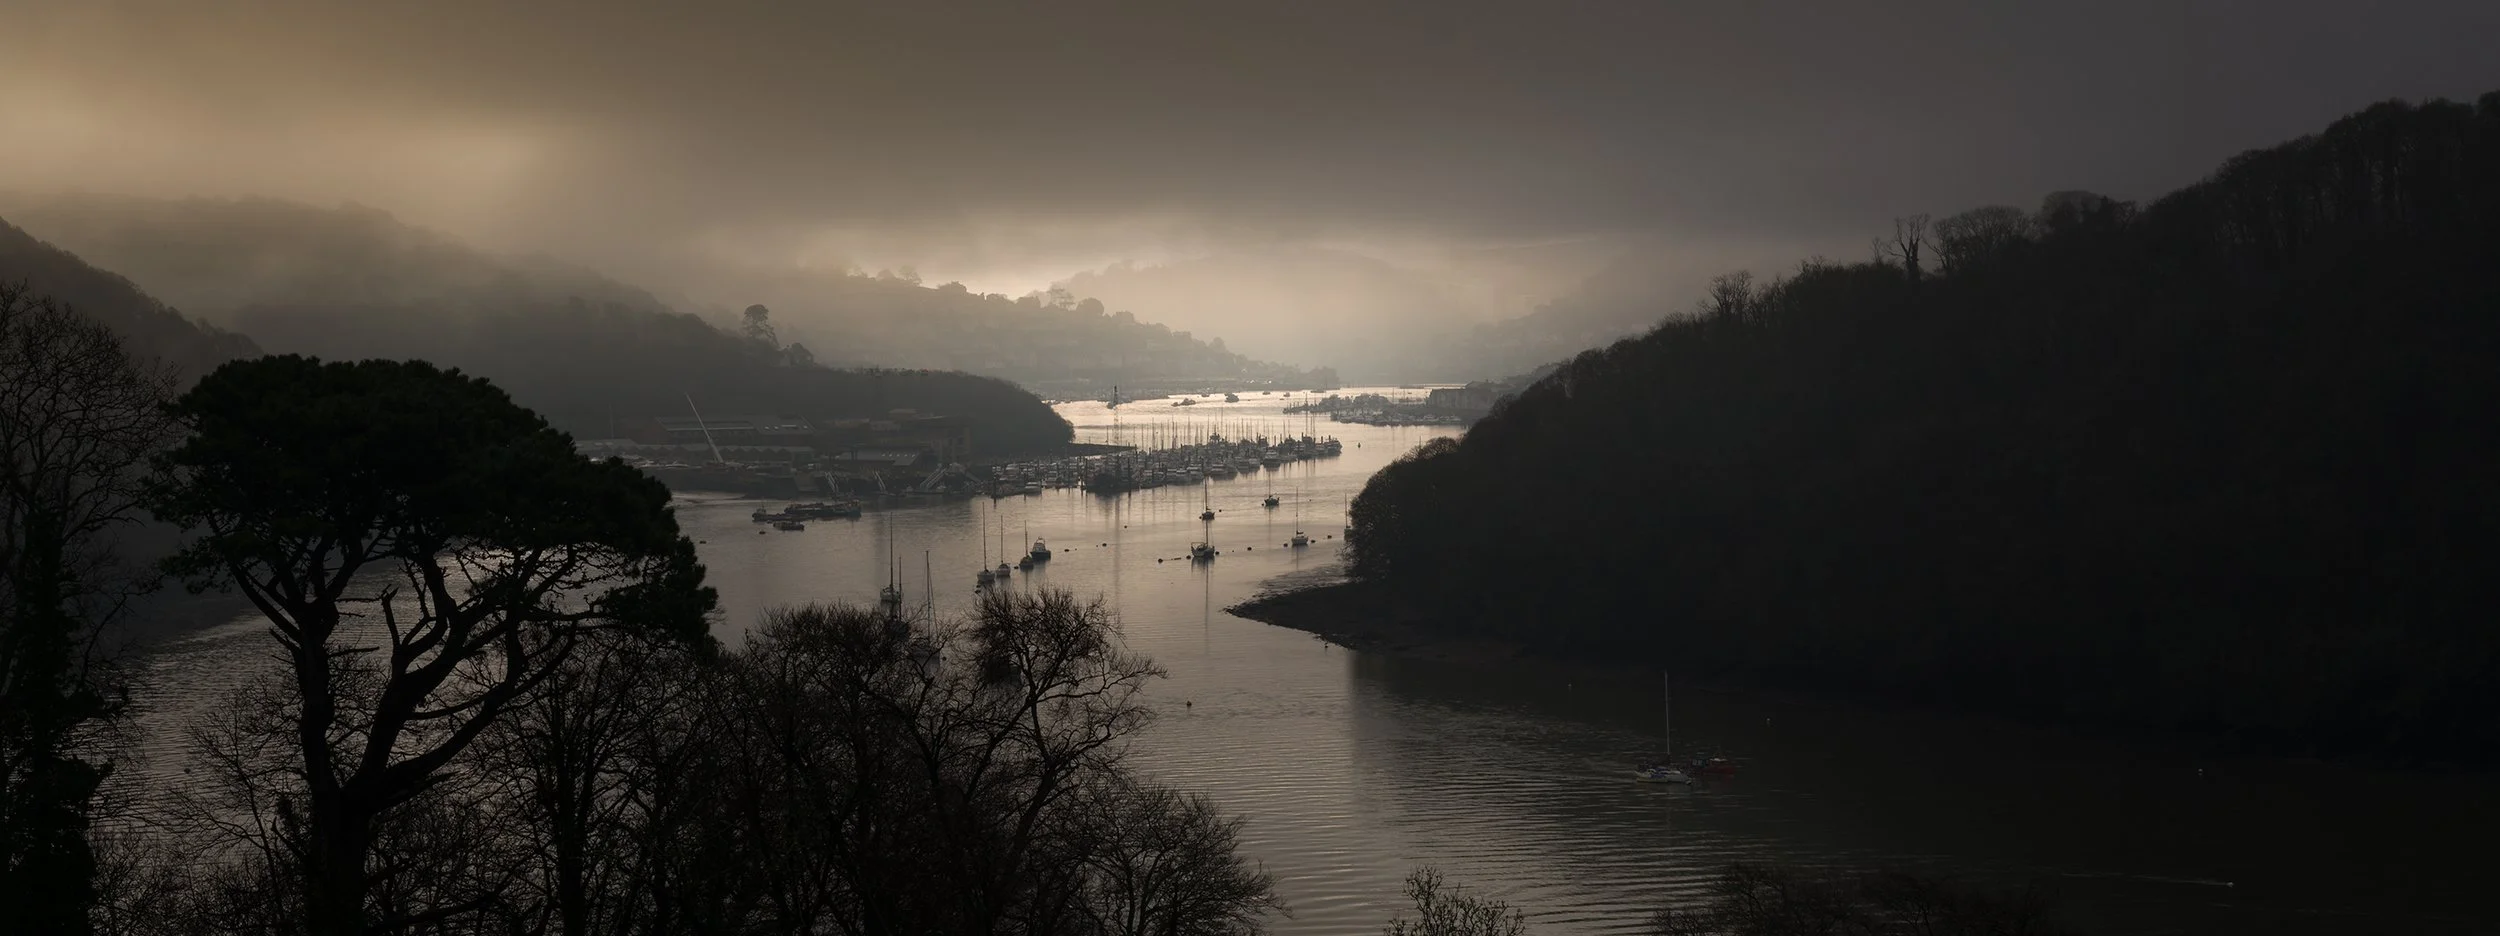
The second session was on a properly wet Dartmoor day - rain, mist, the works. Things got tricky fast when my waist-level finder screen got soaked. Water droplets made focusing through it almost impossible; the view was hazy and unreliable. I struggled through, but a lot of frames came back noticeably out of focus or soft where they shouldn’t have been.
My biggest takeaway from that day: the waist-level finder simply isn’t suitable for landscape work, especially in woodland or when precision matters. It’s great for certain street or low-angle shots, but for composing carefully in low light or awkward positions, it falls short. I’ve since invested in a PME 51 prism finder, which should make a huge difference for future trips - brighter, clearer, eye-level viewing without the guesswork.
Despite the focus issues, a few images came out sharp, and I really like some of them. I shot more Kodak Gold 200, Portra 400, and a bit of Tri-X 400 again. The Portra handled the wet, diffused light beautifully with its latitude and natural colours, and surprisingly, one Tri-X frame stands out - I love its grit and depth in those moody conditions.
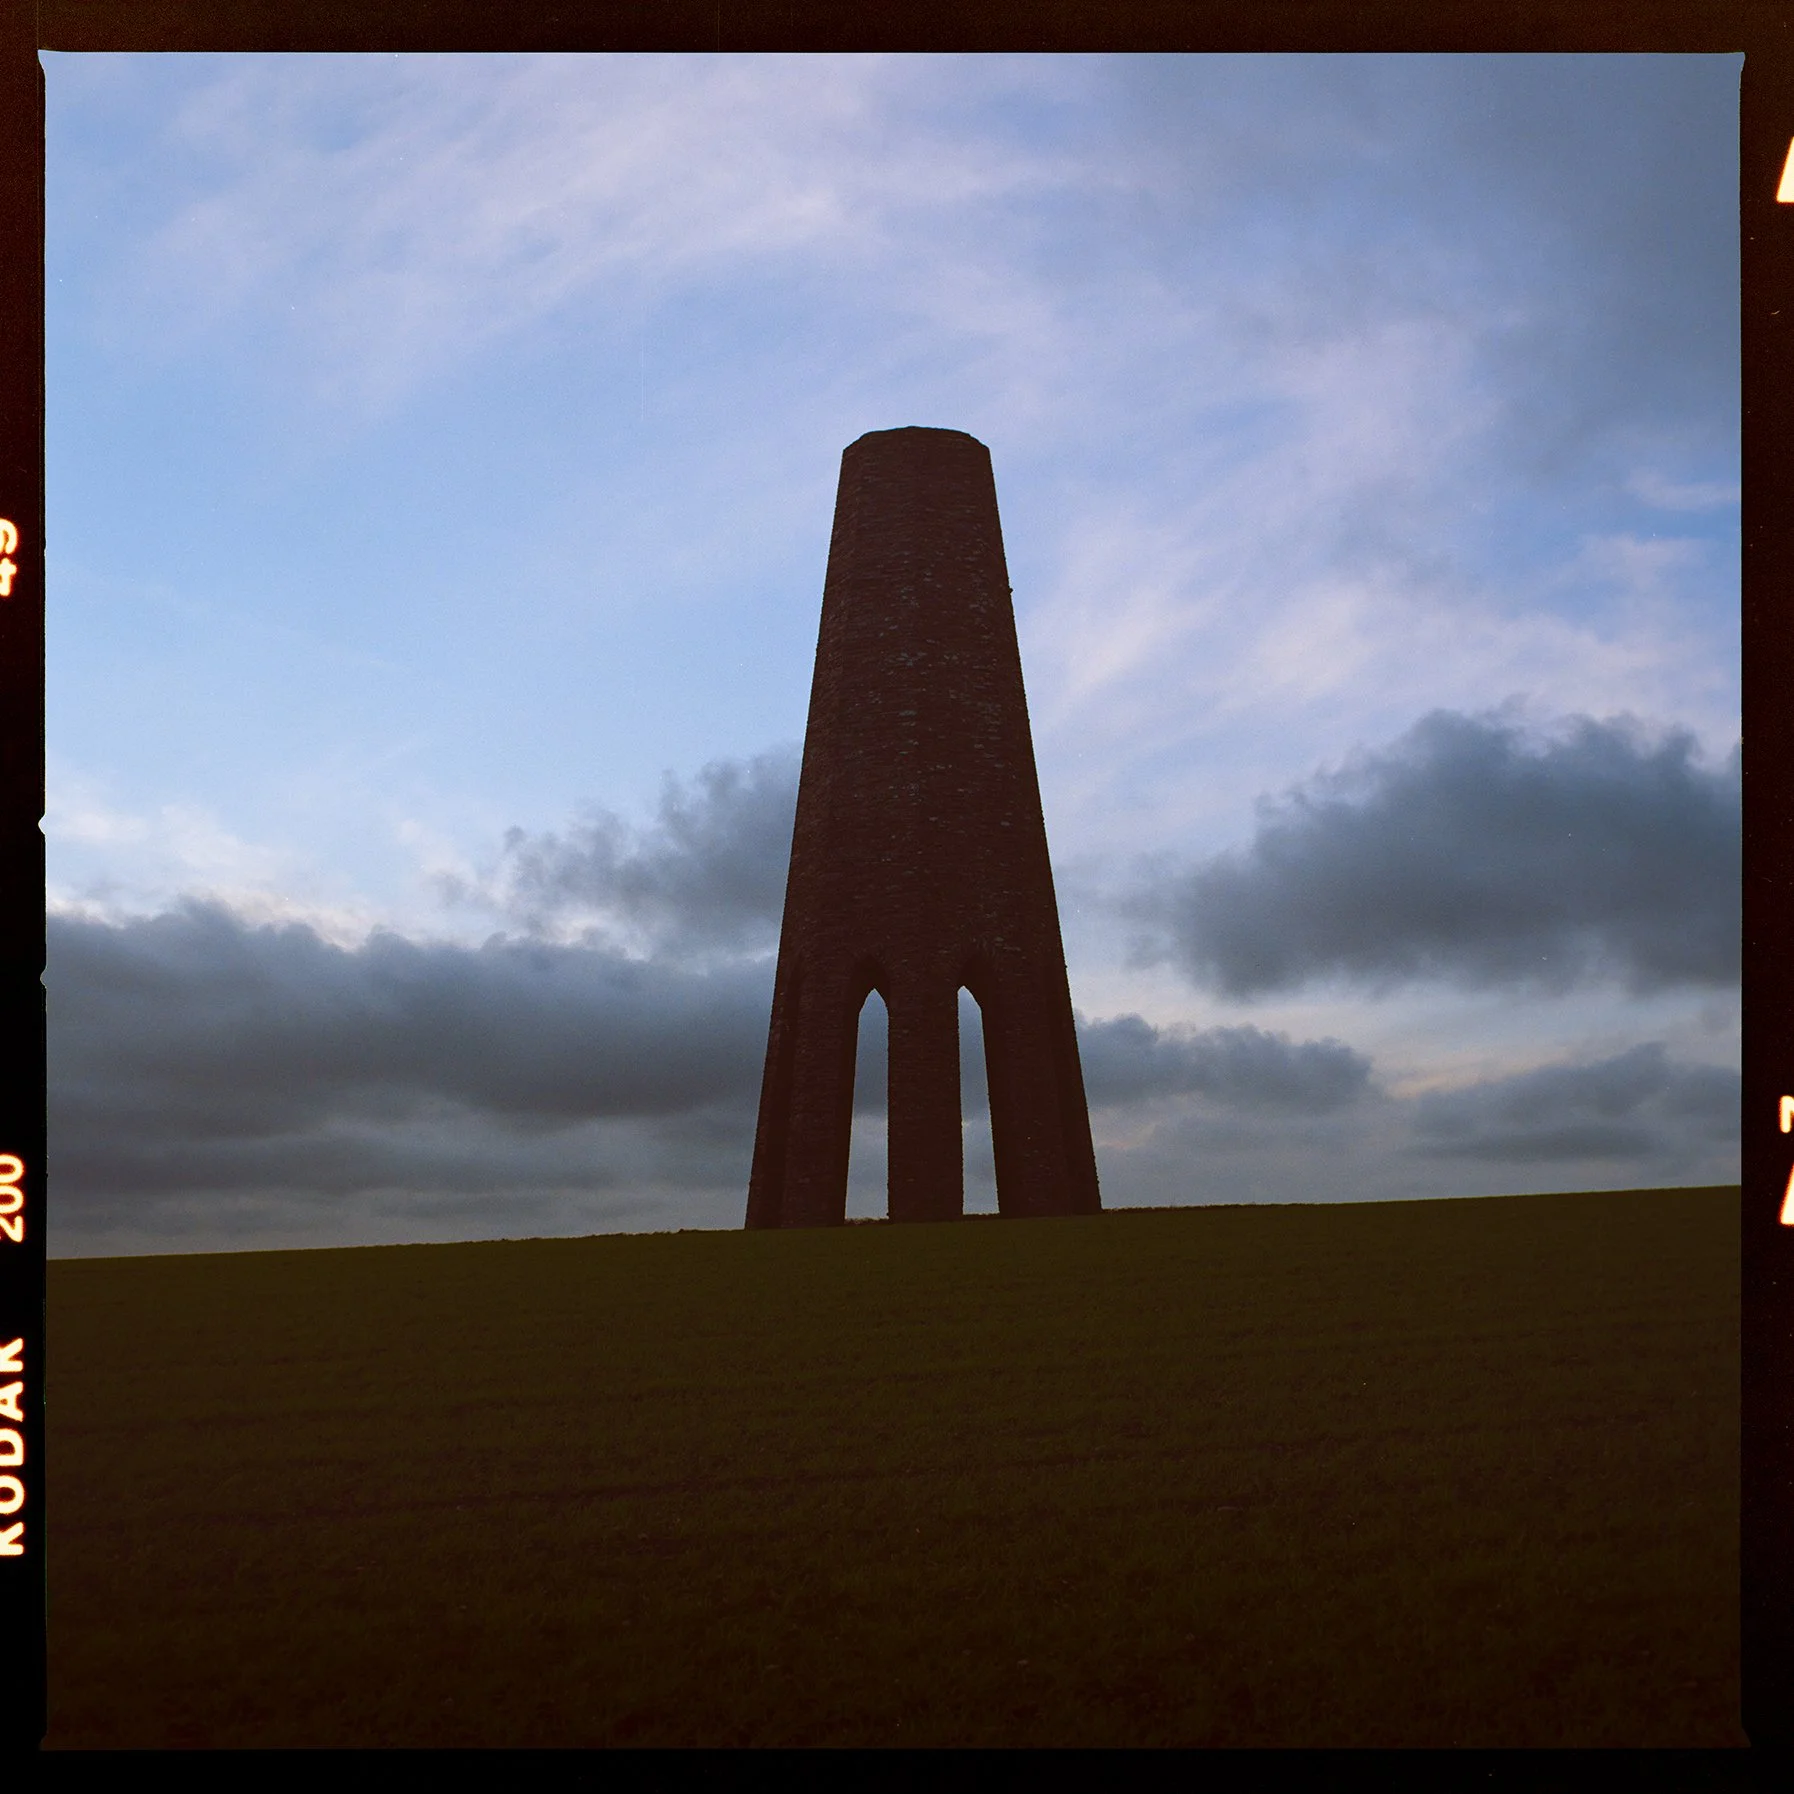
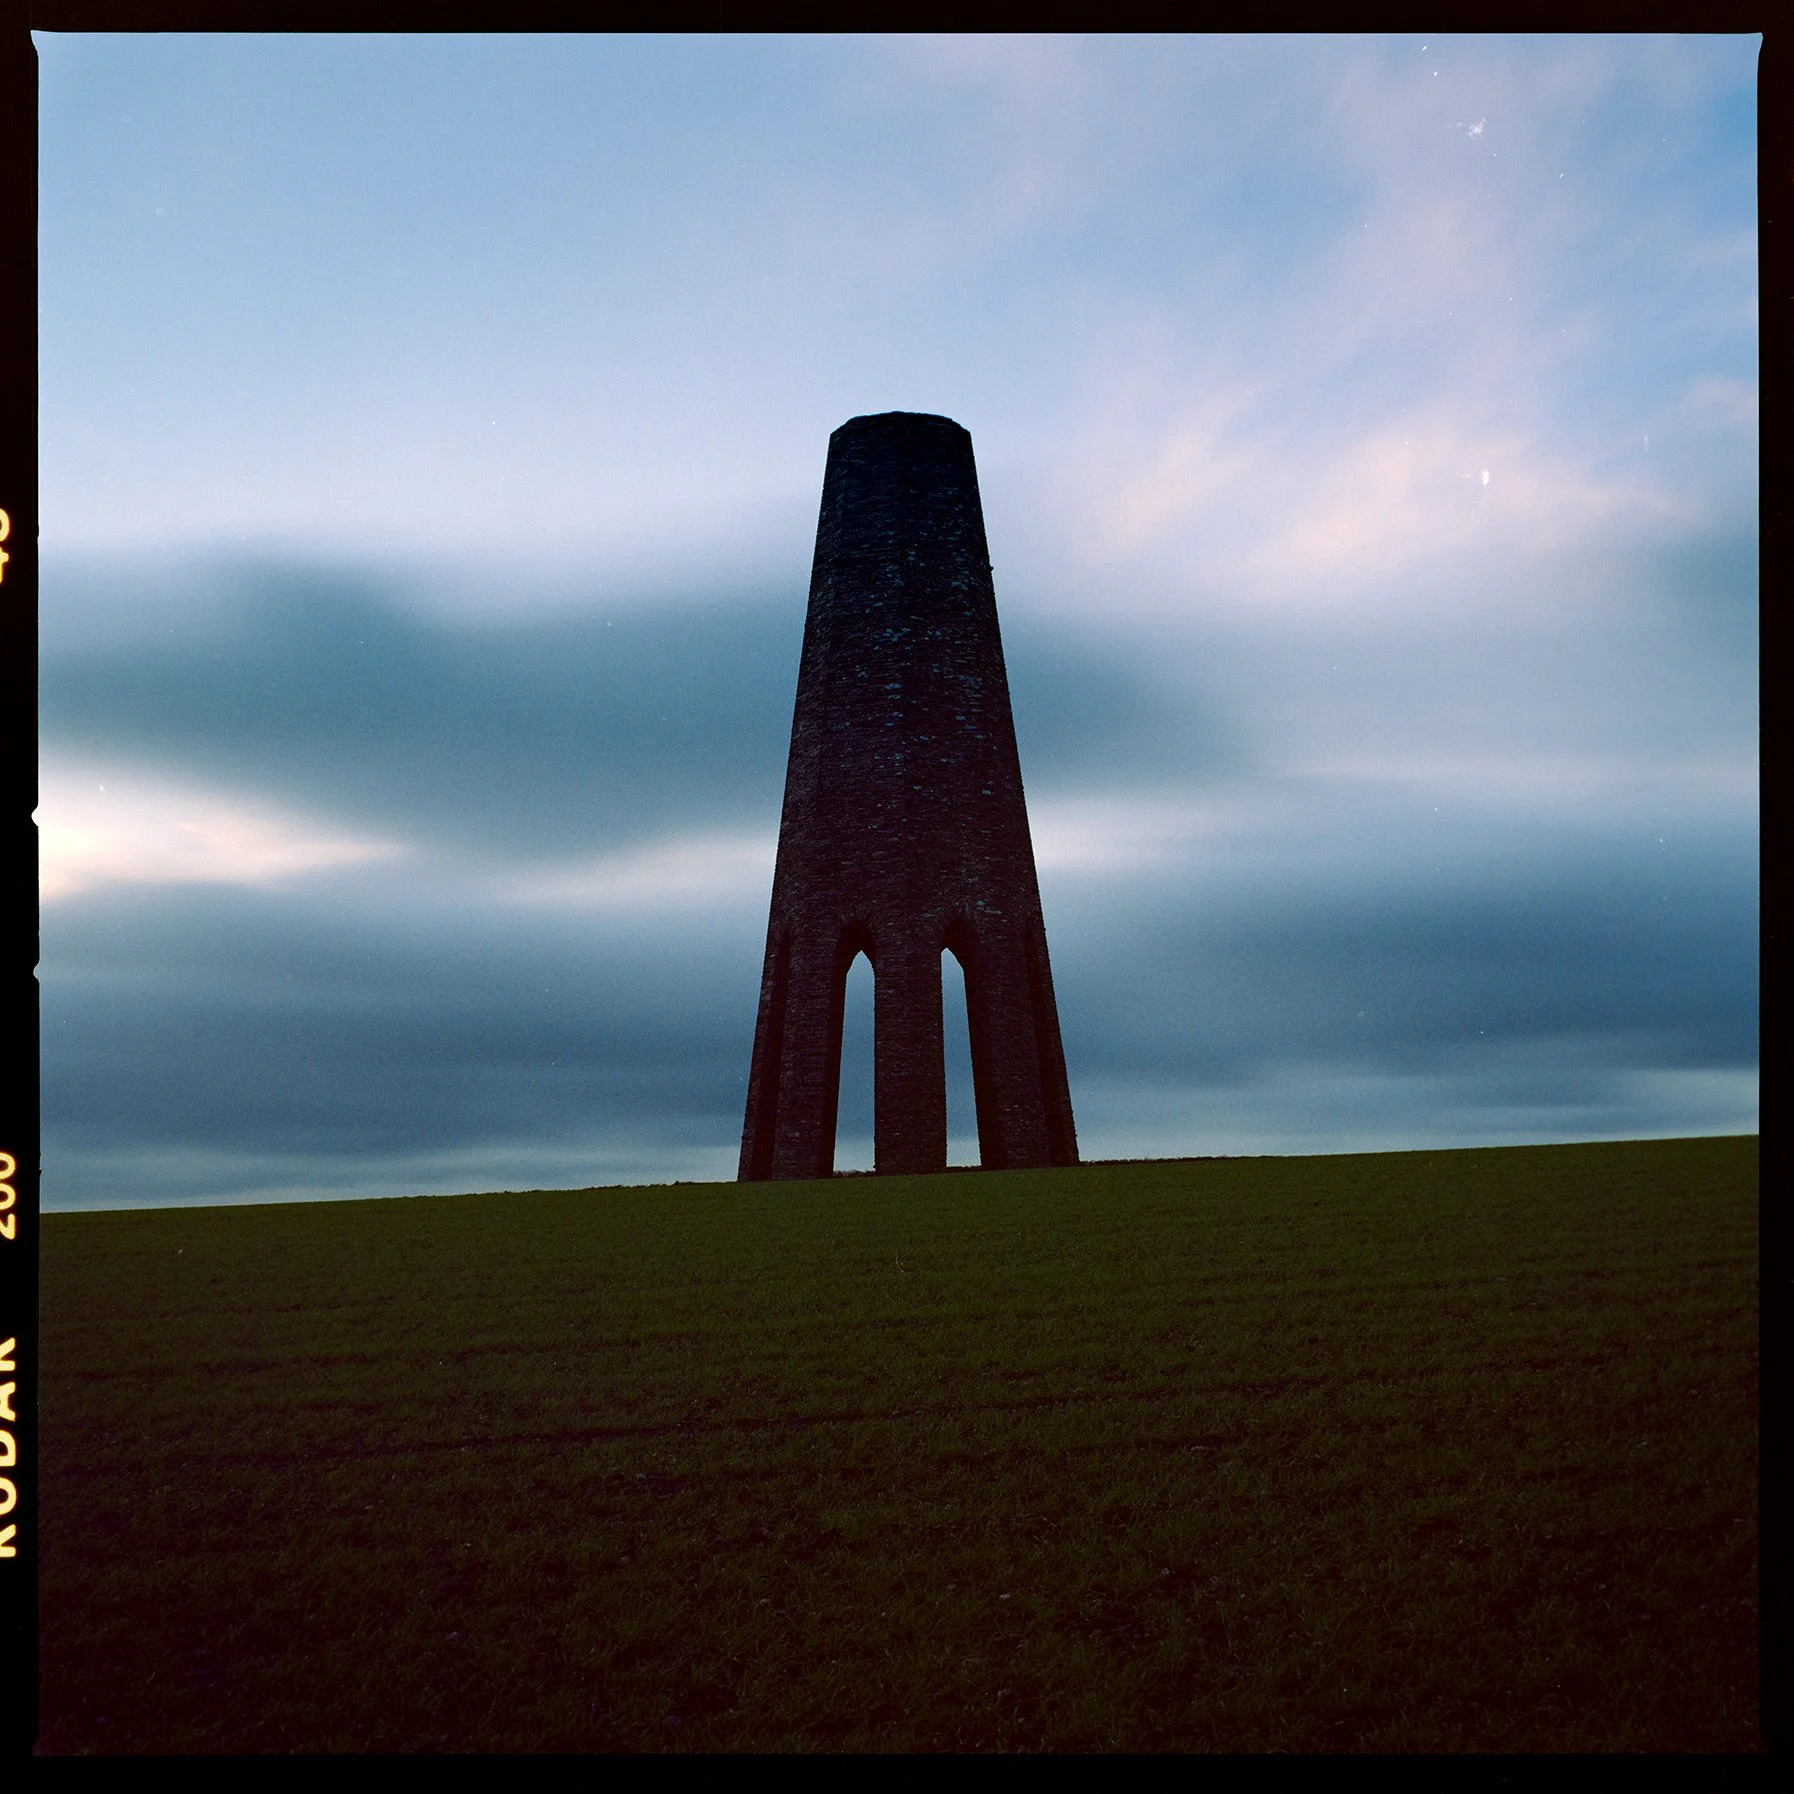
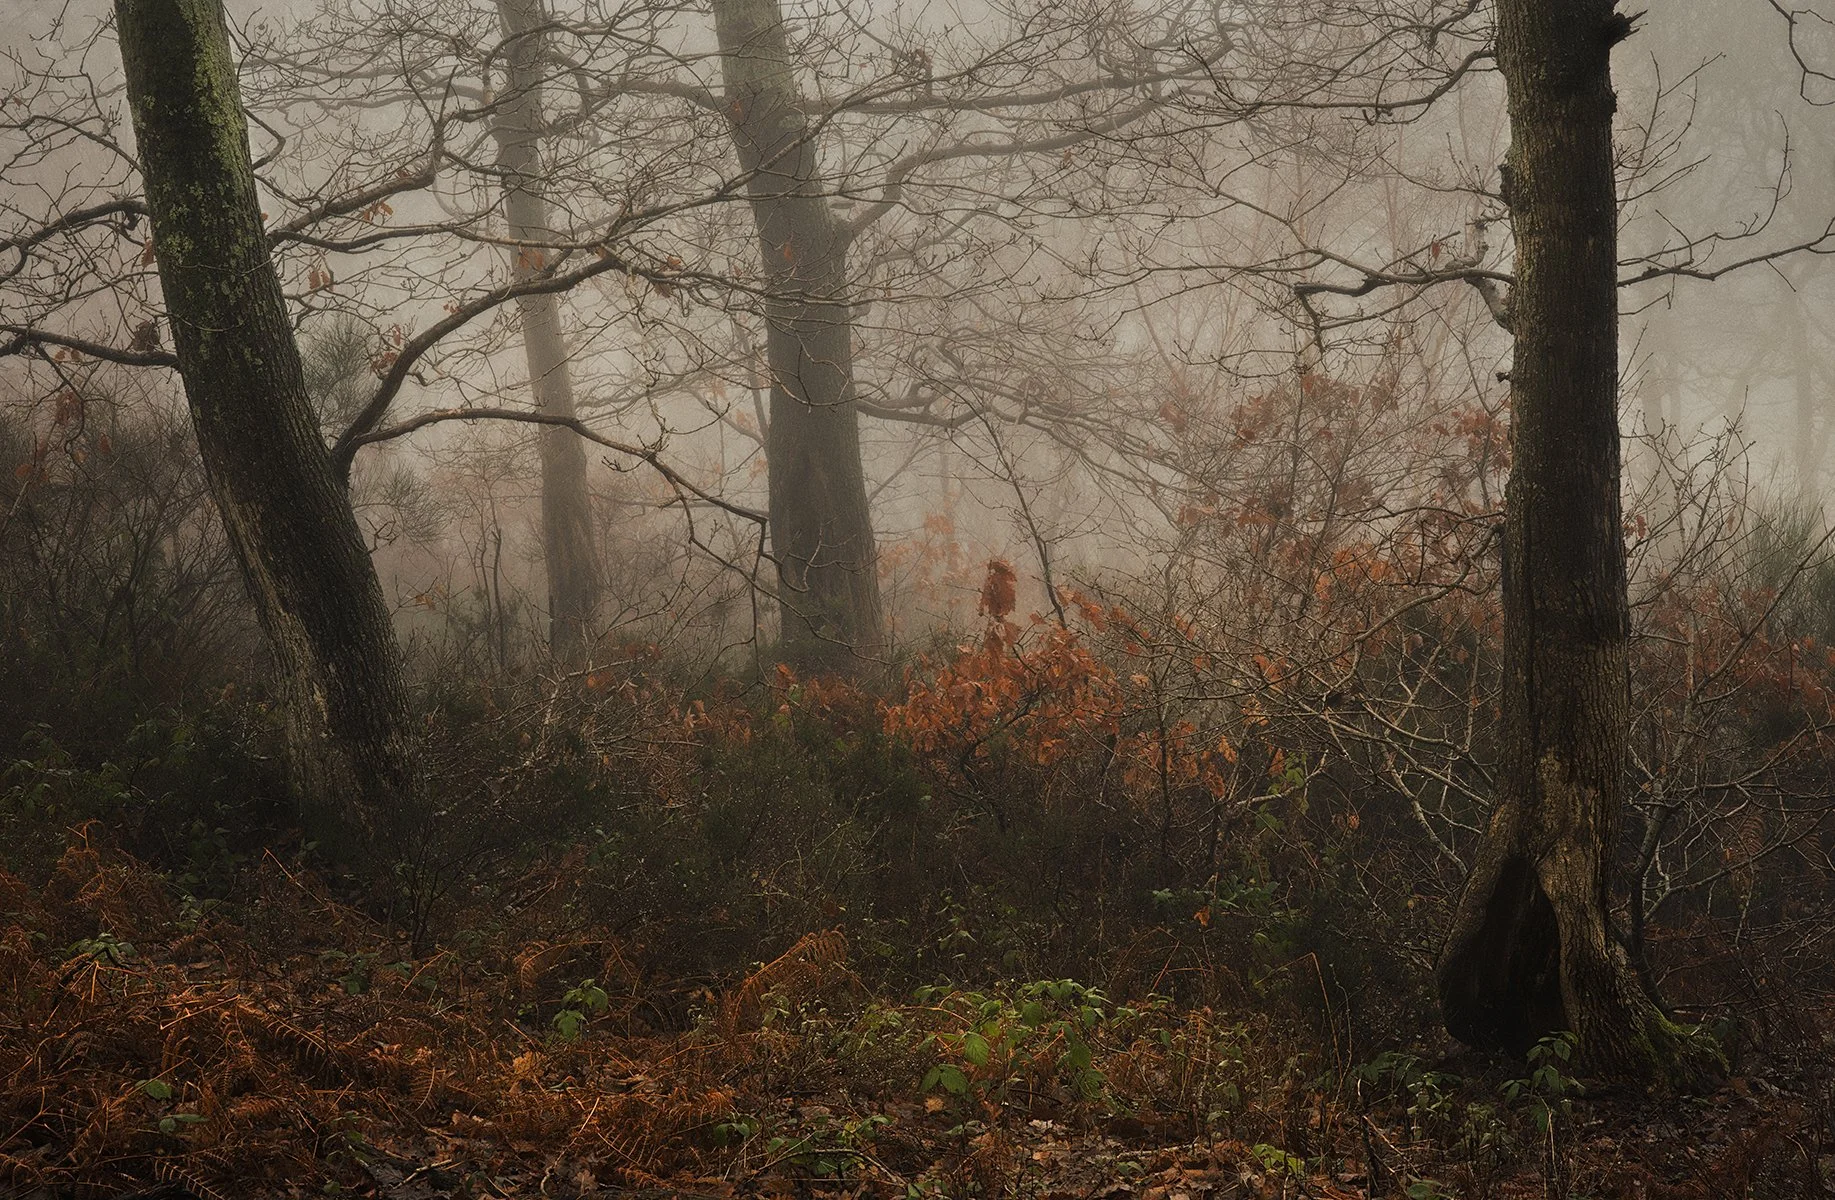
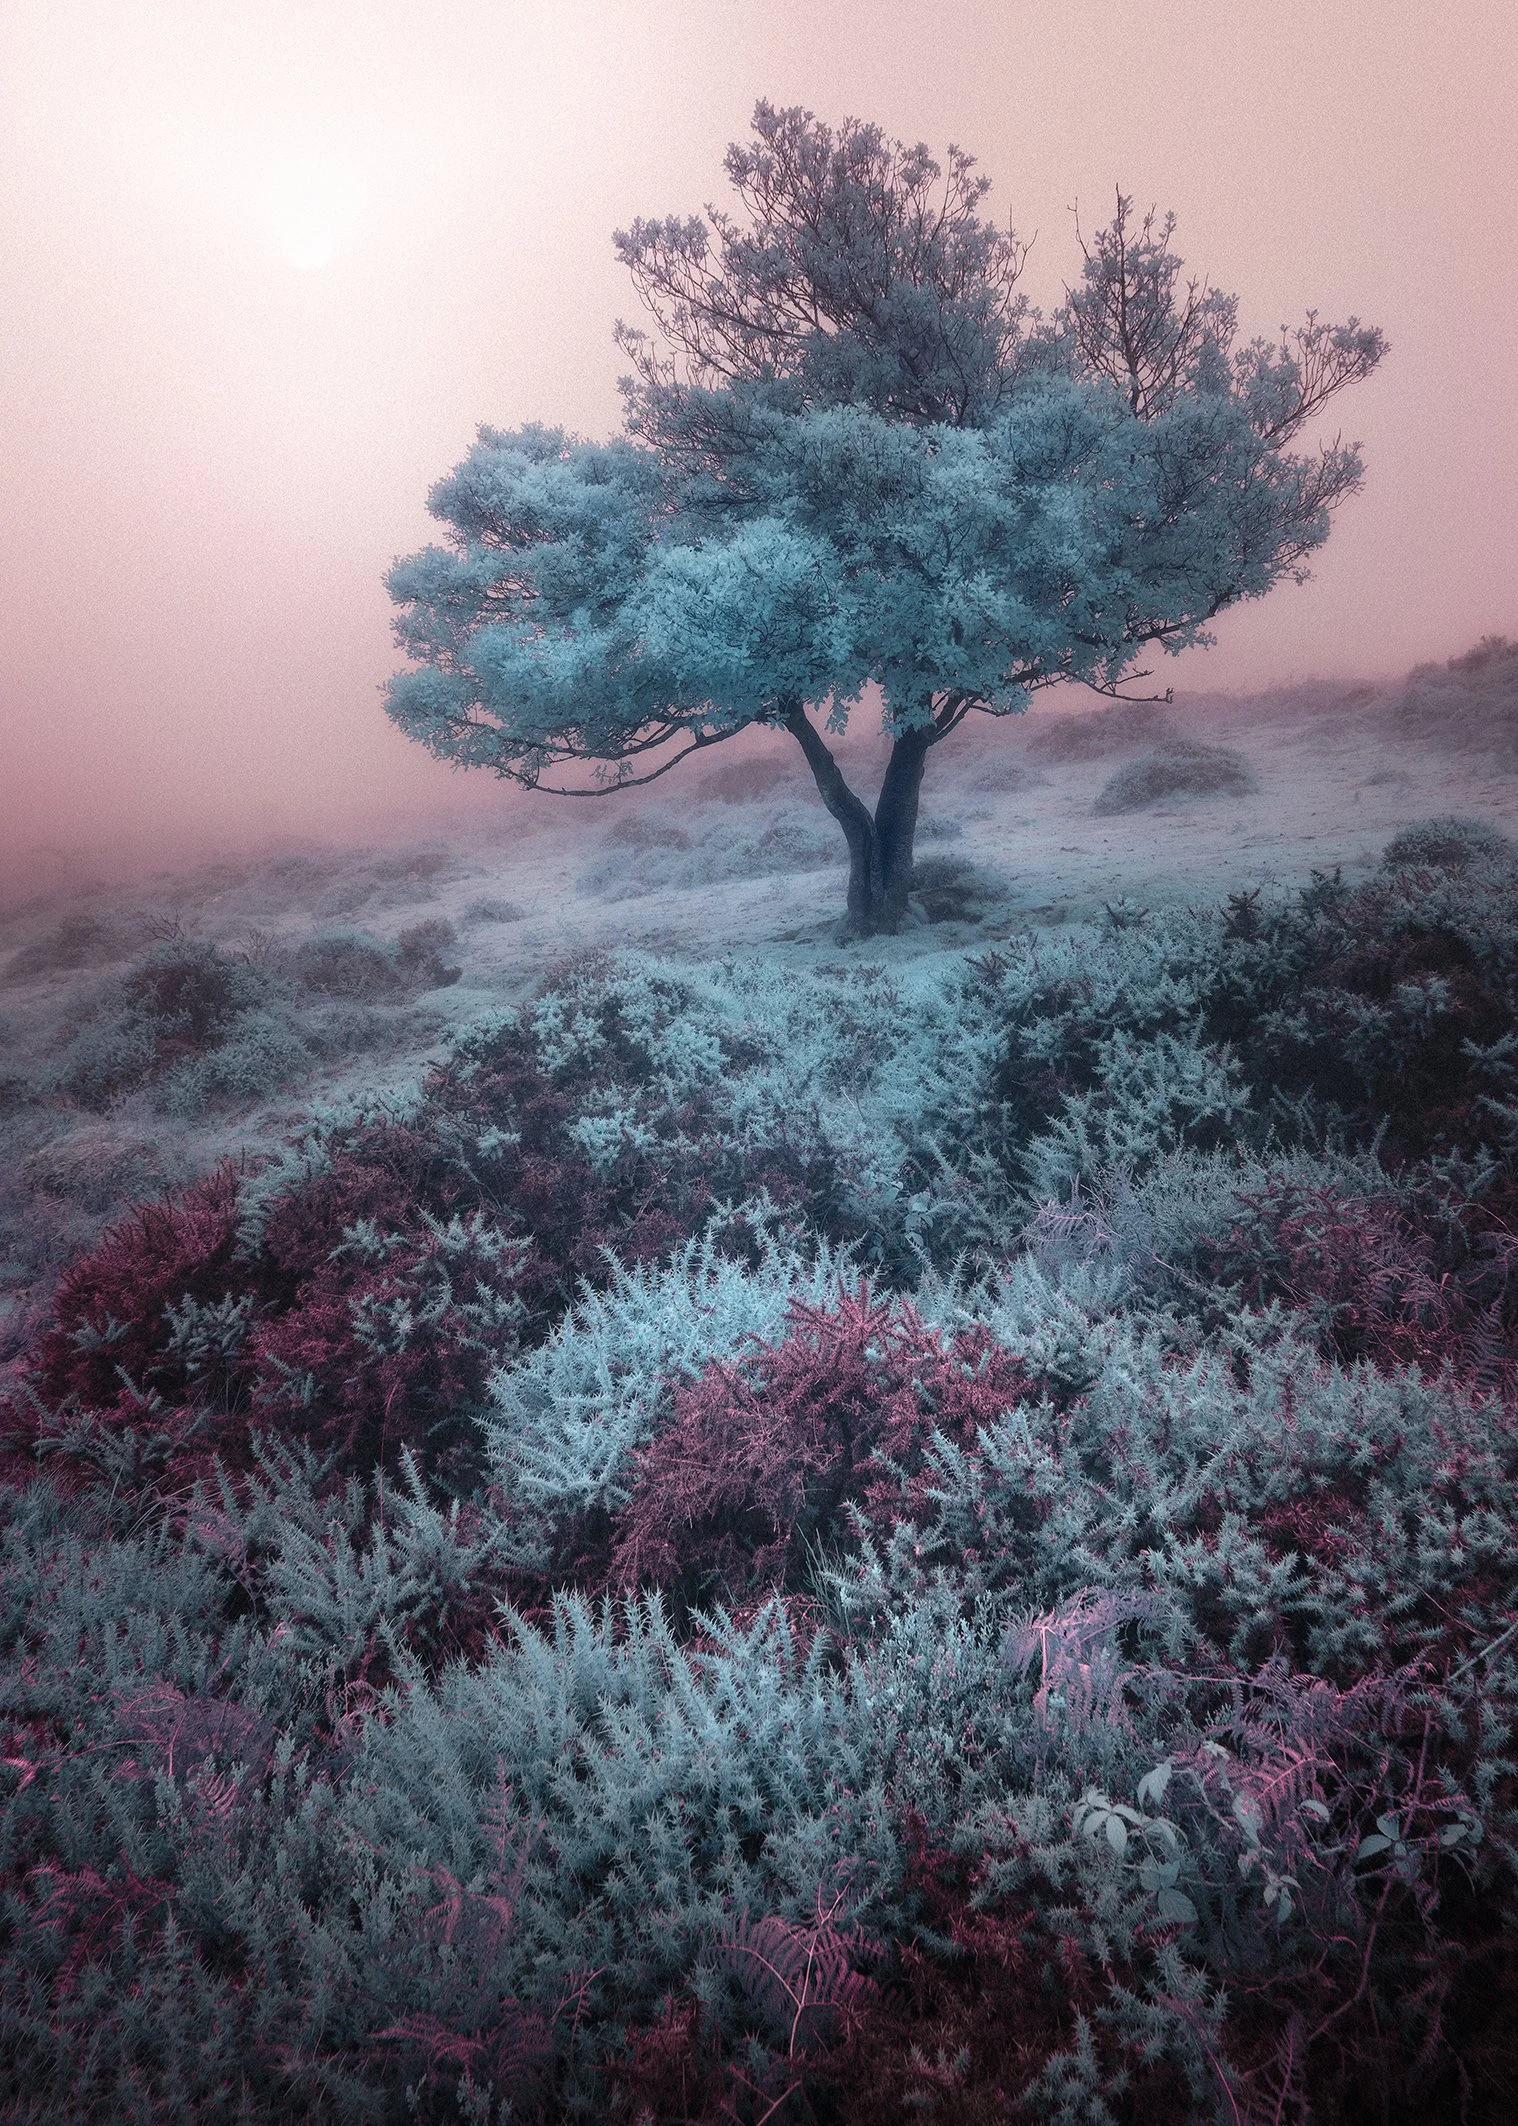
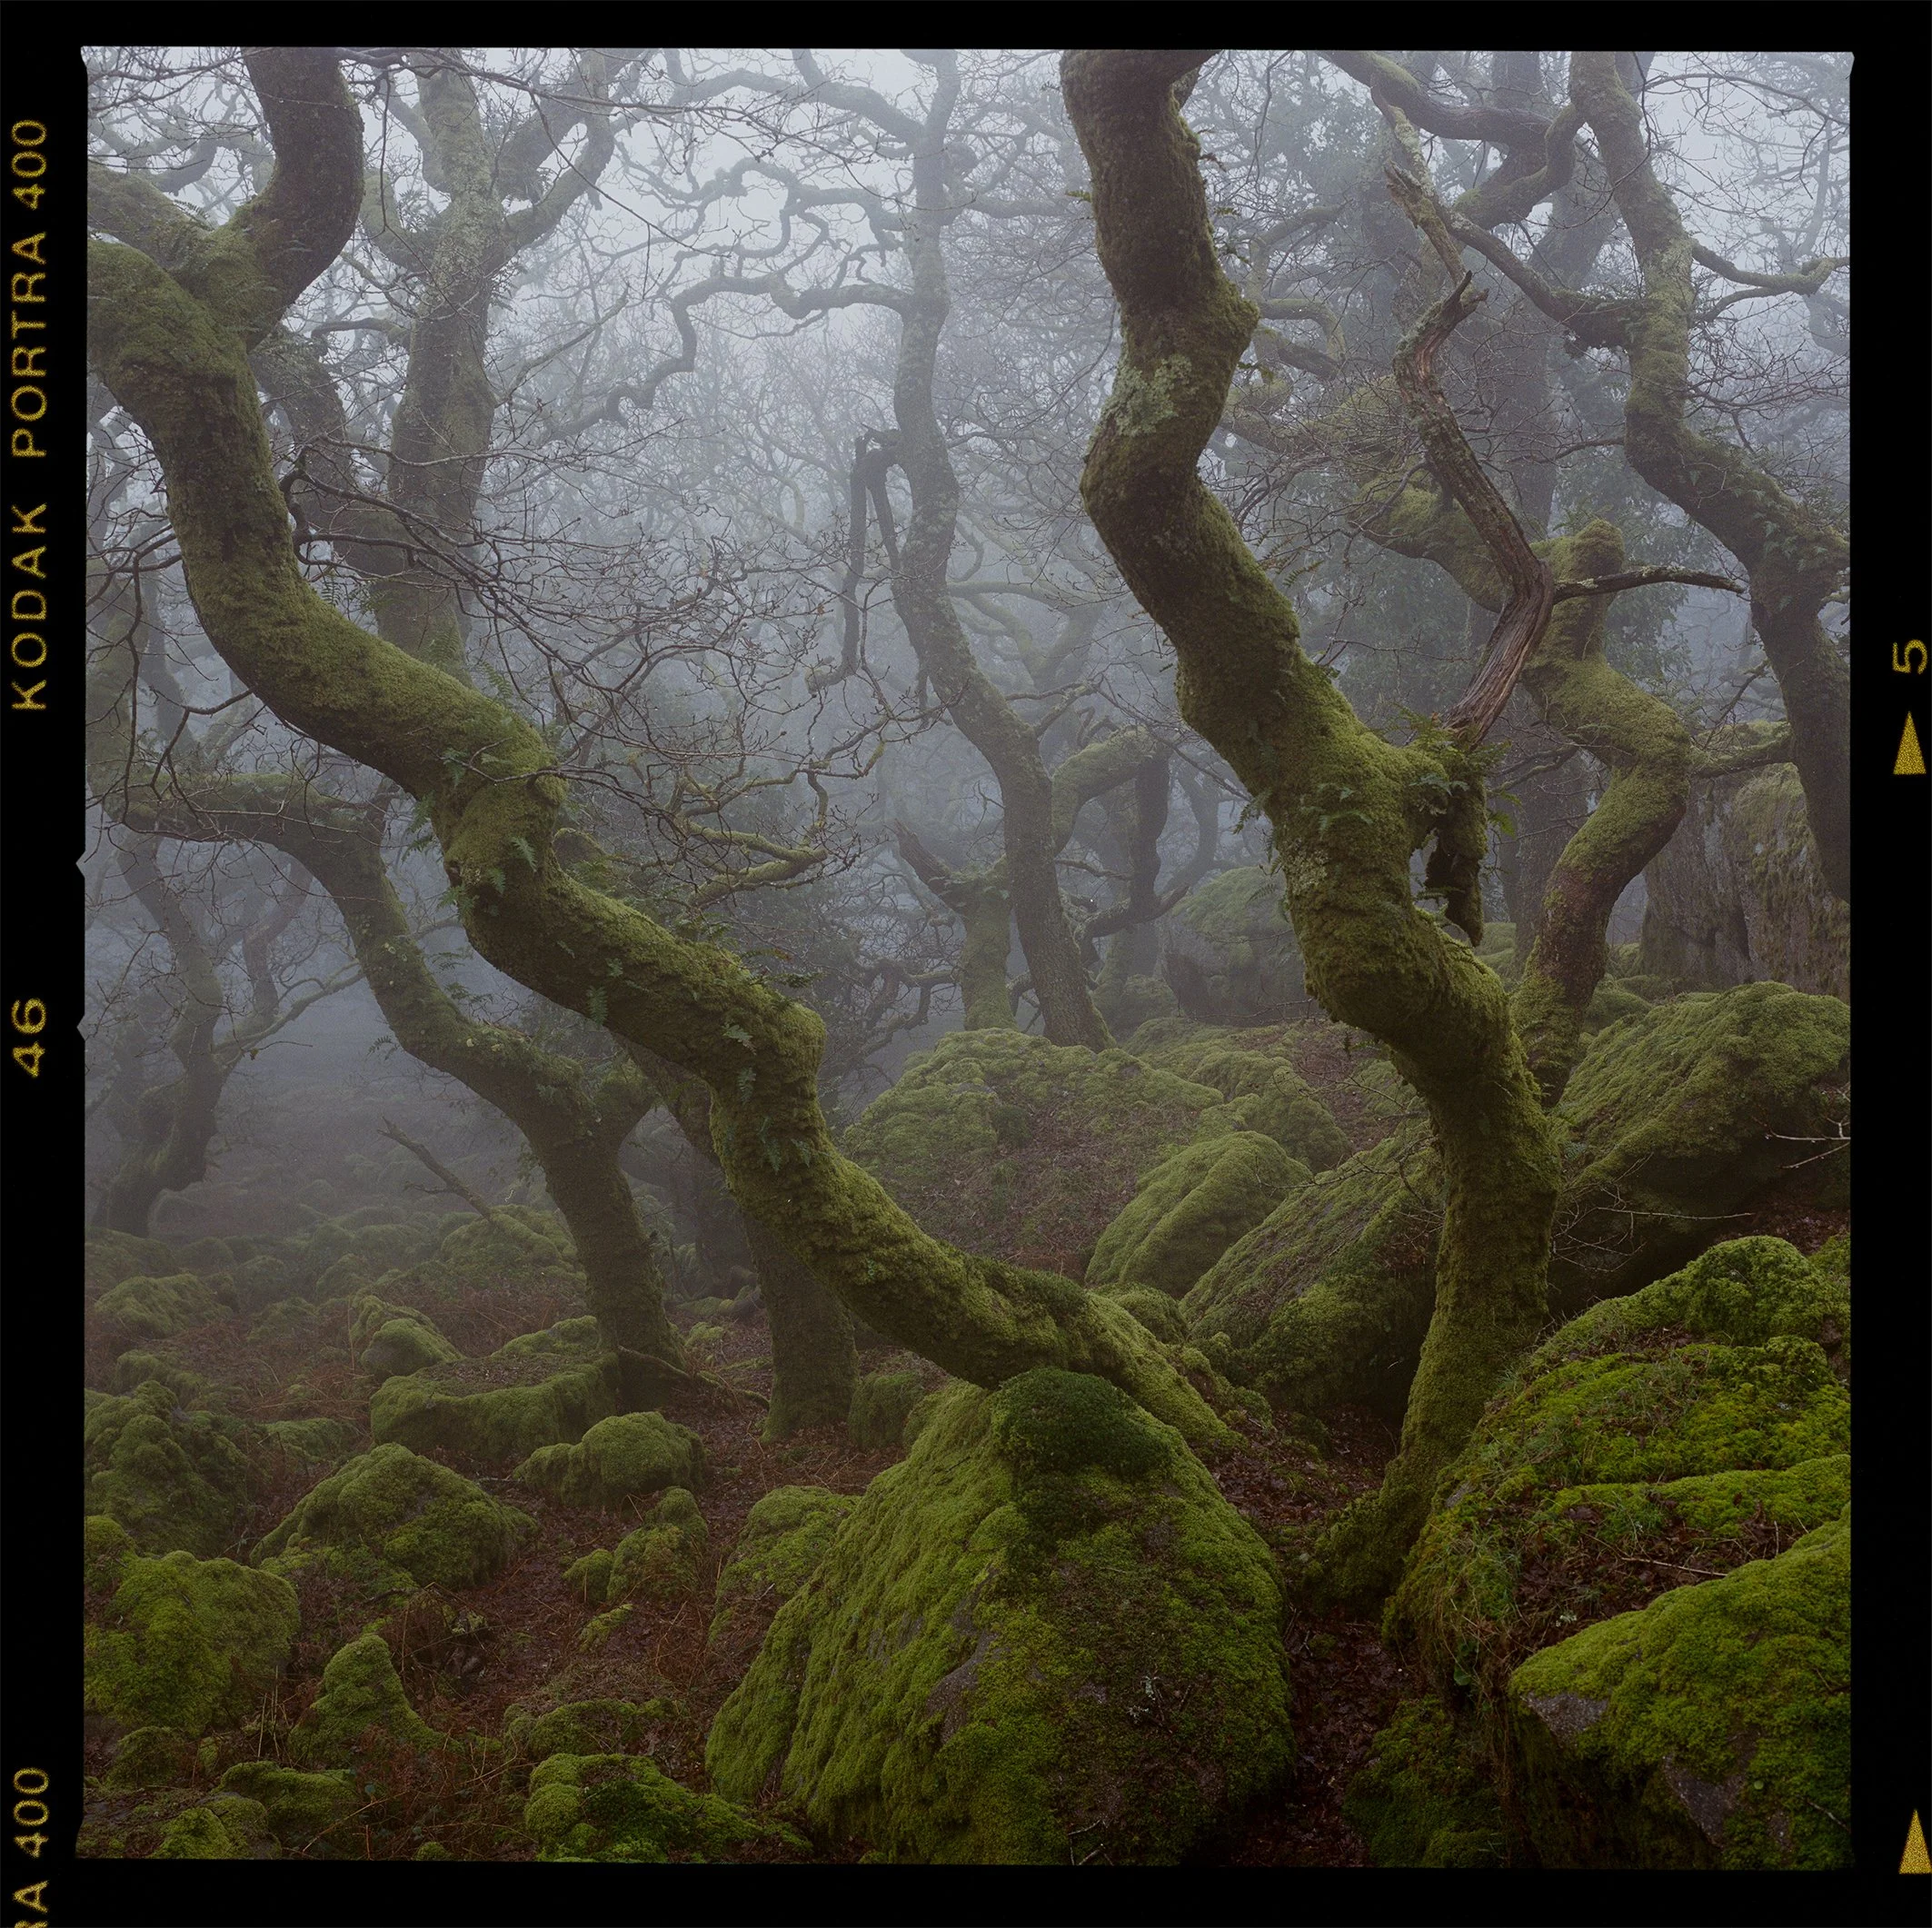
Here are some favourites from Dartmoor (again, developed at Filmprocessing.co.uk)
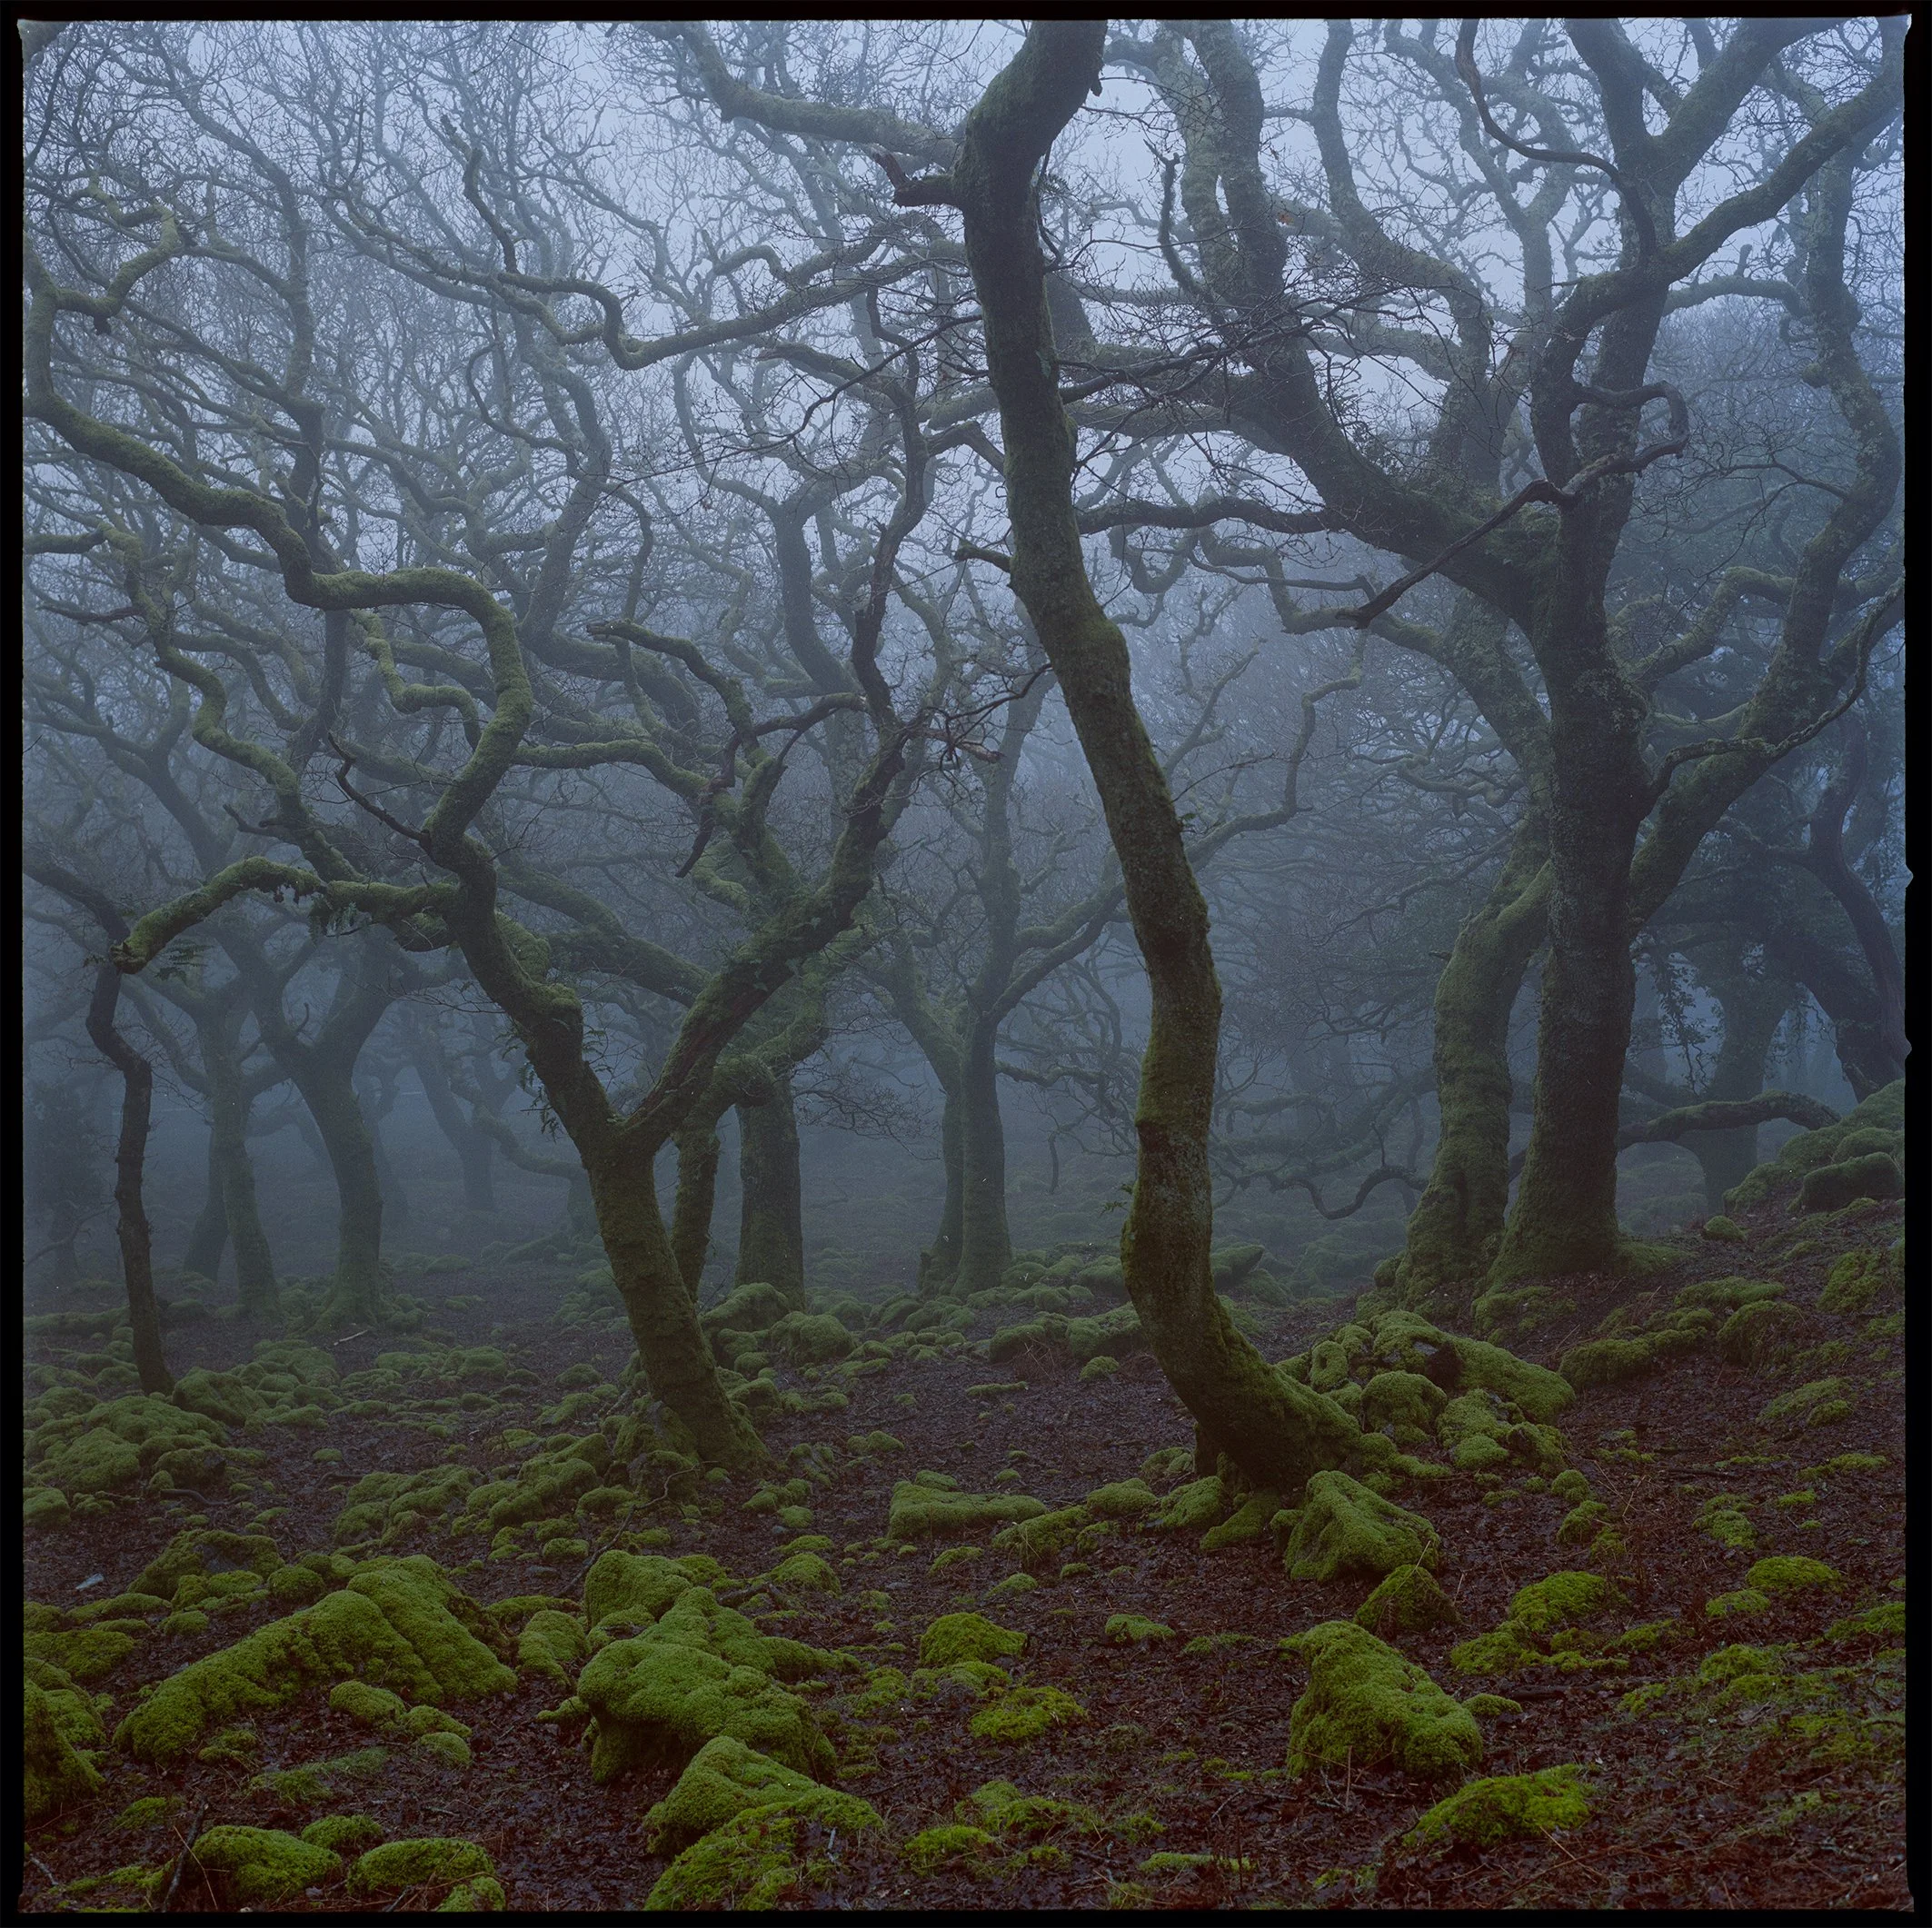
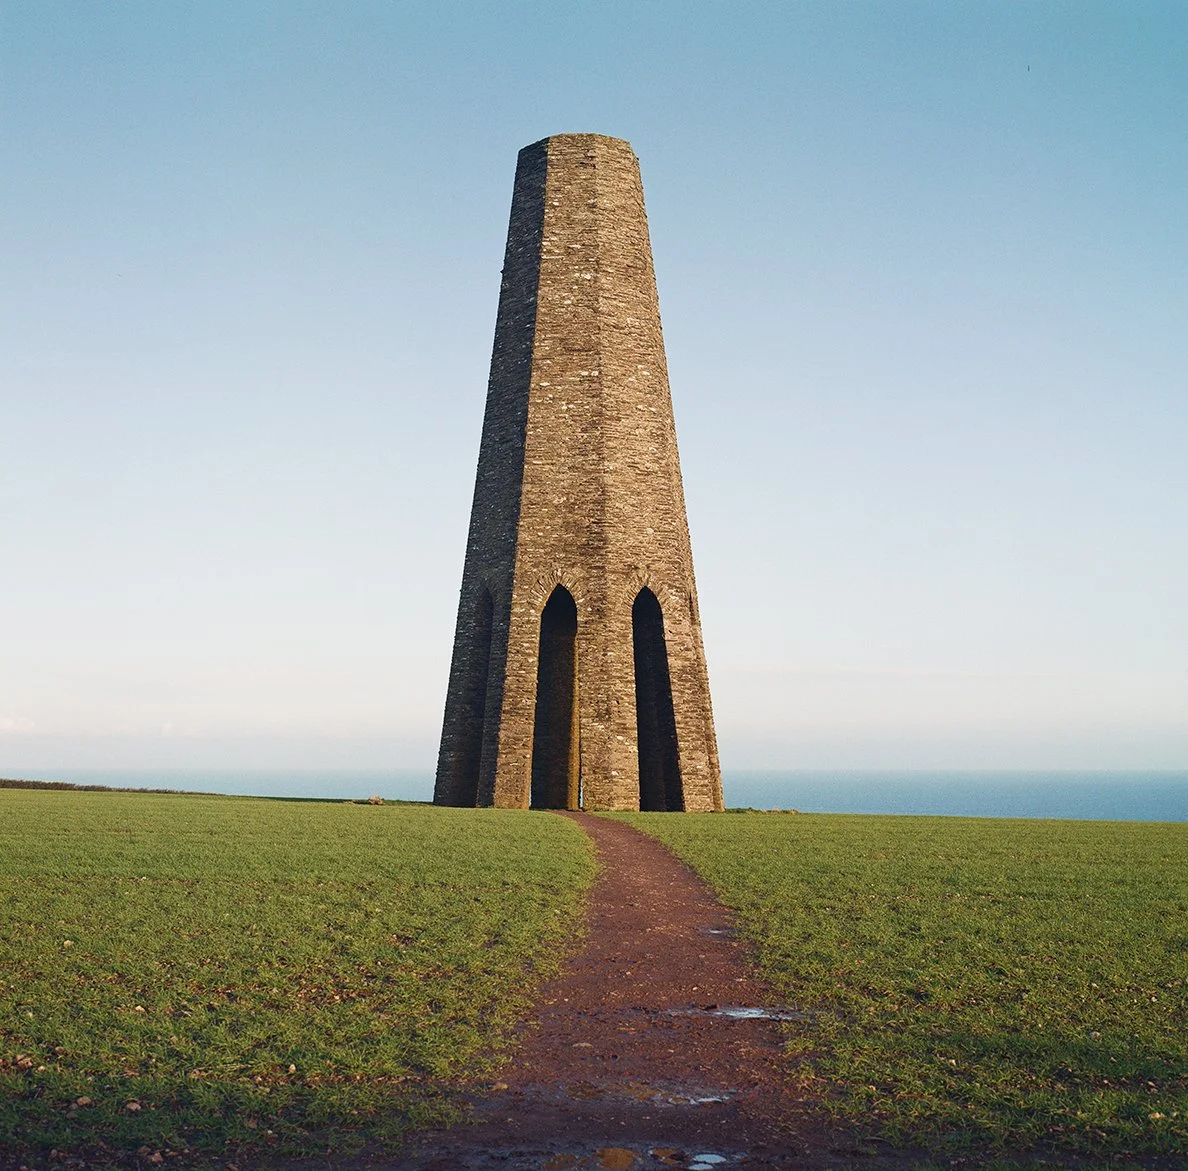
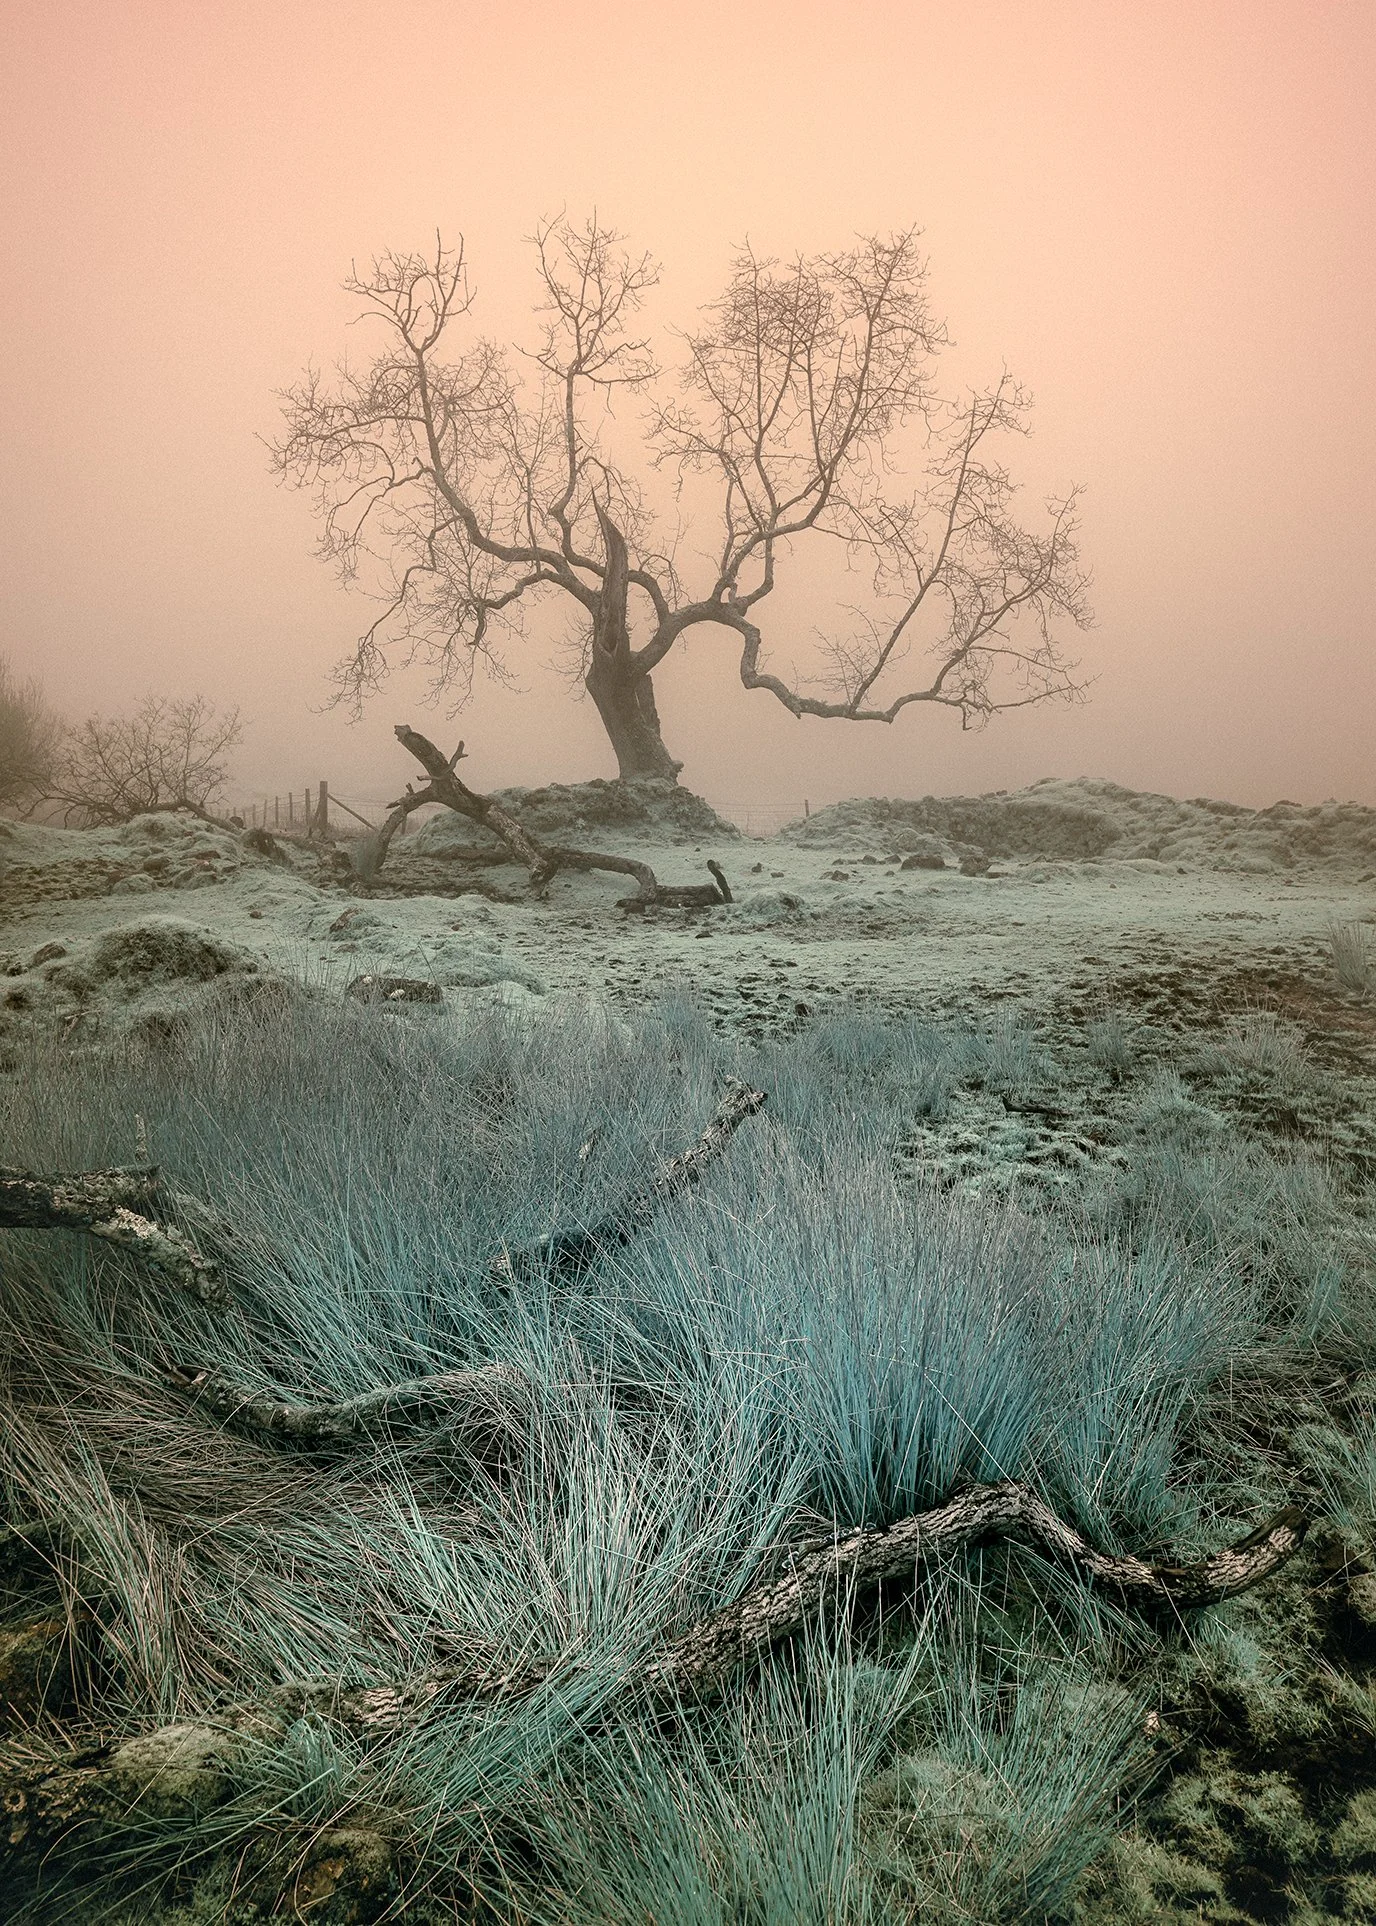
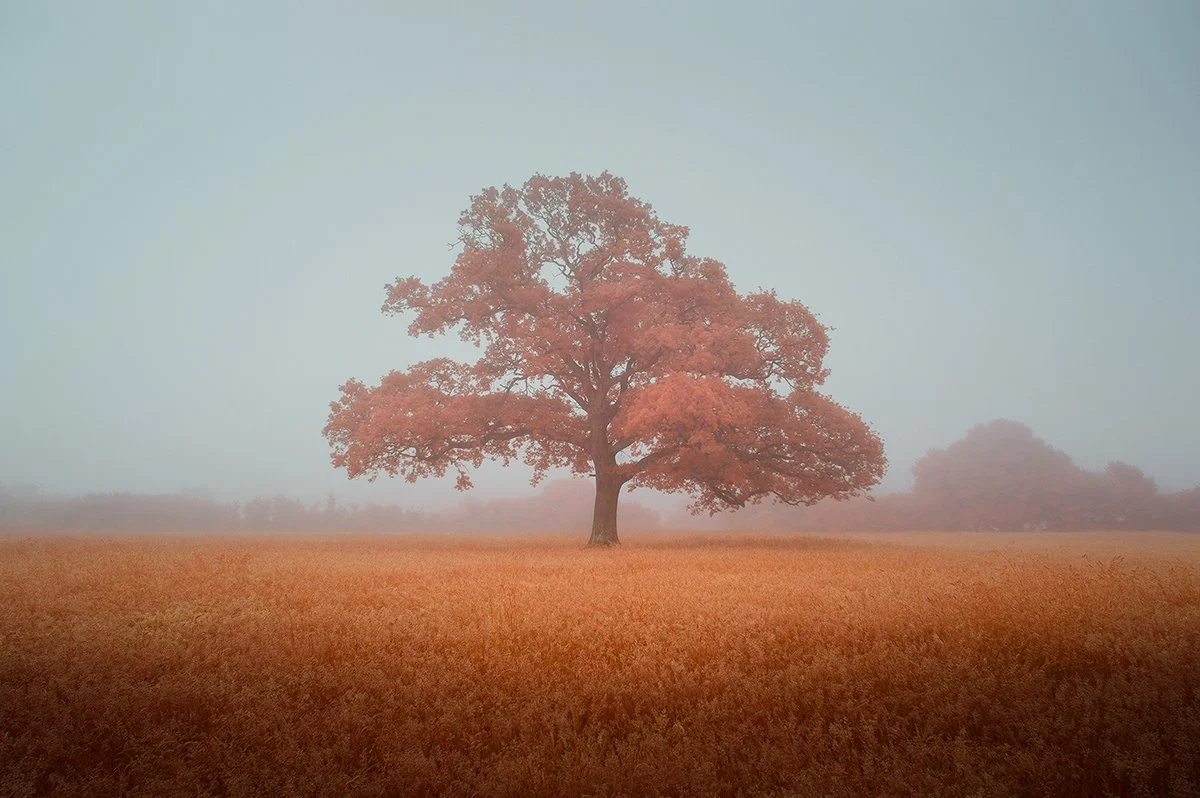
Portra 400 - (minor edit to contrast)
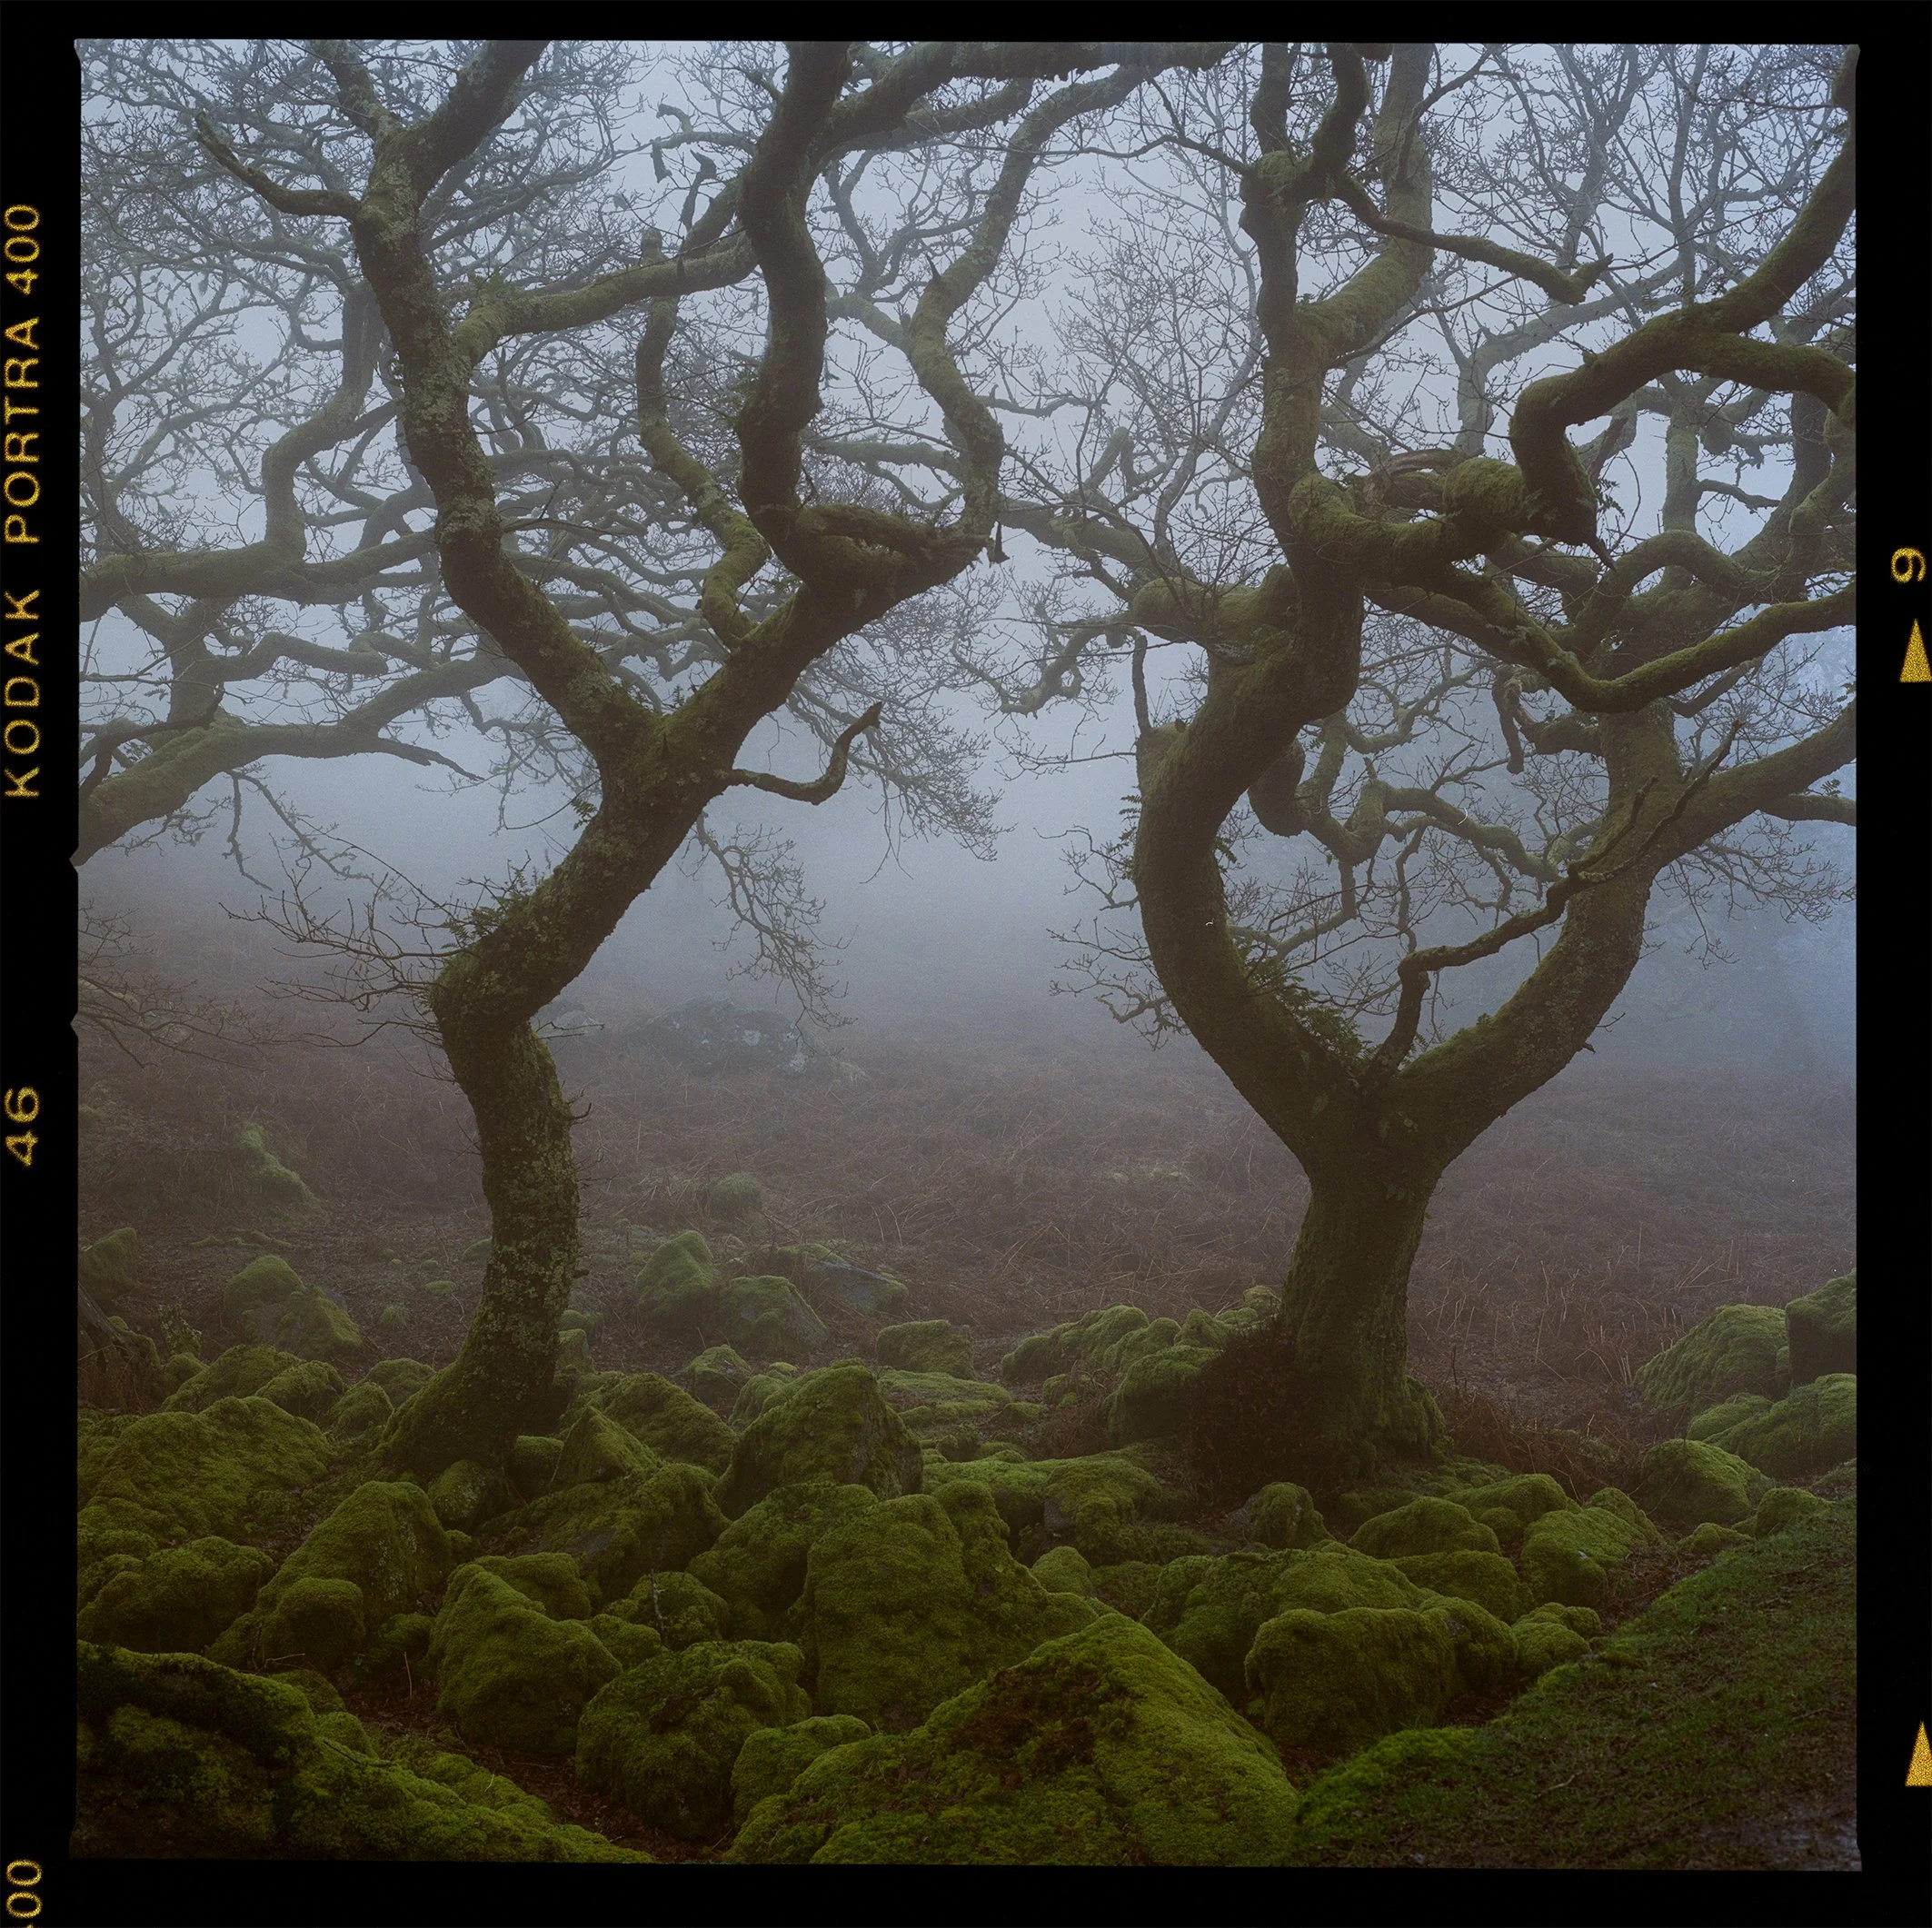
Portra 400 - (minor edit to contrast)
Portra 400 - (minor edit to contrast)
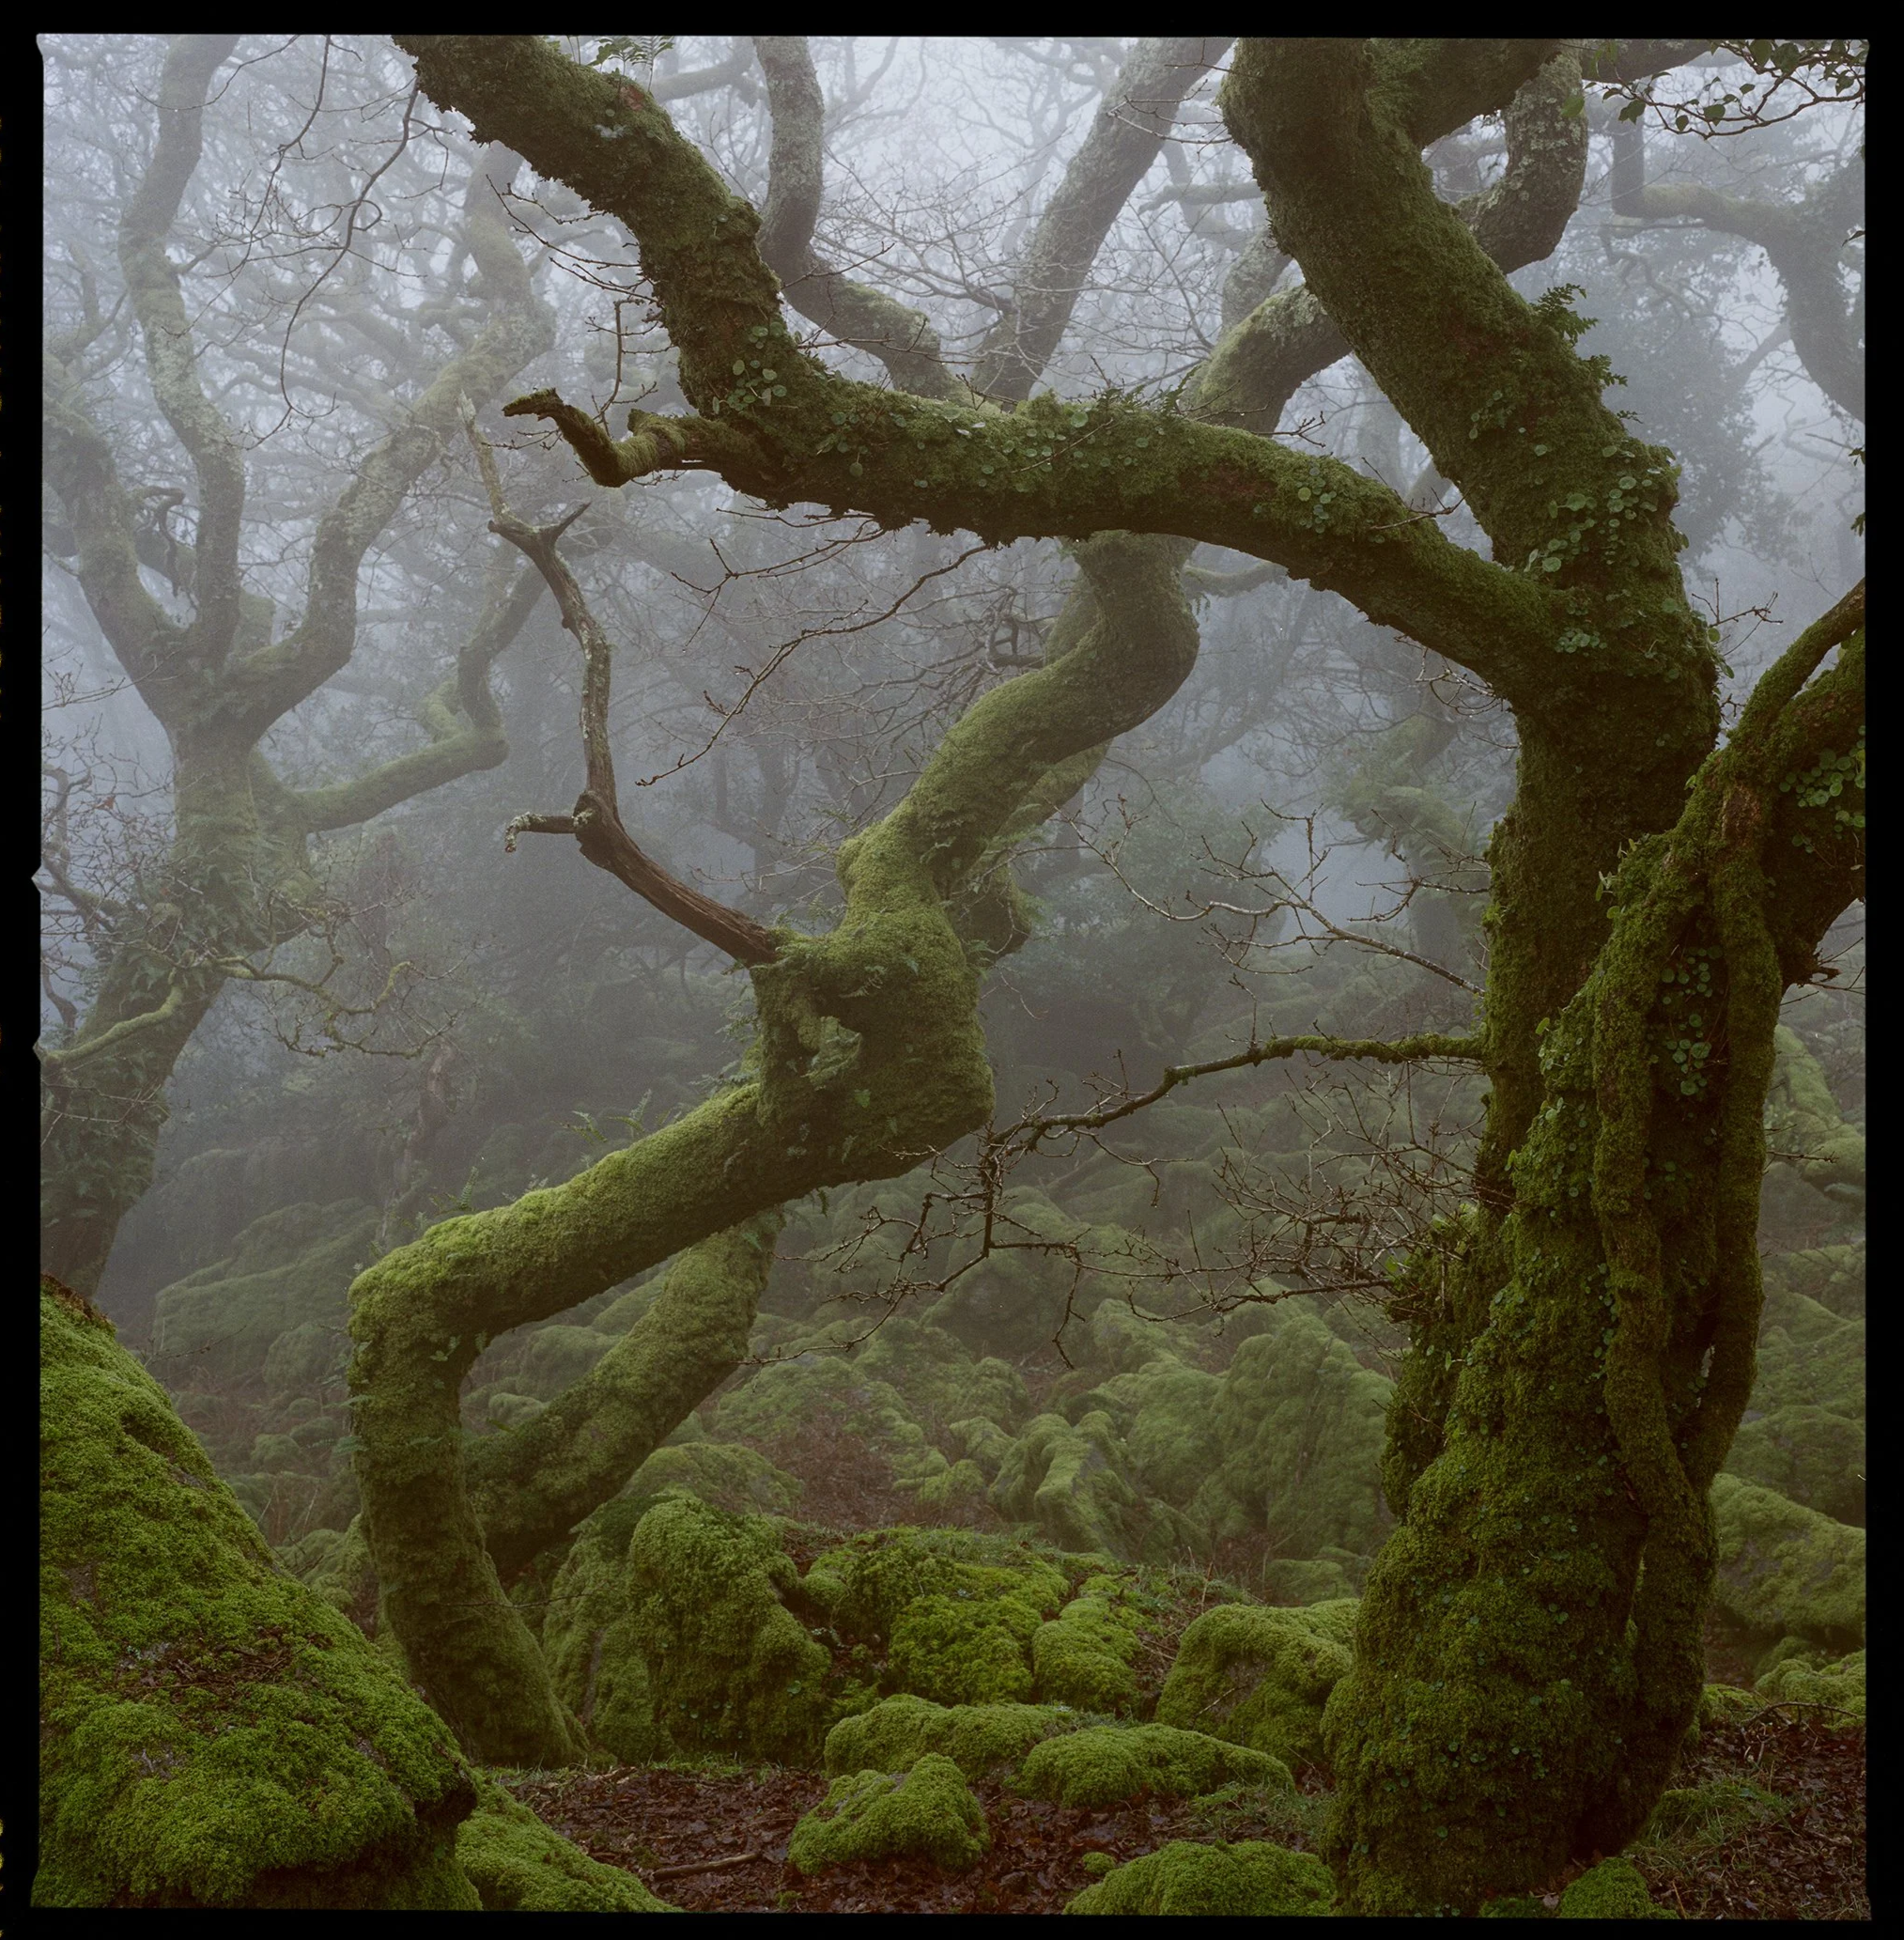
Portra 400 - (minor edit to contrast)
Going back to film really does feel like learning photography all over again. I’ve never been a fast shooter - even with digital I take my time - but these sessions showed me that what I considered “slow” is nowhere near slow enough for analogue. Every decision counts: metering, loading, composing without instant feedback, waiting for scans. Rushing leads to mistakes, and those mistakes cost film, time, and sometimes good opportunities.
The silver lining is that the lessons stick. Slow down, think through each frame, trust the process, and accept that not every roll will be a winner. That’s part of the magic - the anticipation, the surprises (good and bad), and the growth.
Huge thanks again to the team at Film Processing for developing and scanning these rolls so quickly and with such care. Their consistent quality and friendly service make experimenting with film much less daunting, especially when you’re sending off precious medium-format negatives. Check out their film processing services if you’re in the UK and thinking about trying (or returning to) film - they’re local to the South West but handle postal orders nationwide, with competitive prices and great results.
Thanks also to everyone following along and sending encouragement - it means a lot during these early, experimental stages.
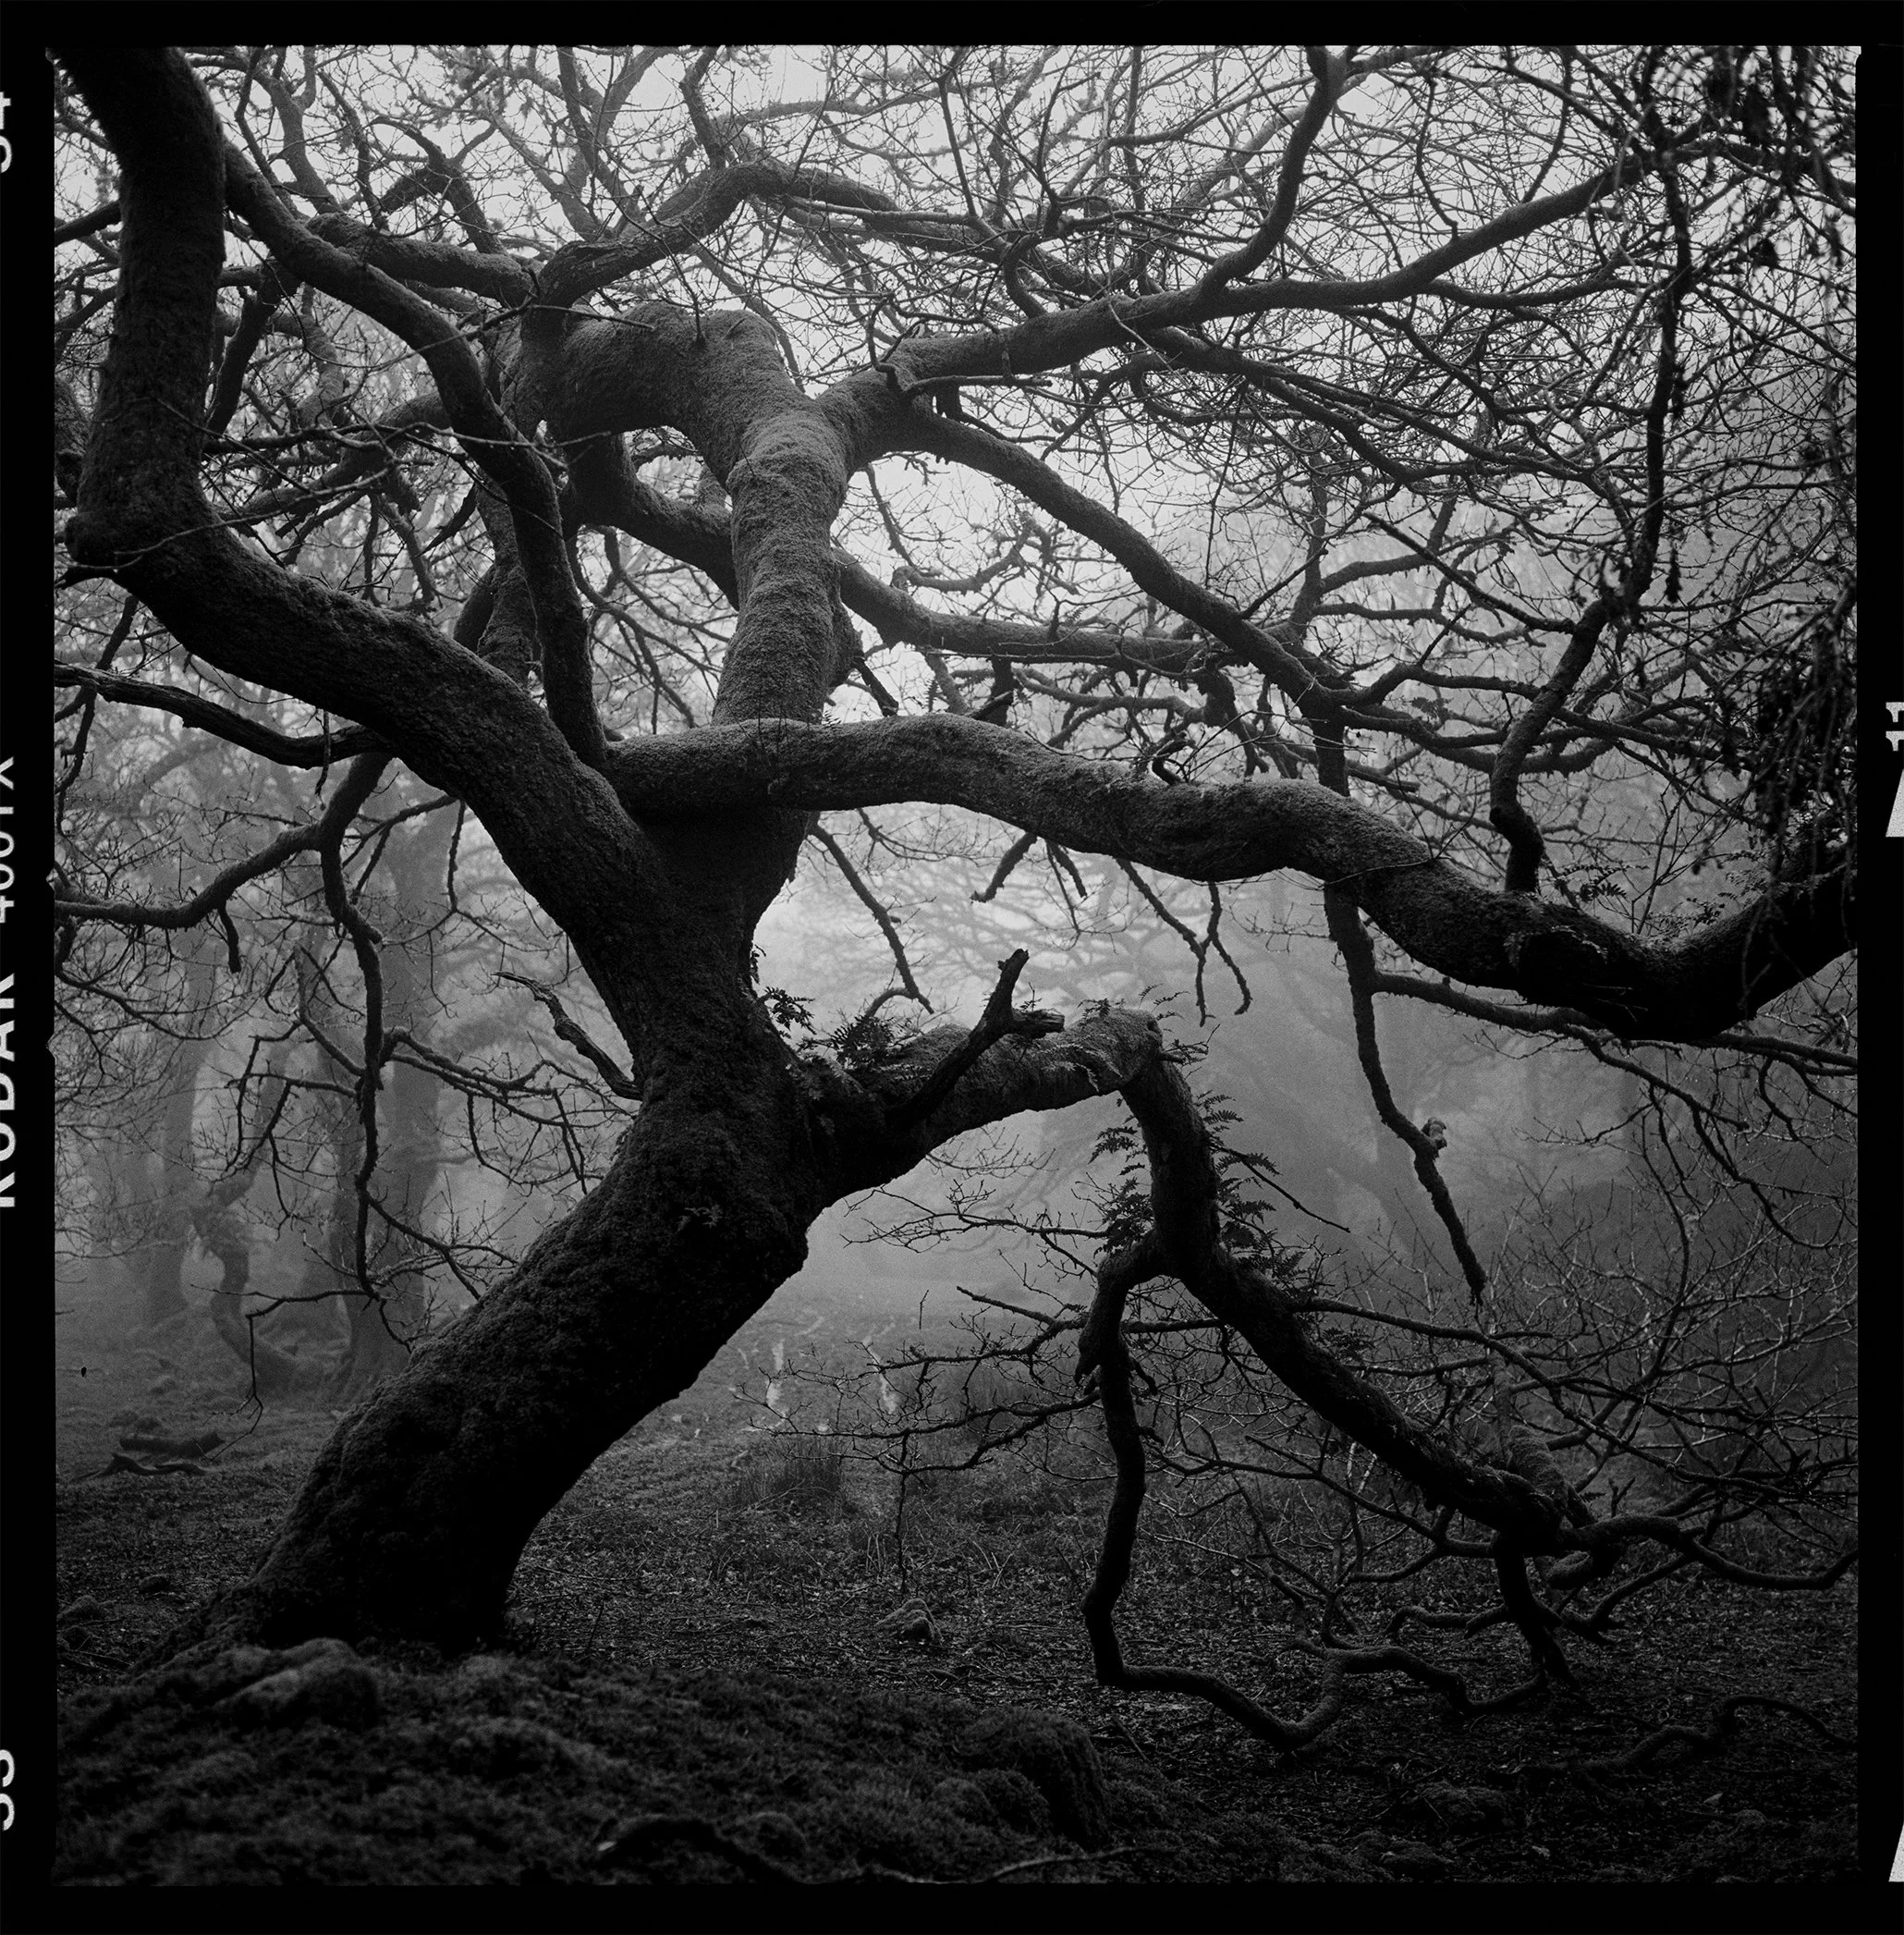
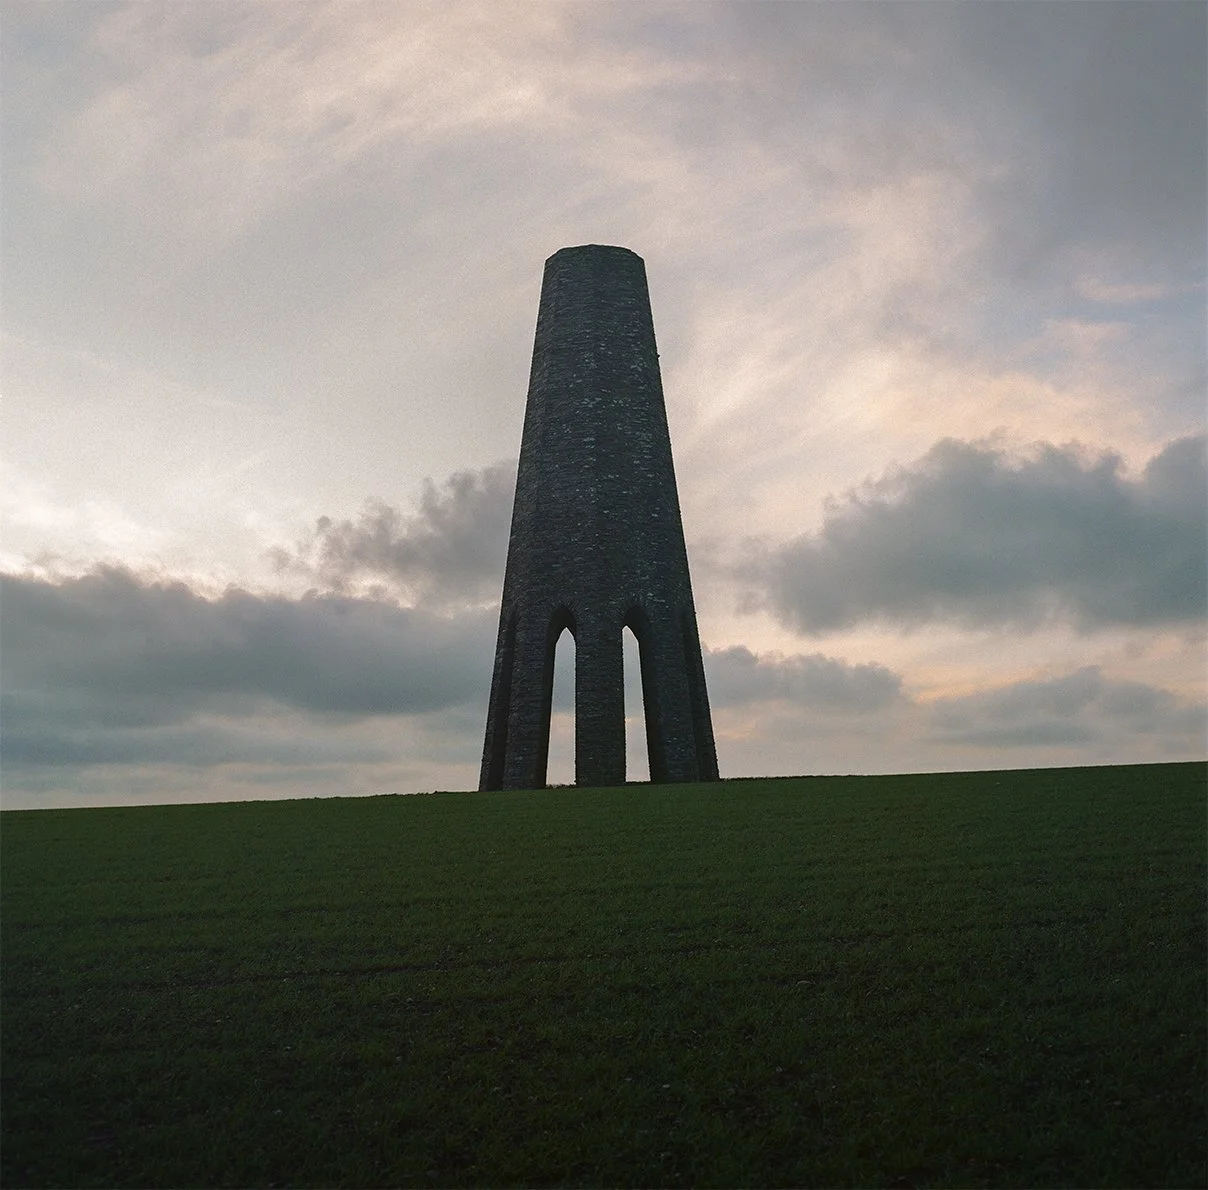
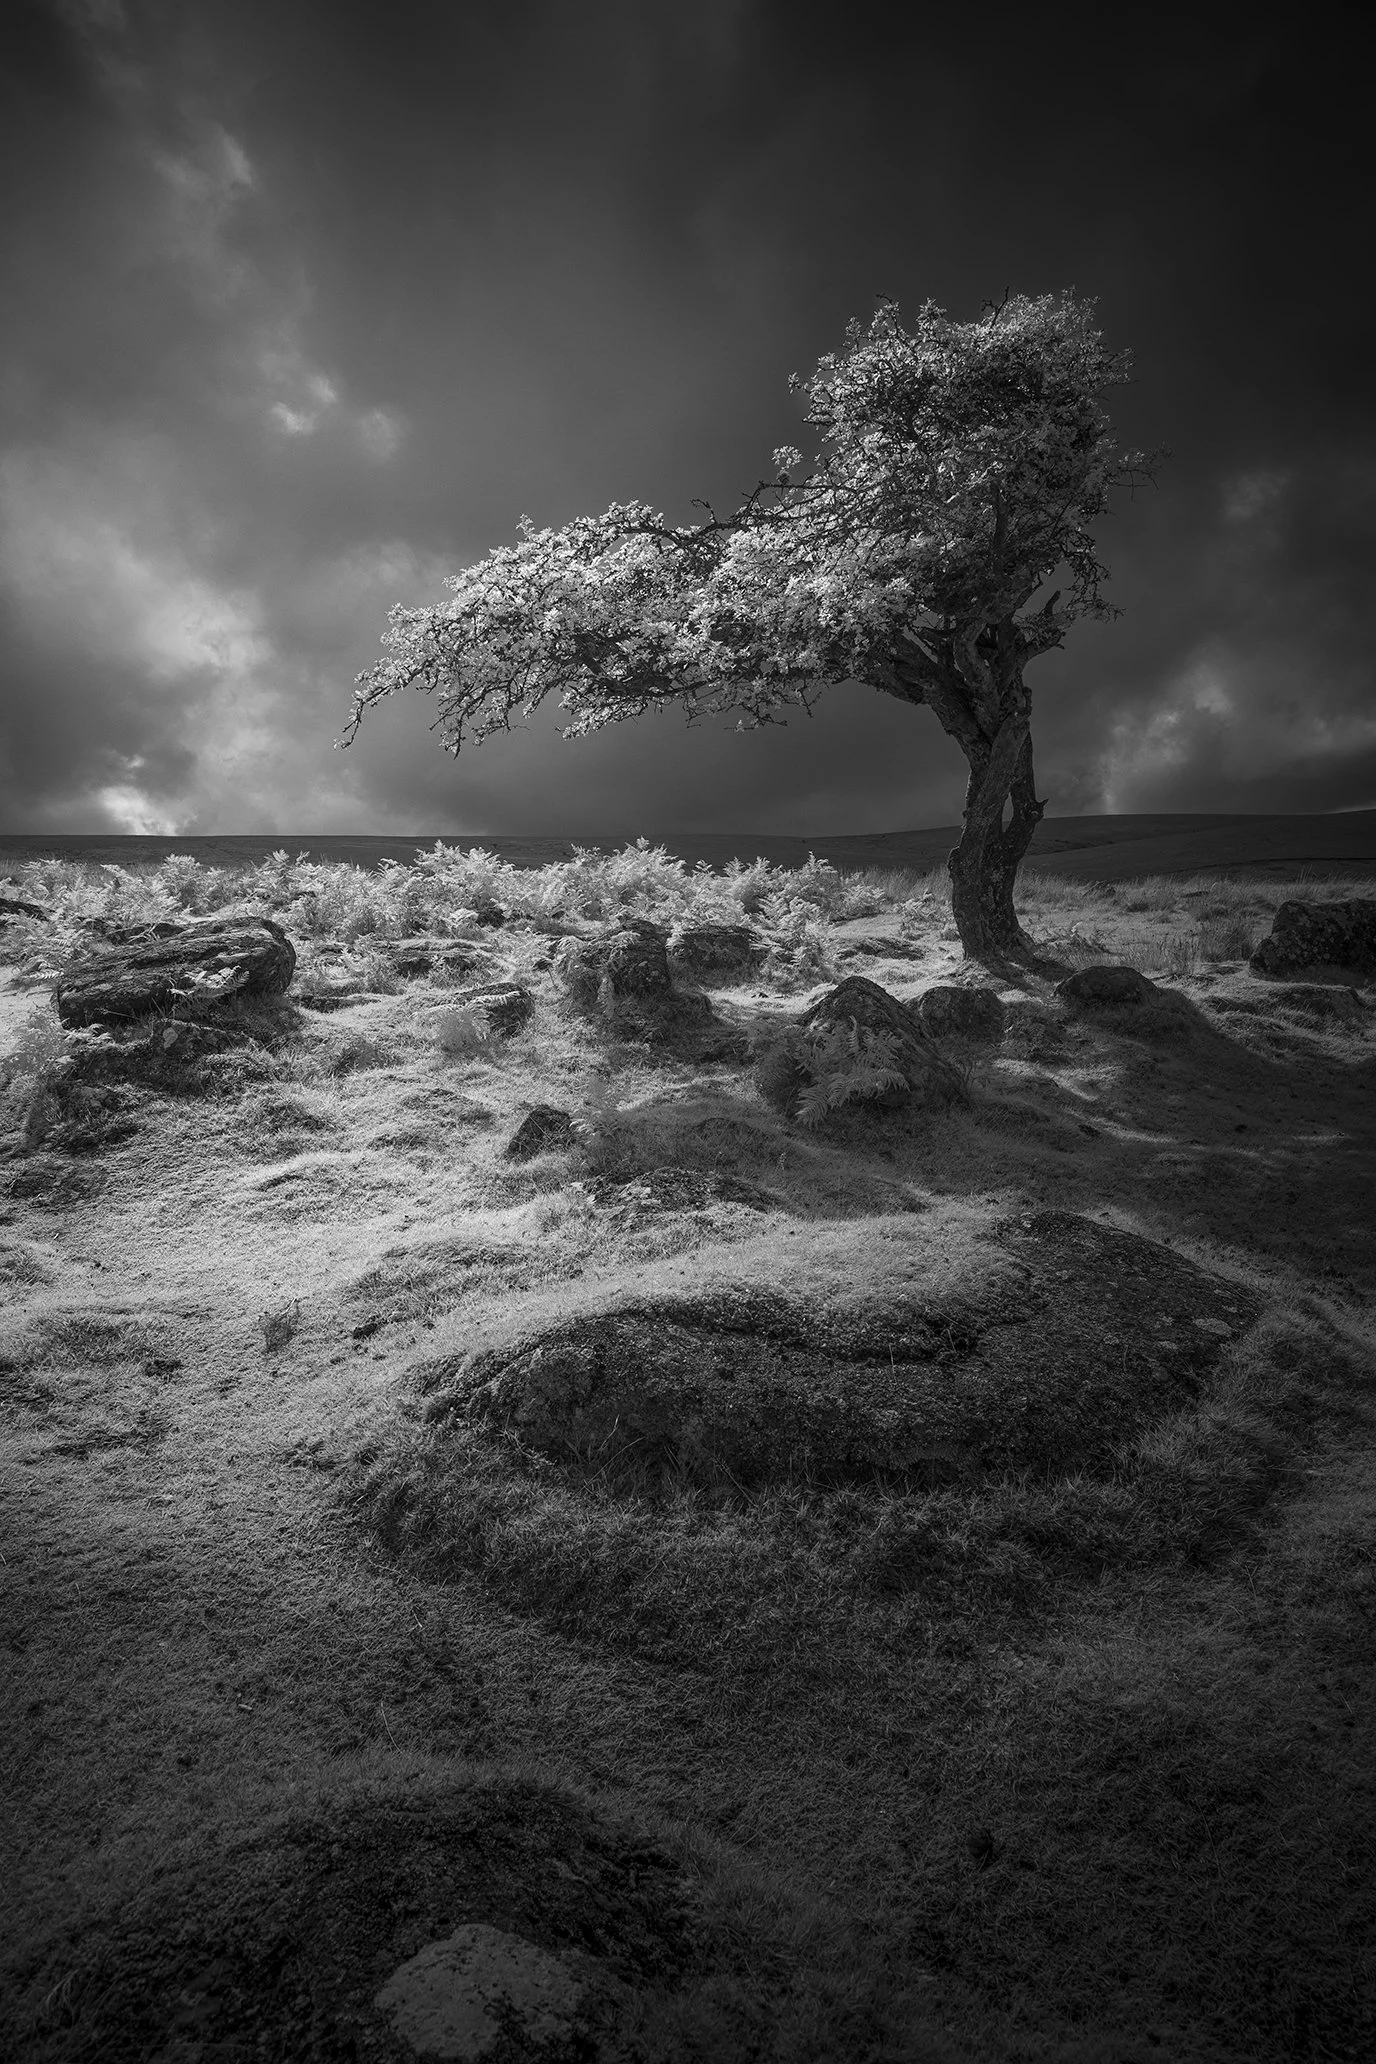
Kodak Tri-X - (no edit)
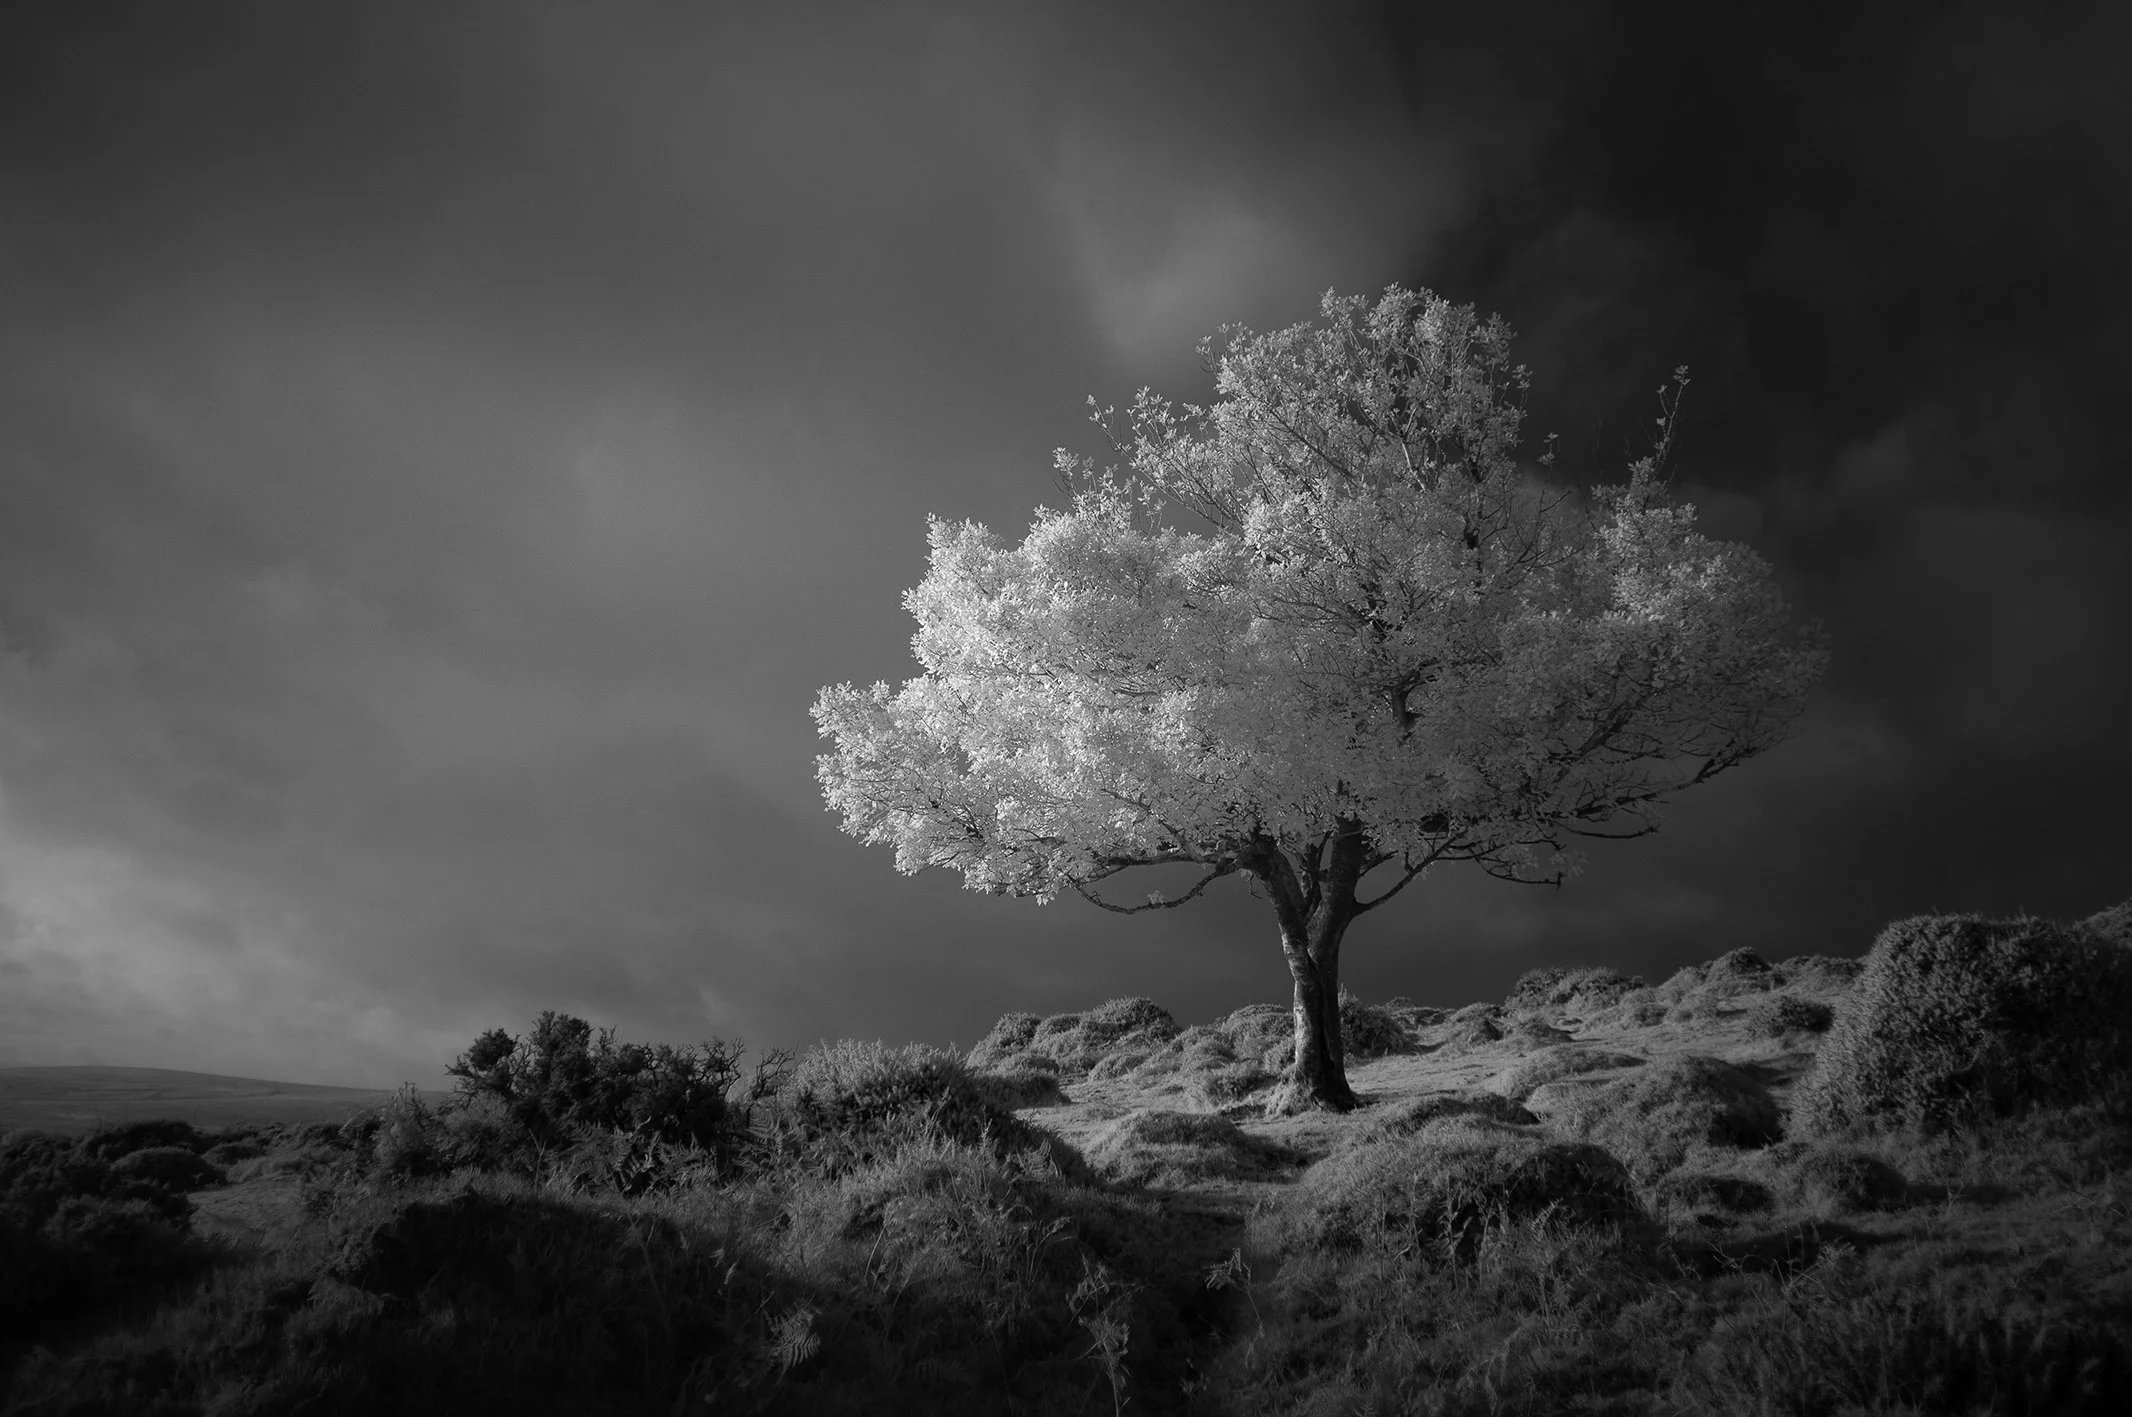
Kodak Tri-X - (minor contrast edit)
More rolls are in the pipeline, and I’m looking forward to sharing what comes next. Watch this space.
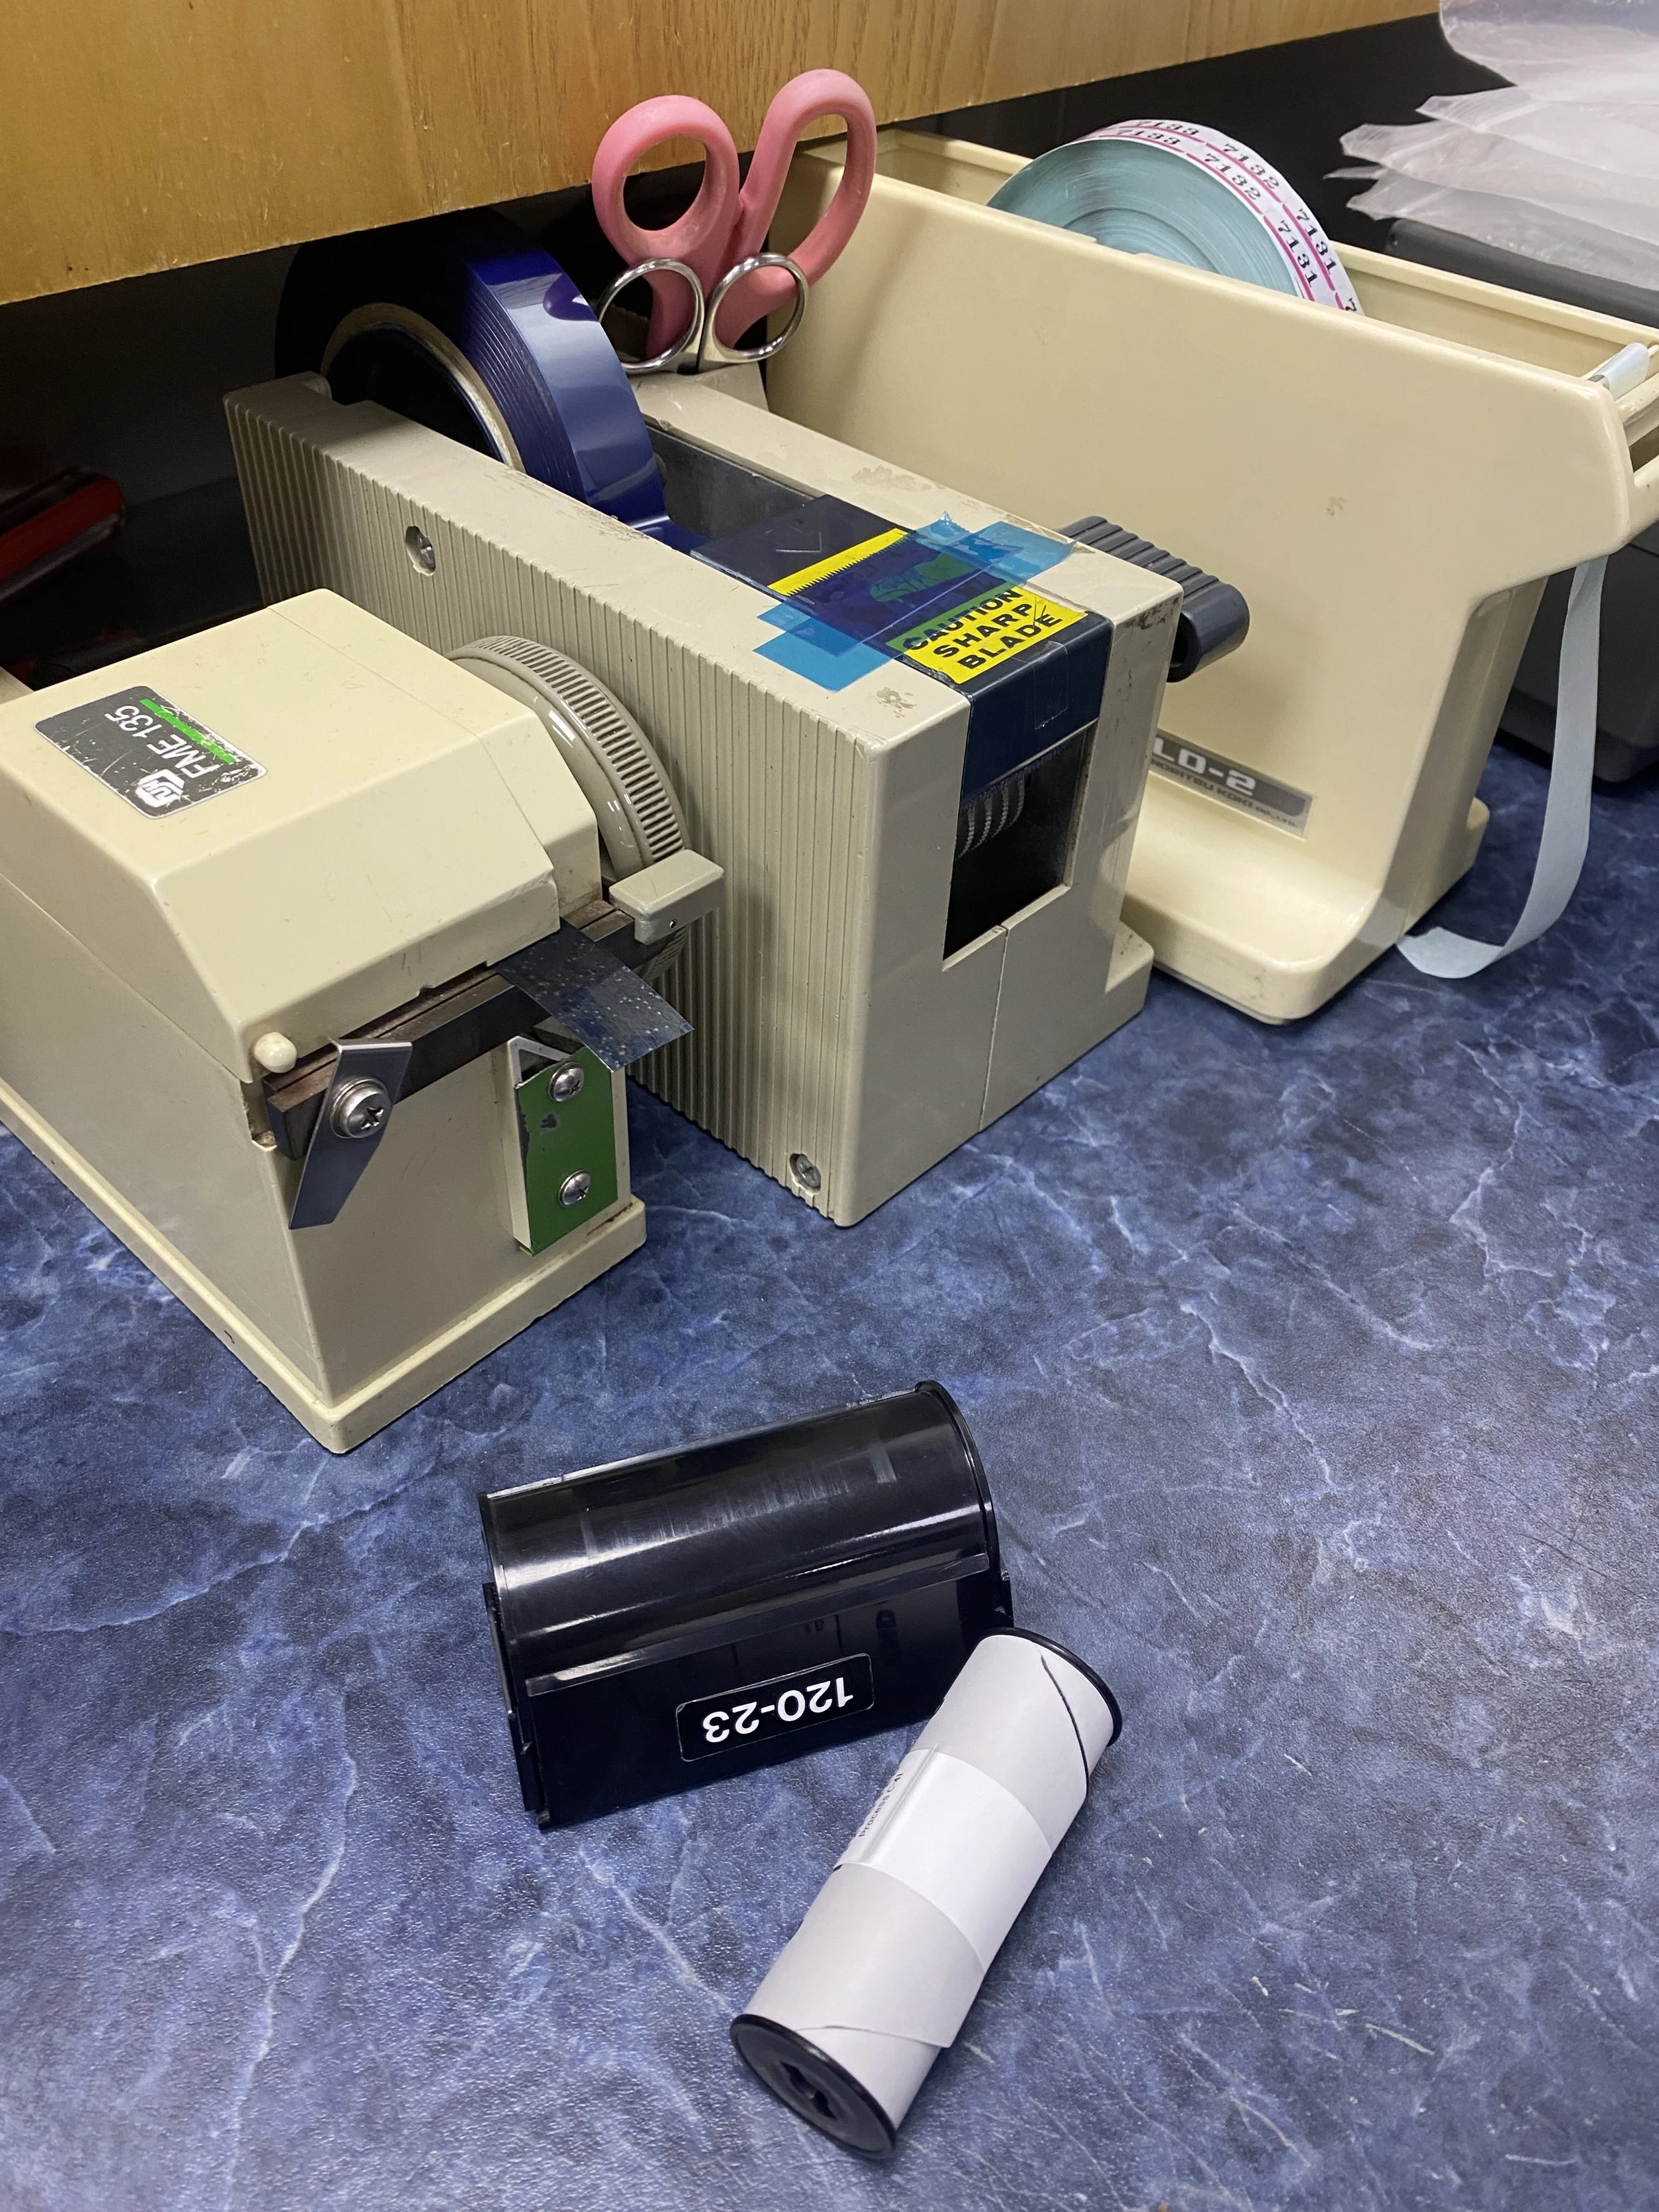
Equipment and software used:
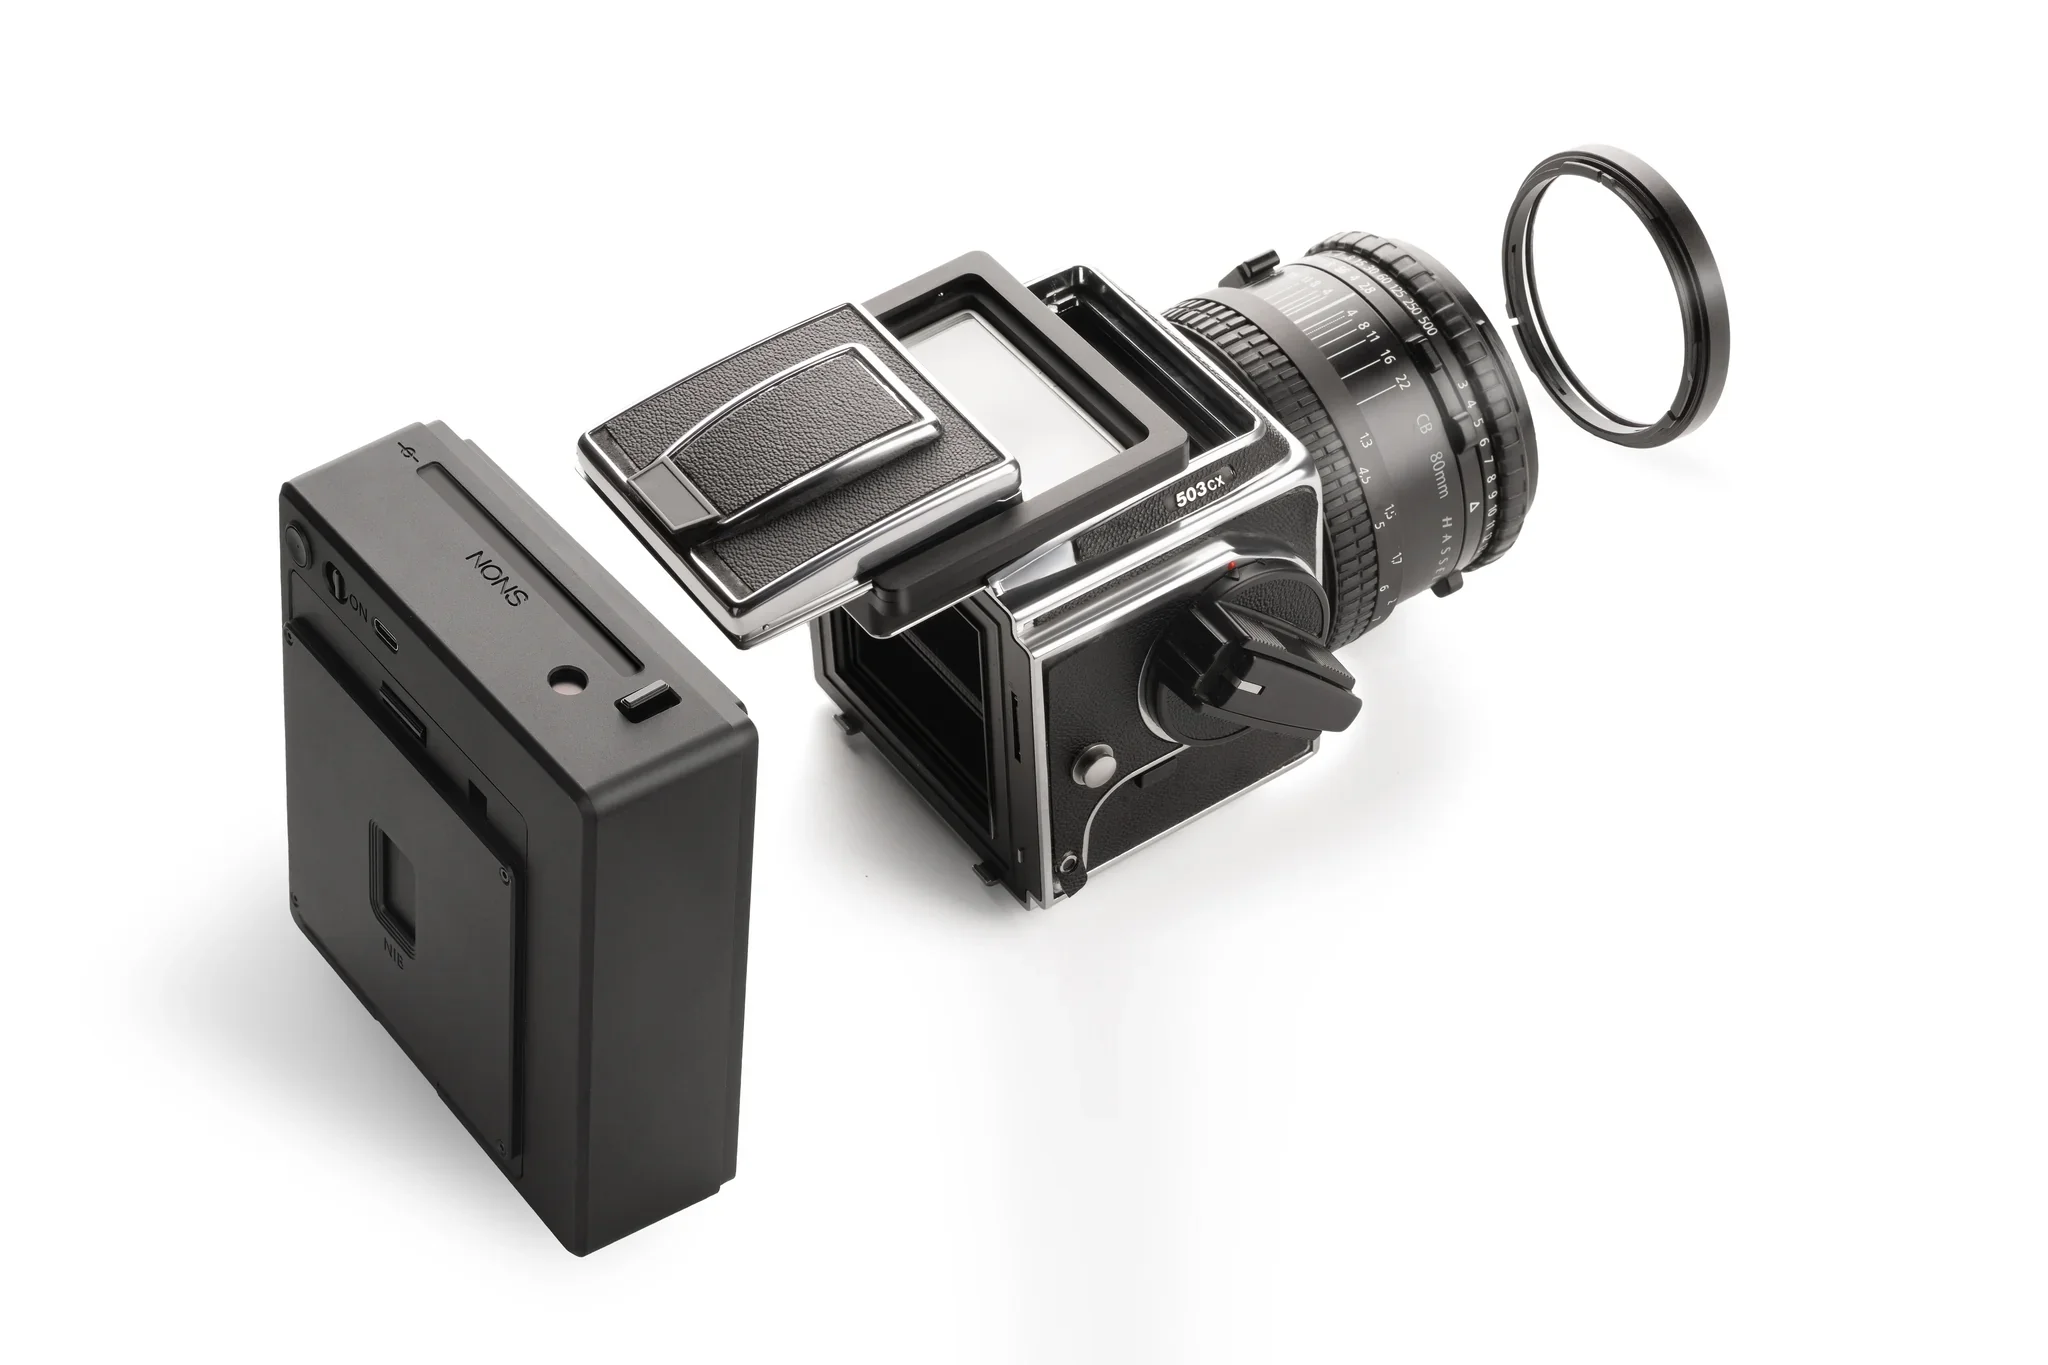
Hasselblad 500 C/M . Valoi Easy 120 with Using Hasselblad X2DII . Negative Lab Pro